In this tutorial I will demonstrate how to install Jenkins on Linux (Ubuntu 22.04 LTS) and how to create a freestyle job.
What is Jenkins
Jenkins is an open source automation server which enables developers around the world to reliably build, test, and deploy their software. (taken from their website)
Dependencies
Jenkins requires Java to run and therefore we need to install the Java Runtime Environment and on this time of writing, jenkins supports OpenJDK JDK / JRE 11 - 64 bits.
To install openjdk-11:
sudo apt update
sudo apt install openjdk-11-jre -y
Then verify if the installation succeeded by running:
java -version
And in my case the output shows:
openjdk version "11.0.15" 2022-04-19
OpenJDK Runtime Environment (build 11.0.15+10-Ubuntu-0ubuntu0.22.04.1)
OpenJDK 64-Bit Server VM (build 11.0.15+10-Ubuntu-0ubuntu0.22.04.1, mixed mode, sharing)
Now that our JDK has been installed, we can install Jenkins and I am using the Jenkins documentation to install Jenkins on Linux.
Jenkins Installation
First get the Jenkins sources:
$ curl -fsSL https://pkg.jenkins.io/debian-stable/jenkins.io.key | sudo tee /usr/share/keyrings/jenkins-keyring.asc > /dev/null

$ echo deb [signed-by=/usr/share/keyrings/jenkins-keyring.asc] https://pkg.jenkins.io/debian-stable binary/ | sudo tee /etc/apt/sources.list.d/jenkins.list > /dev/null
Now update the indexes to make jenkins available to install:
$ sudo apt update
Then install jenkins:
$ sudo apt install jenkins -y
We can verify if Jenkins is running by using systemd:
$ sudo systemctl status jenkins

  jenkins.service - Jenkins Continuous Integration Server
     Loaded: loaded (/lib/systemd/system/jenkins.service; enabled; vendor preset: enabled)
     Active: active (running) since Mon 2022-05-16 19:38:43 UTC; 1min 49s ago
   Main PID: 1536 (java)
      Tasks: 35 (limit: 1034)
     Memory: 329.9M
        CPU: 37.040s
     CGroup: /system.slice/jenkins.service
             └─1536 /usr/bin/java -Djava.awt.headless=true -jar /usr/share/java/jenkins.war --webroot=/var/cache/jenkins/war --httpPort=8080

May 16 19:38:14 jenkins jenkins[1536]: This may also be found at: /var/lib/jenkins/secrets/initialAdminPassword
May 16 19:38:43 jenkins systemd[1]: Started Jenkins Continuous Integration Server.
We can also check if jenkins will start on boot:
$ sudo systemctl is-enabled jenkins
enabled
We can get the initial admin password using:
$ sudo cat /var/lib/jenkins/secrets/initialAdminPassword
507daf8075f346768da4435d9f8a8e53
Before we access jenkins, we need to allow port 8080 on our firewall (I'm a die-hard iptables fan, so I won't be using ufw):
$ sudo iptables -I INPUT -p tcp --dport 8080 -j ACCEPT
Access Jenkins
Now you can access jenkins on "http://your-public-ip:8080"
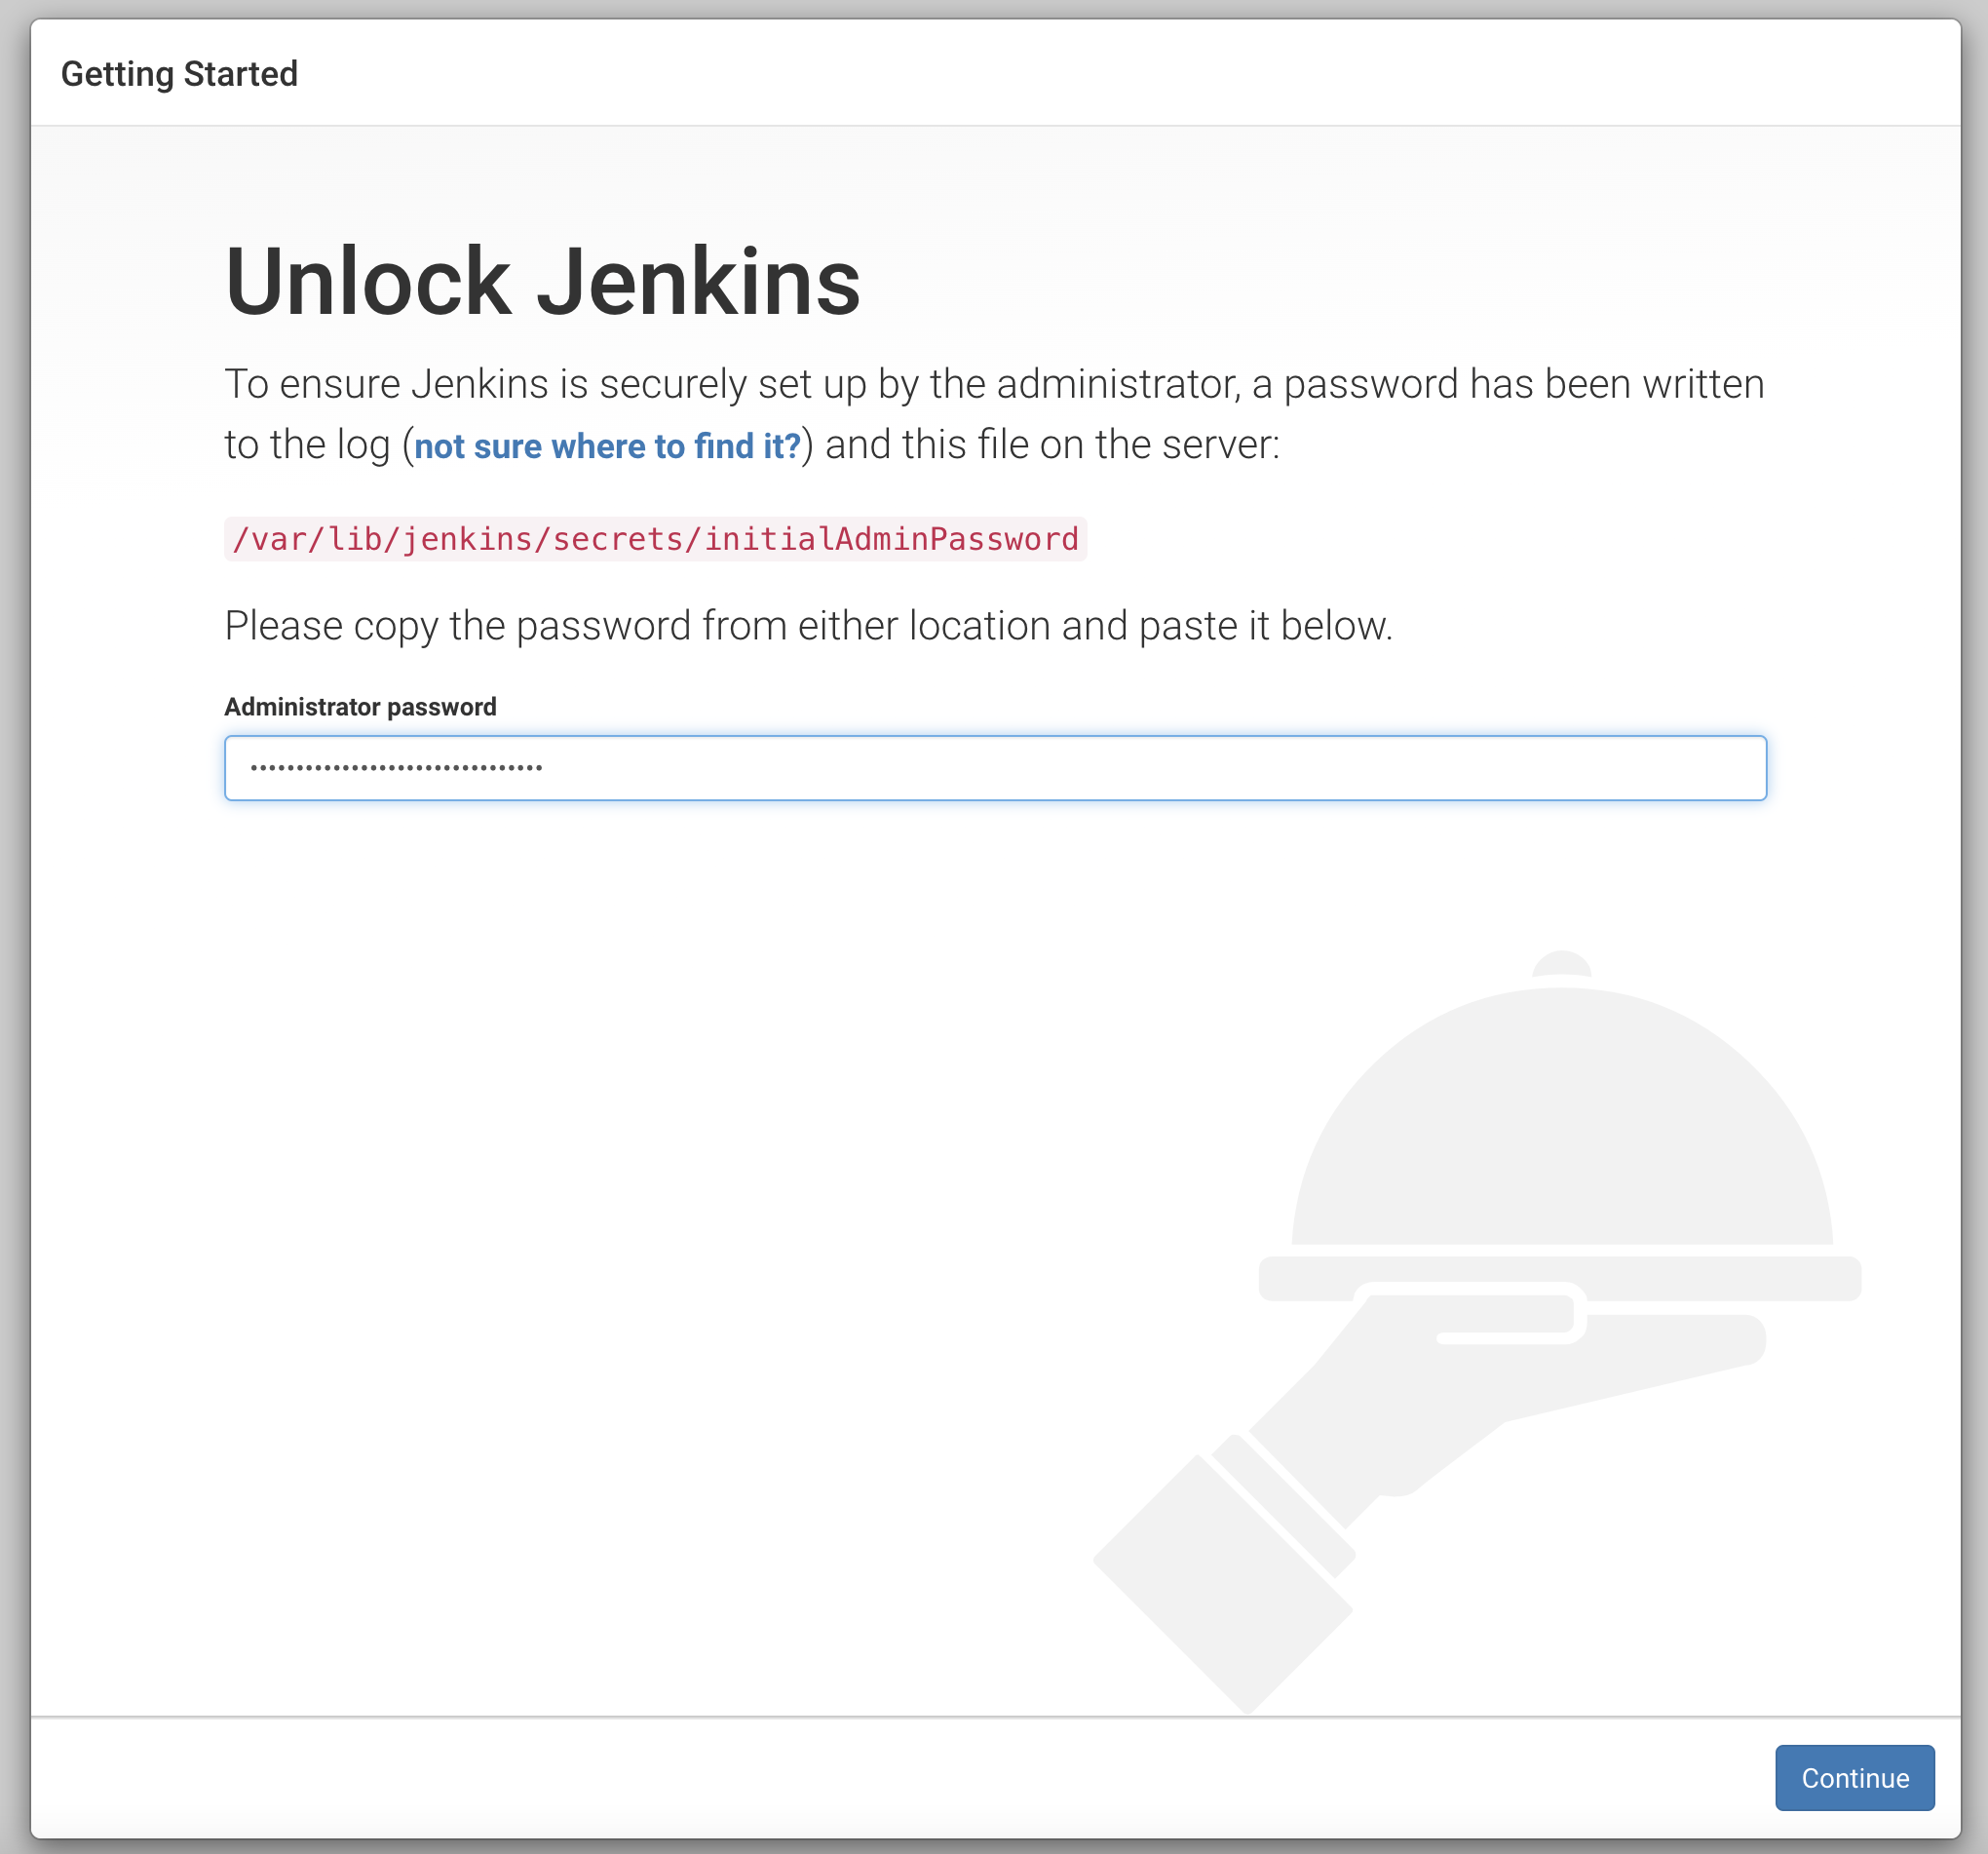
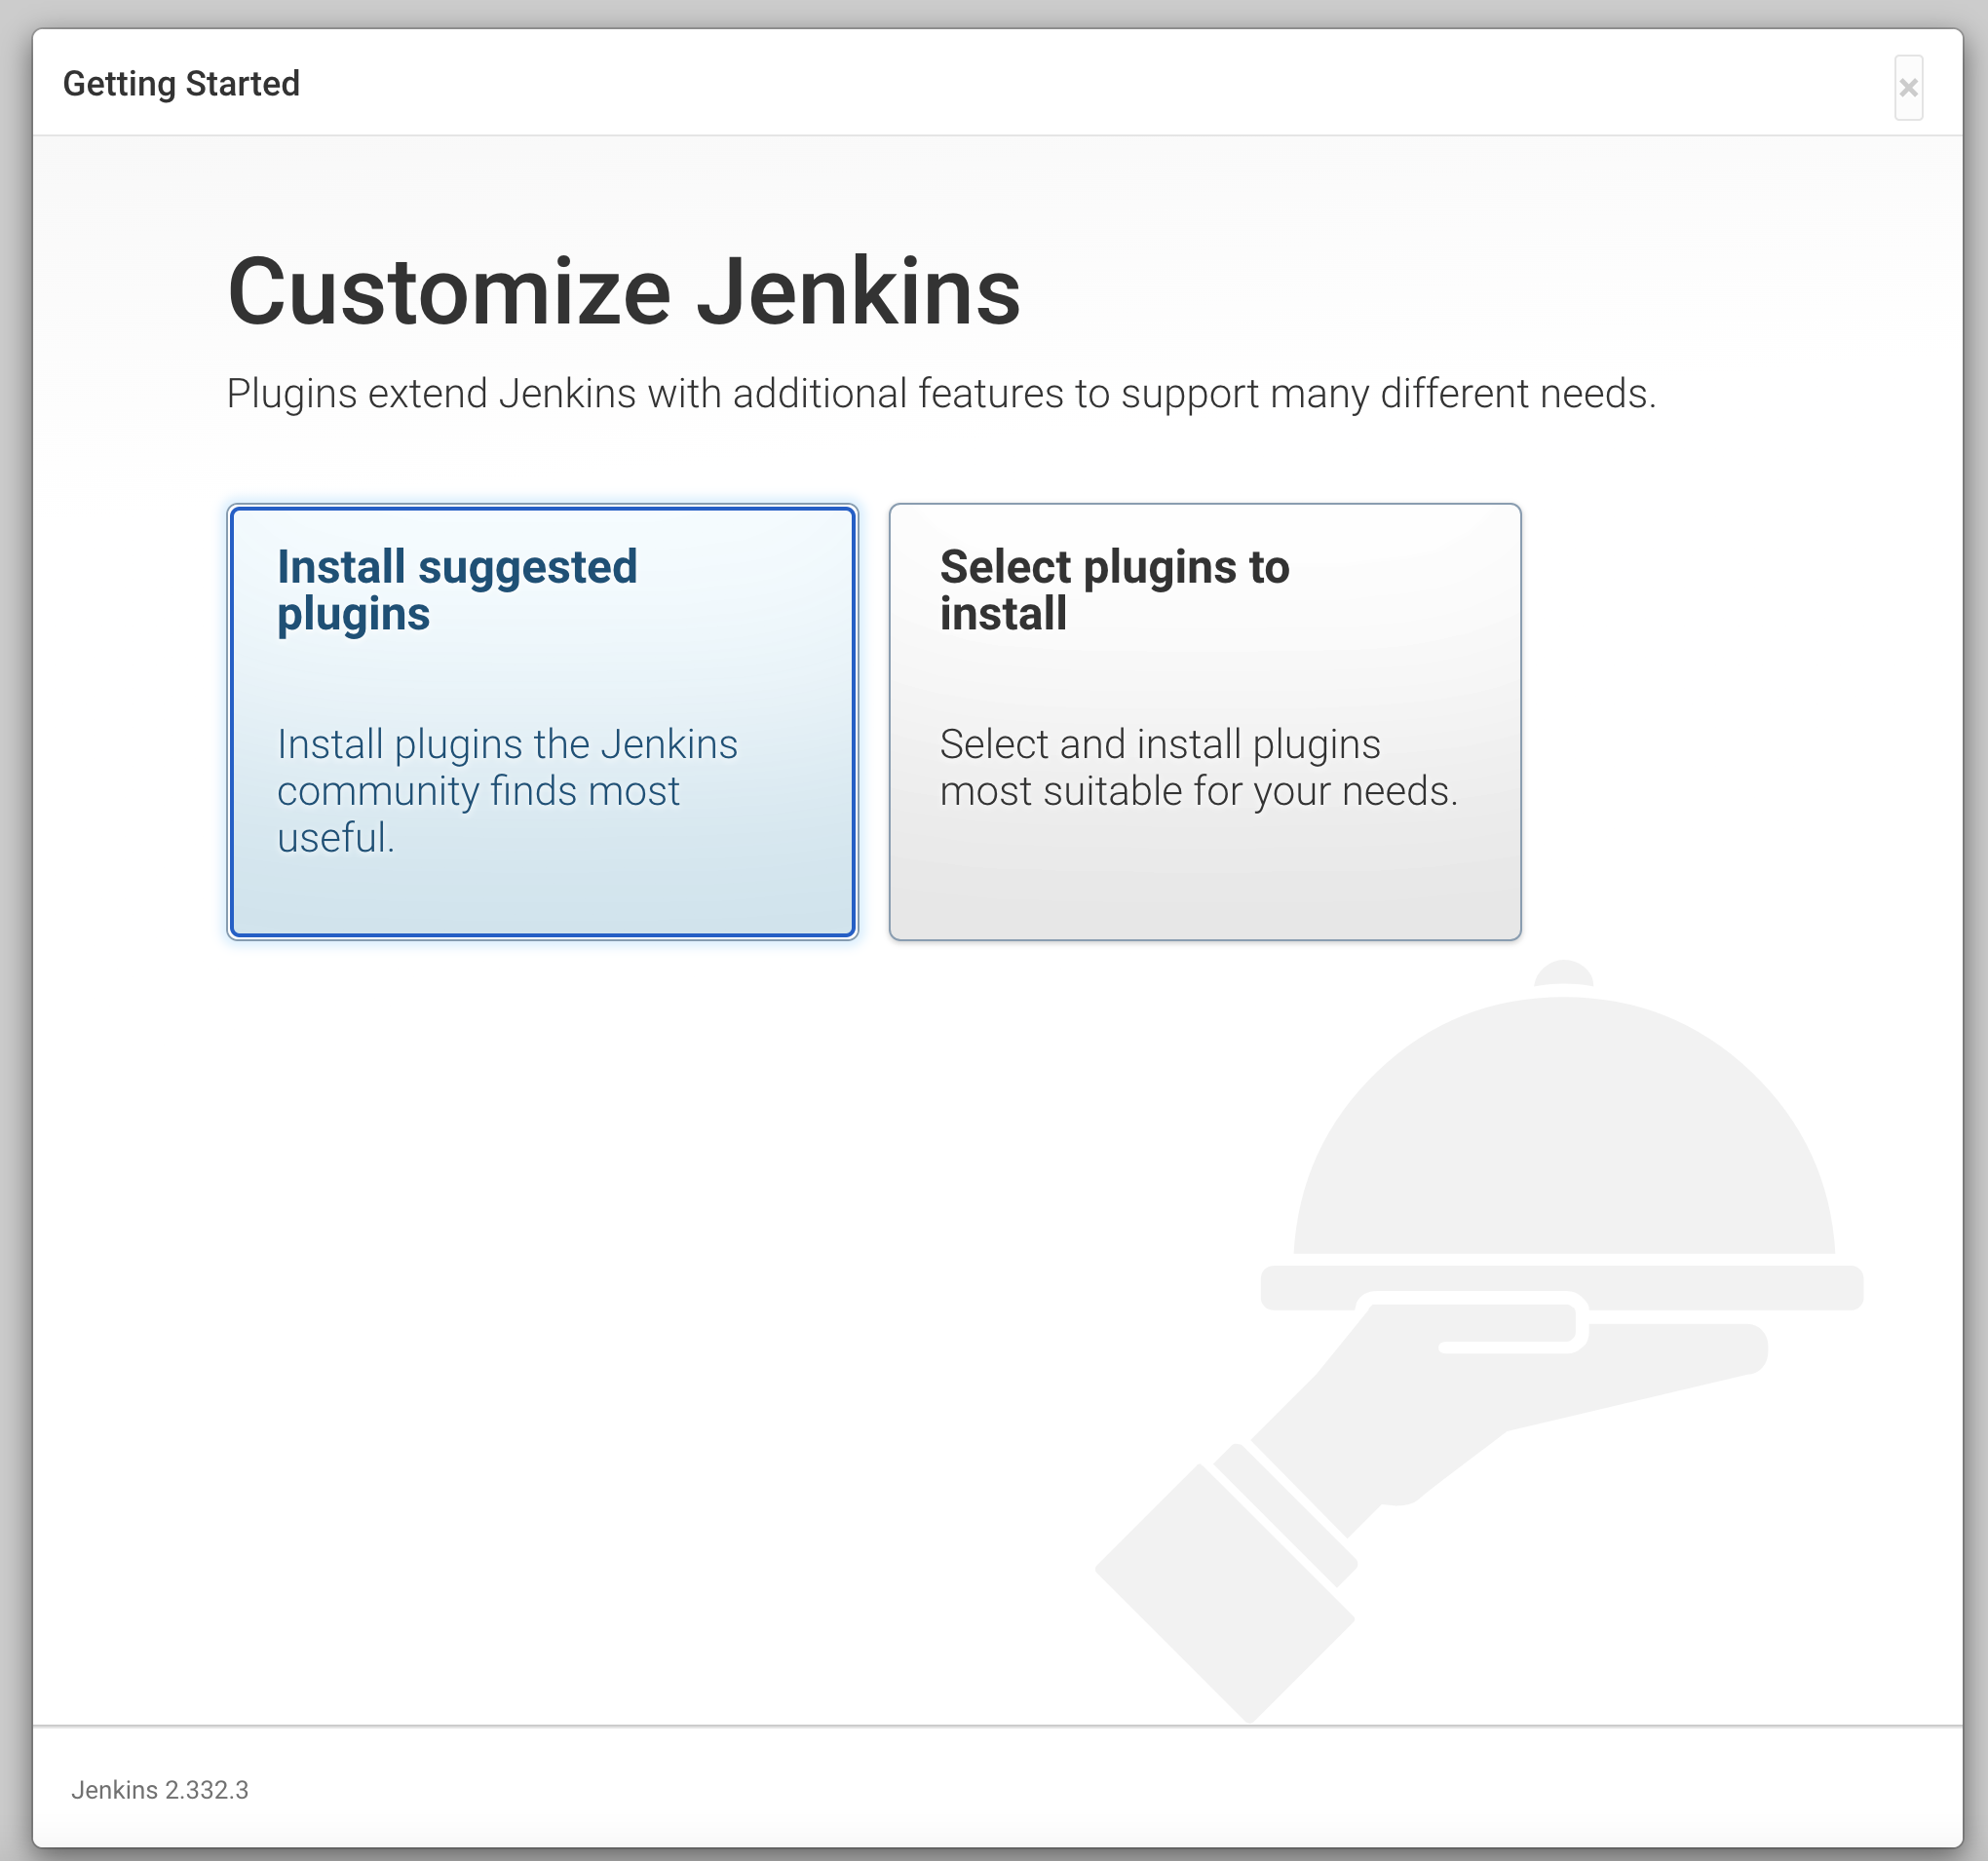
For now I will just be installing the suggested plugins:
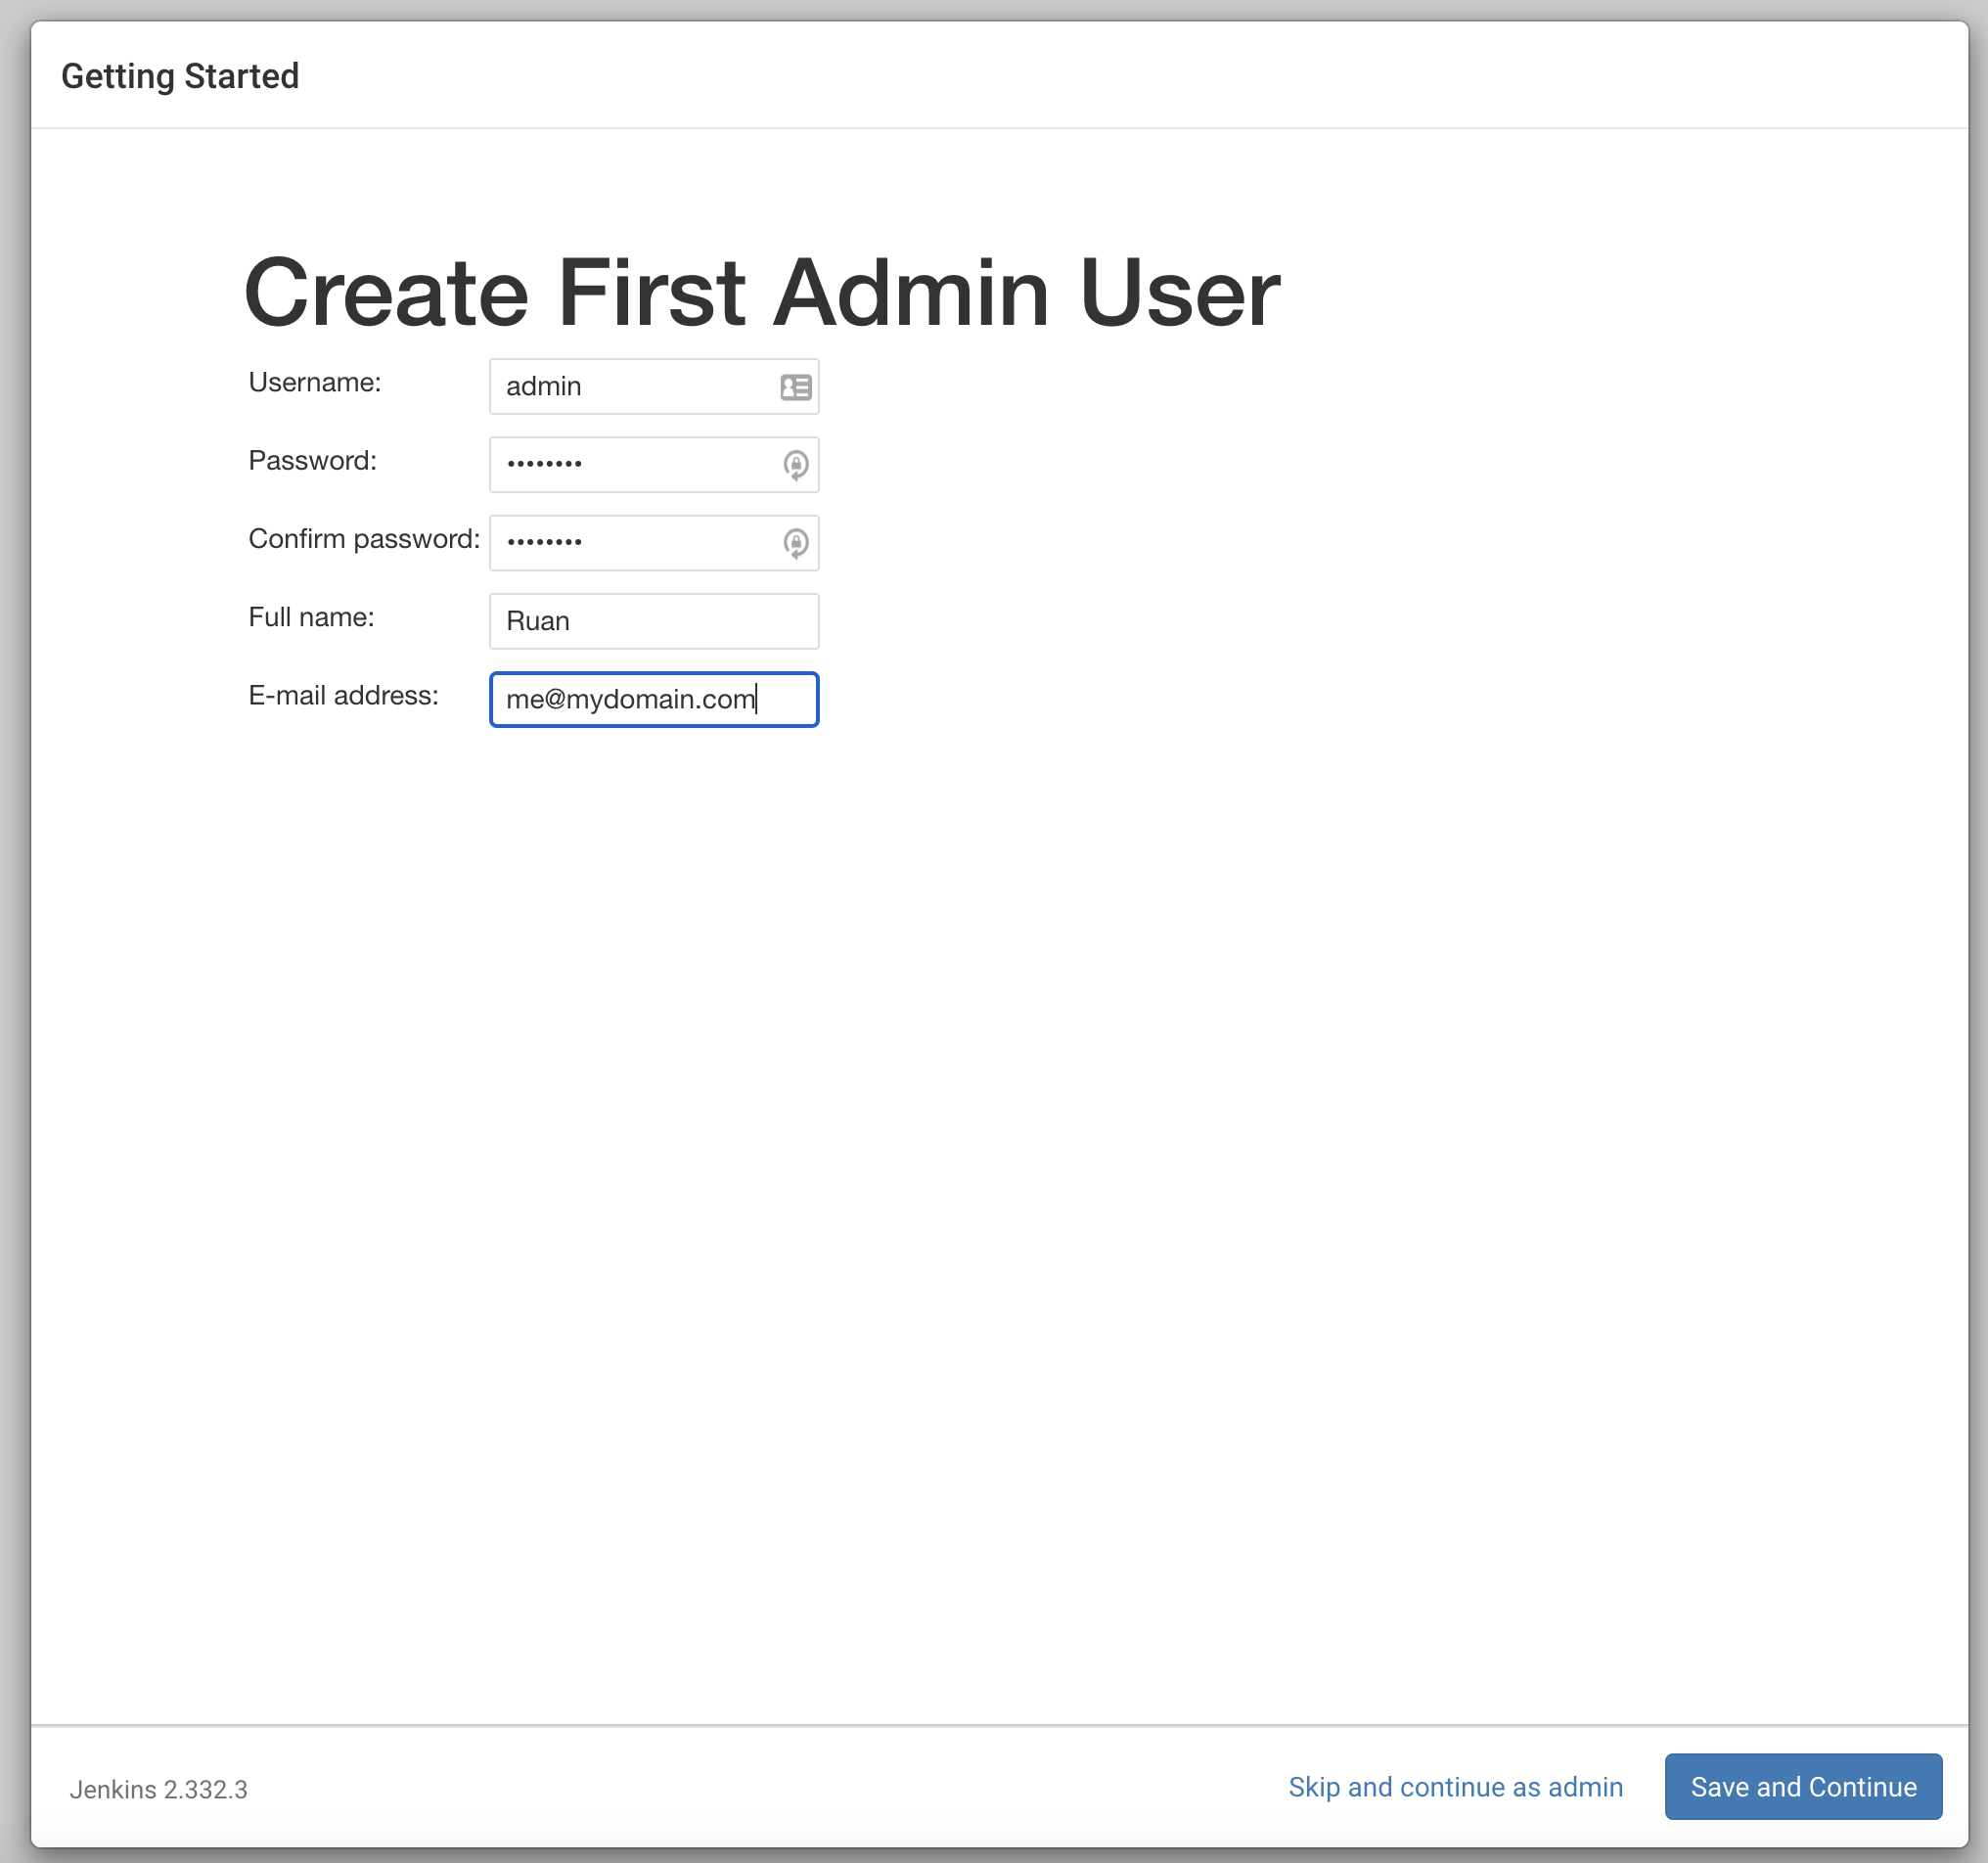
Then setup the first admin user:
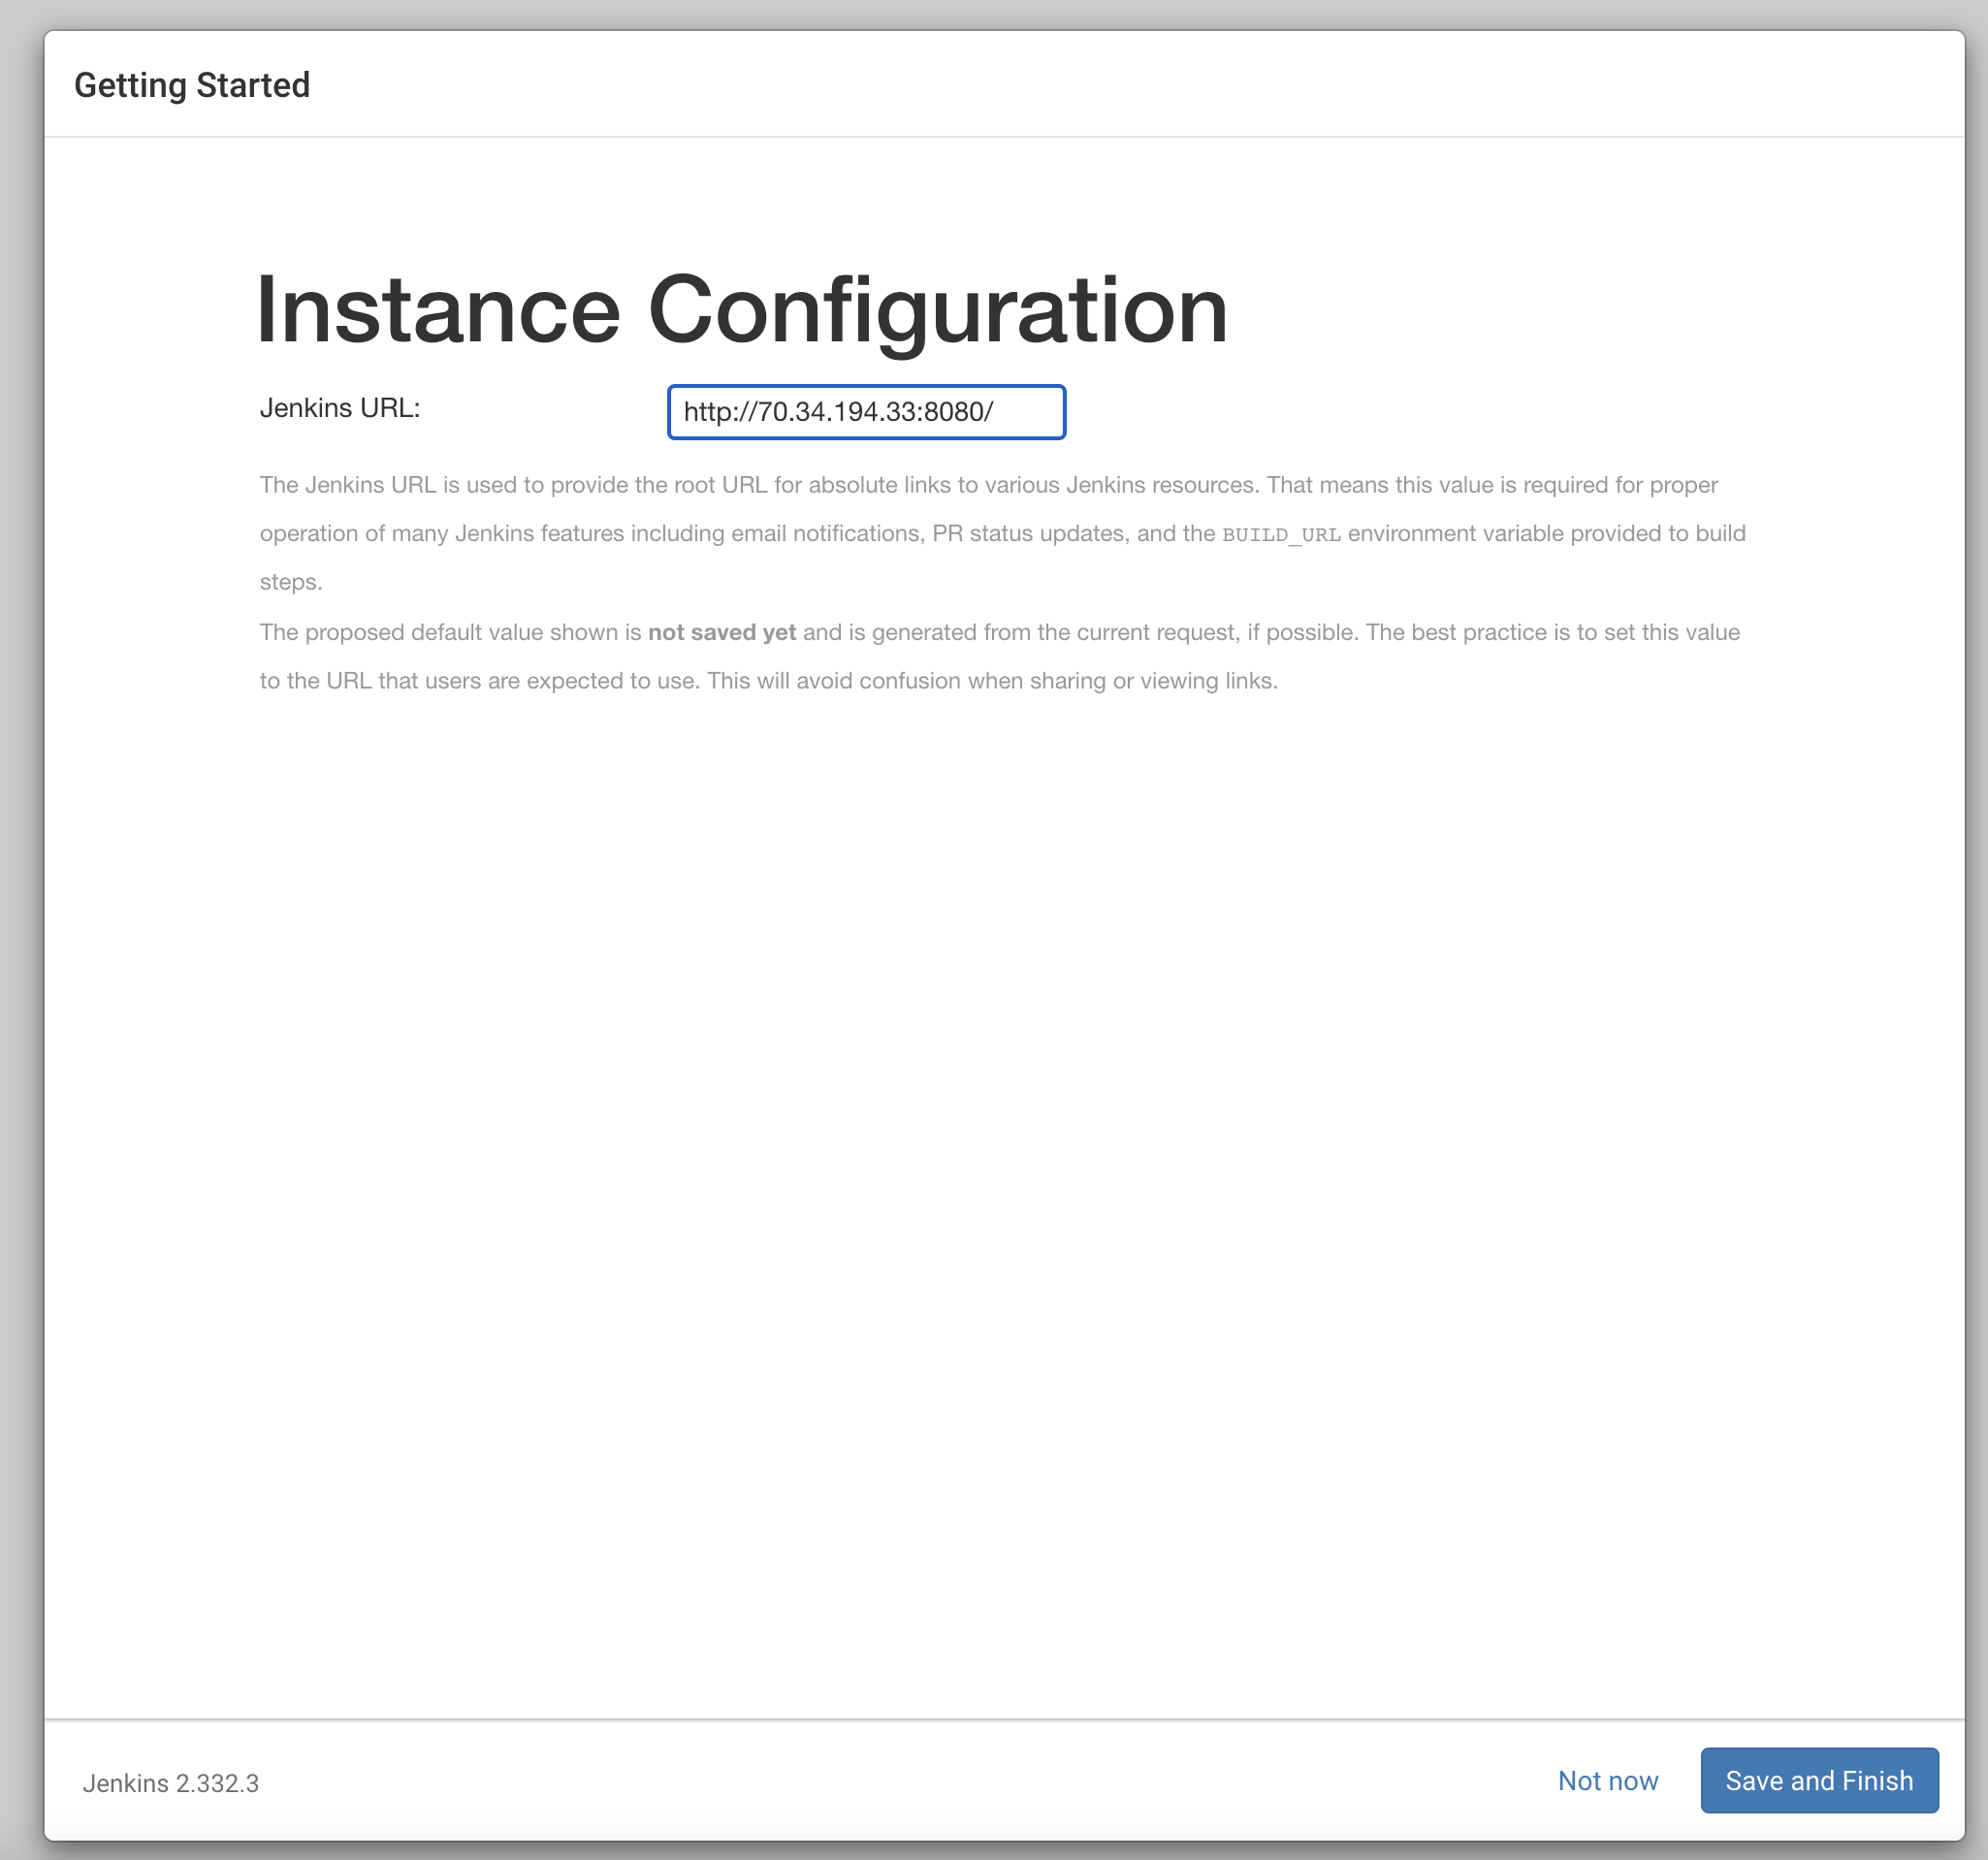
Configure the Jenkins URL (this is just for demonstration purposes, so I will keep it as its defaults, but I recommend you setup SSL):
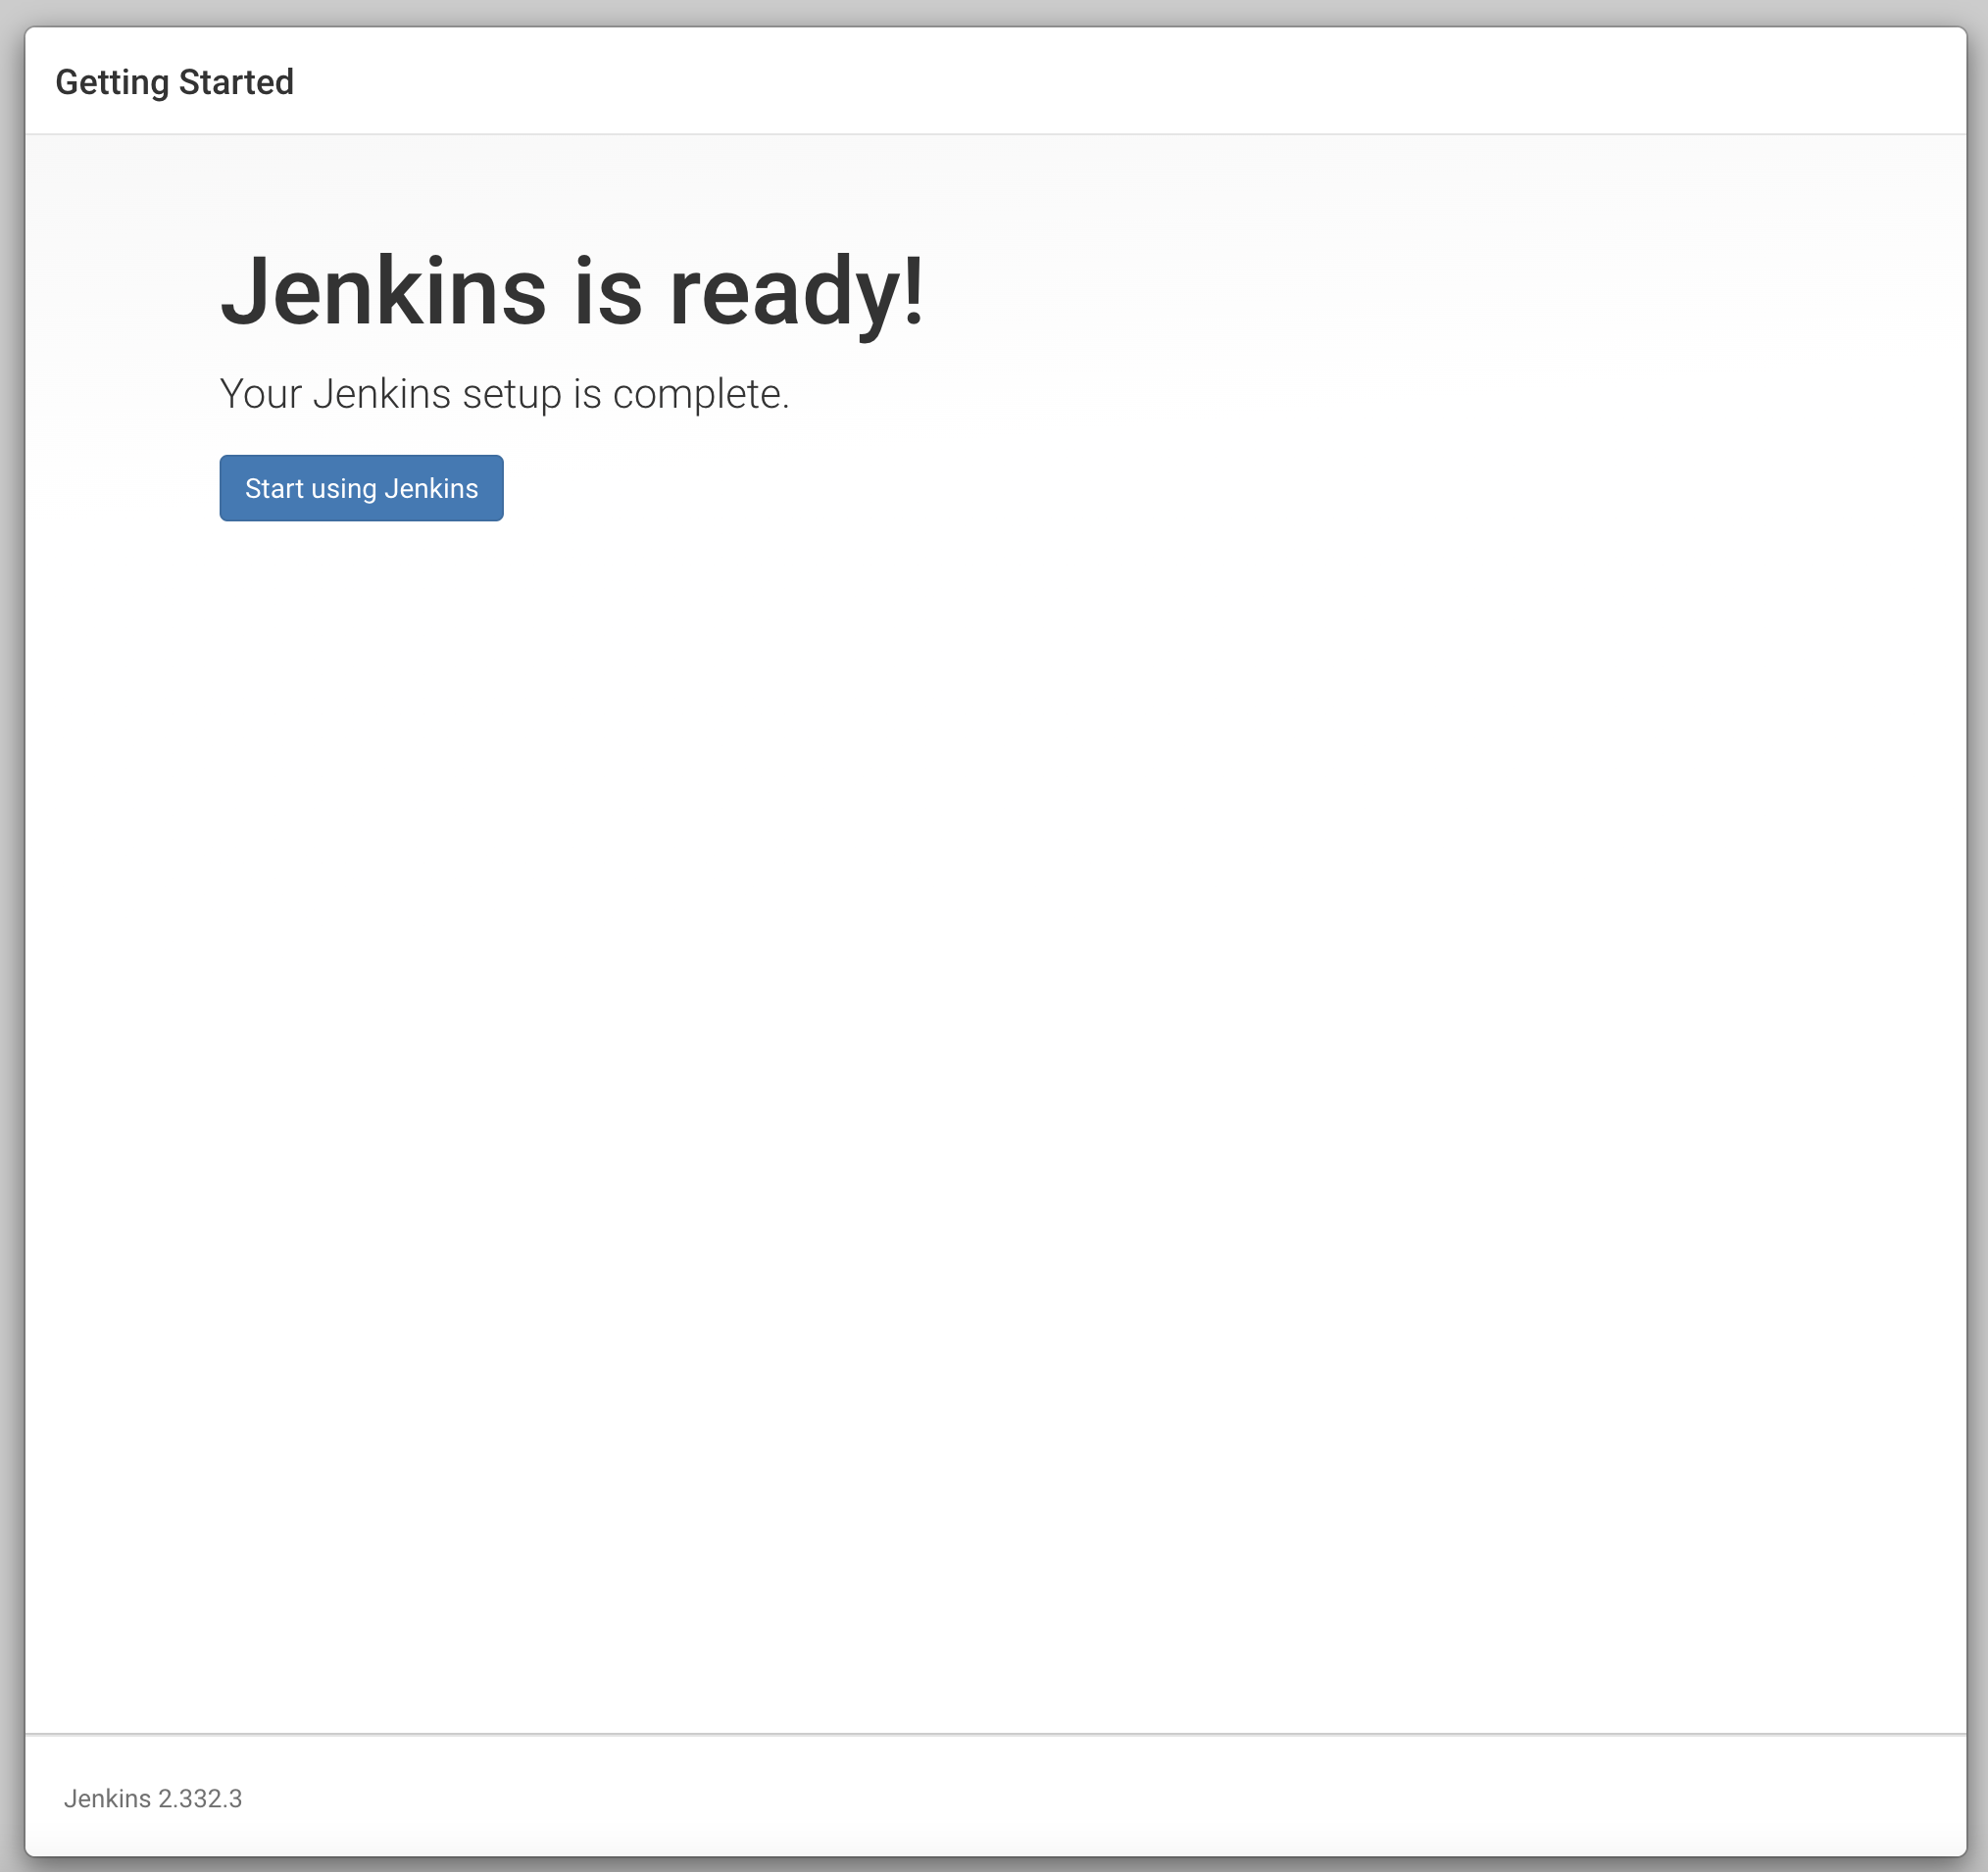
Then you should see this screen:
Create a Freestyle Job
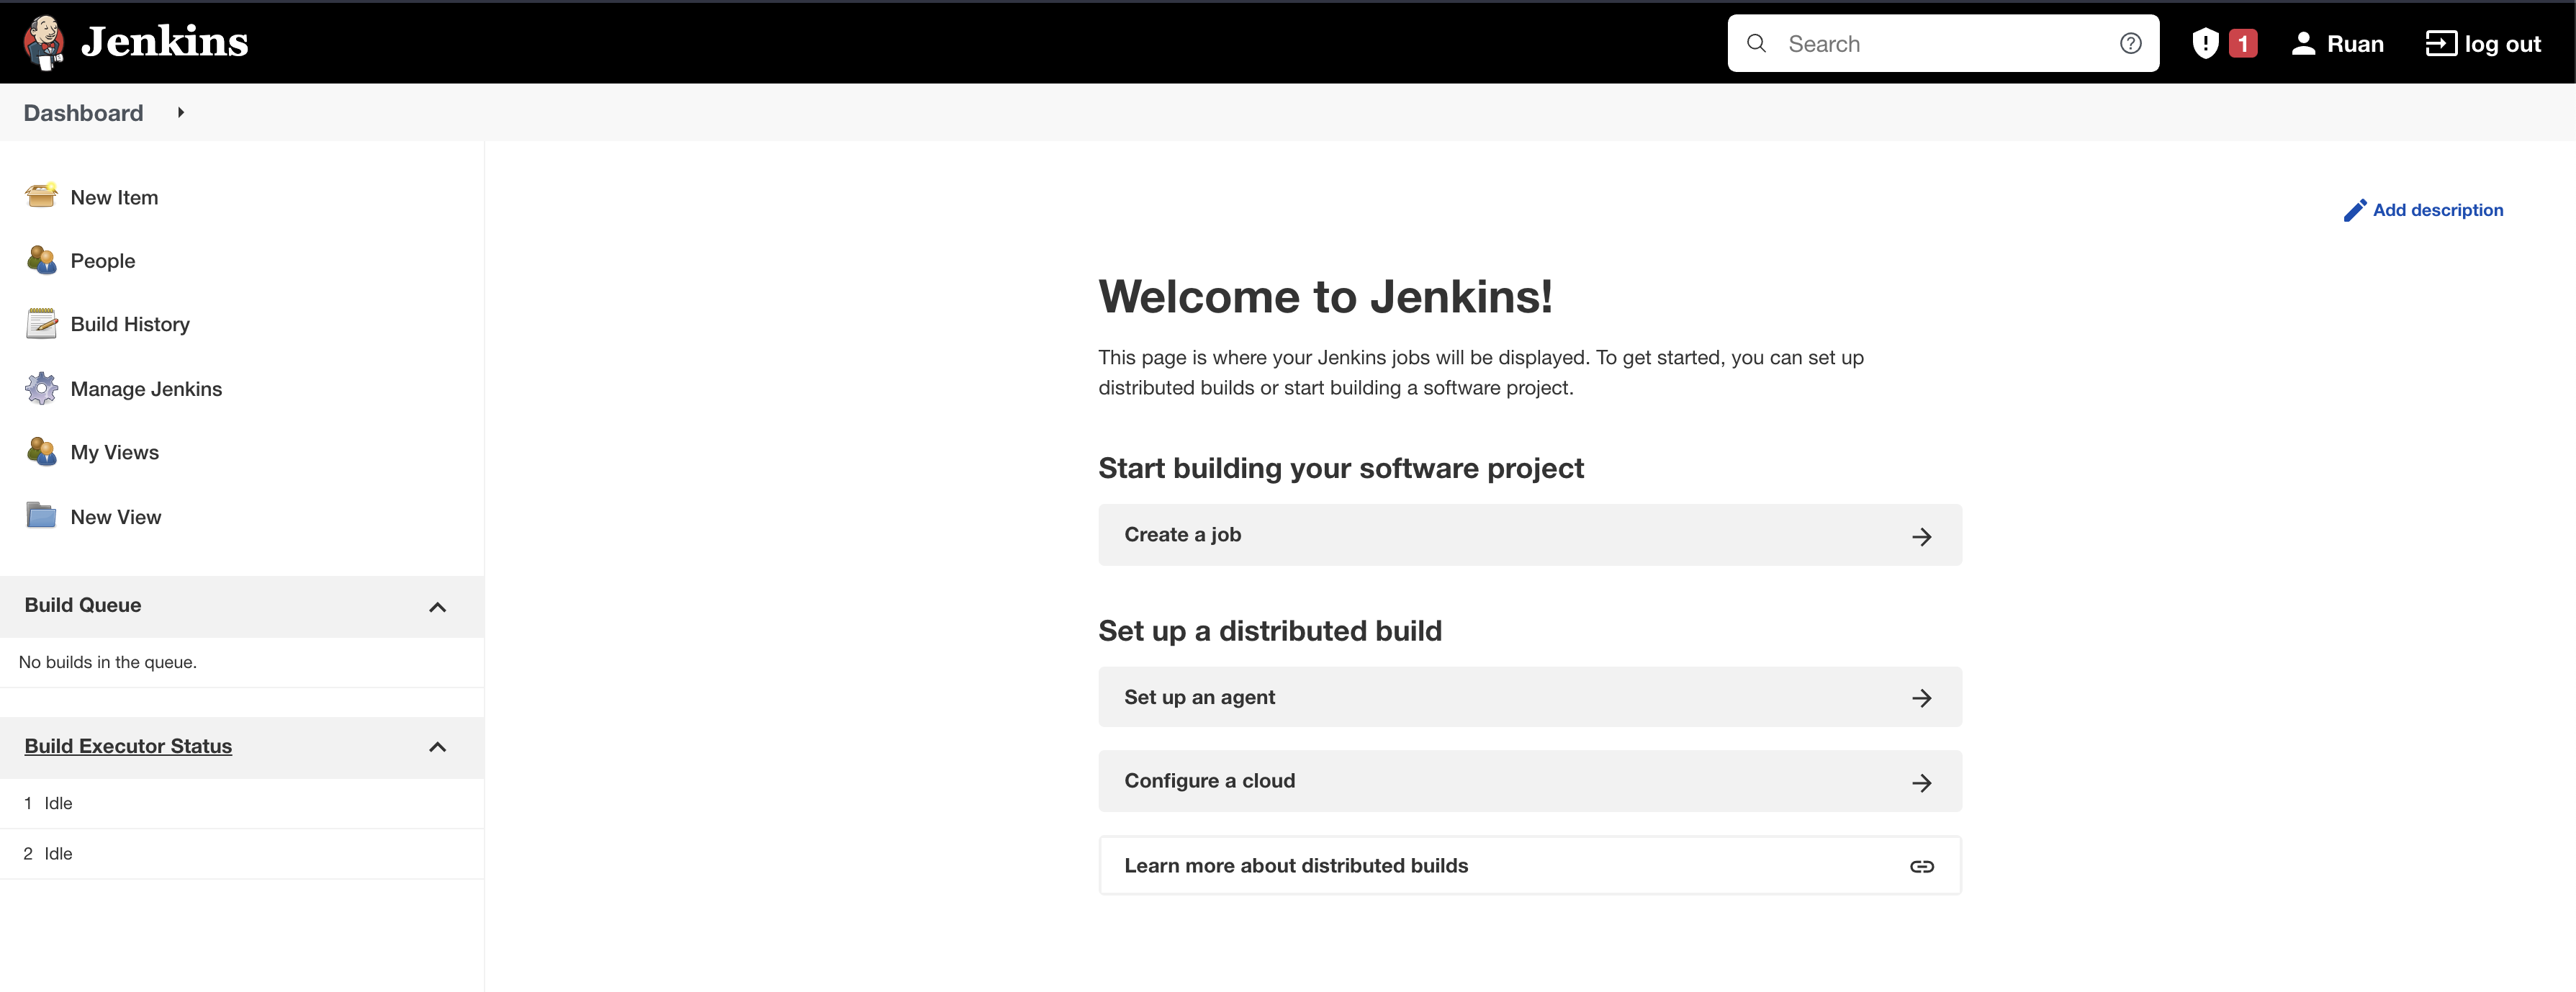
After selecting "Start using Jenkins" you should see this:
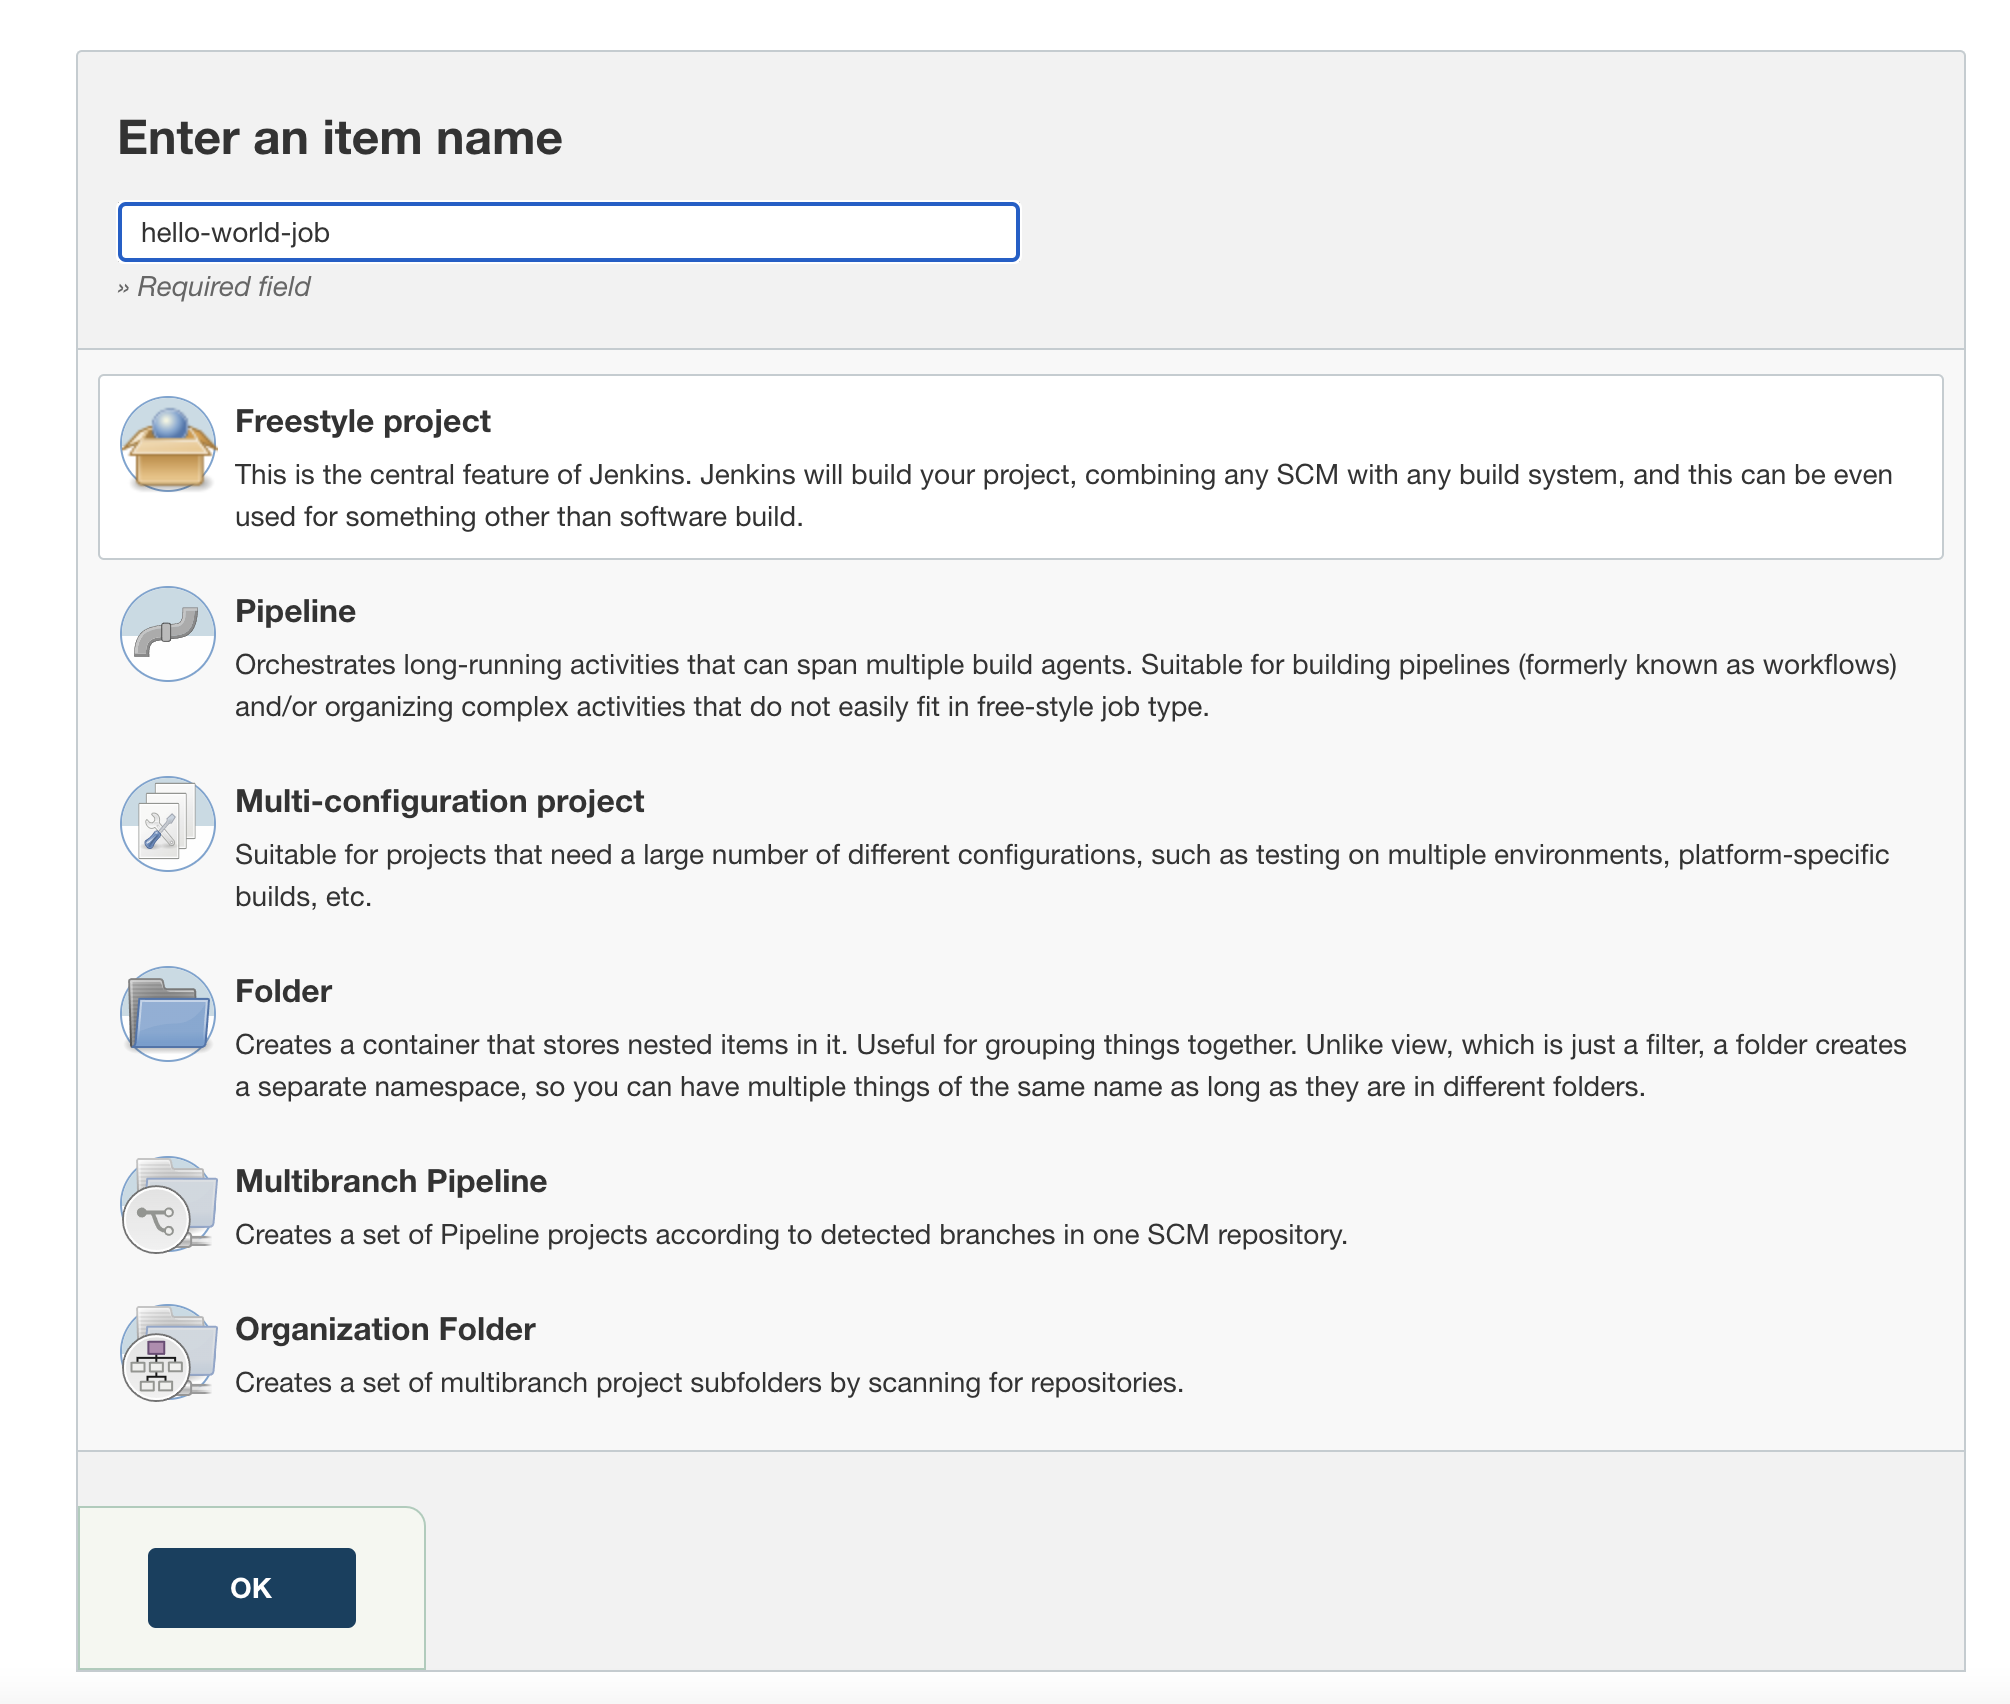
Then create your first job, you can call it whatever you want and select "Freestyle Project":
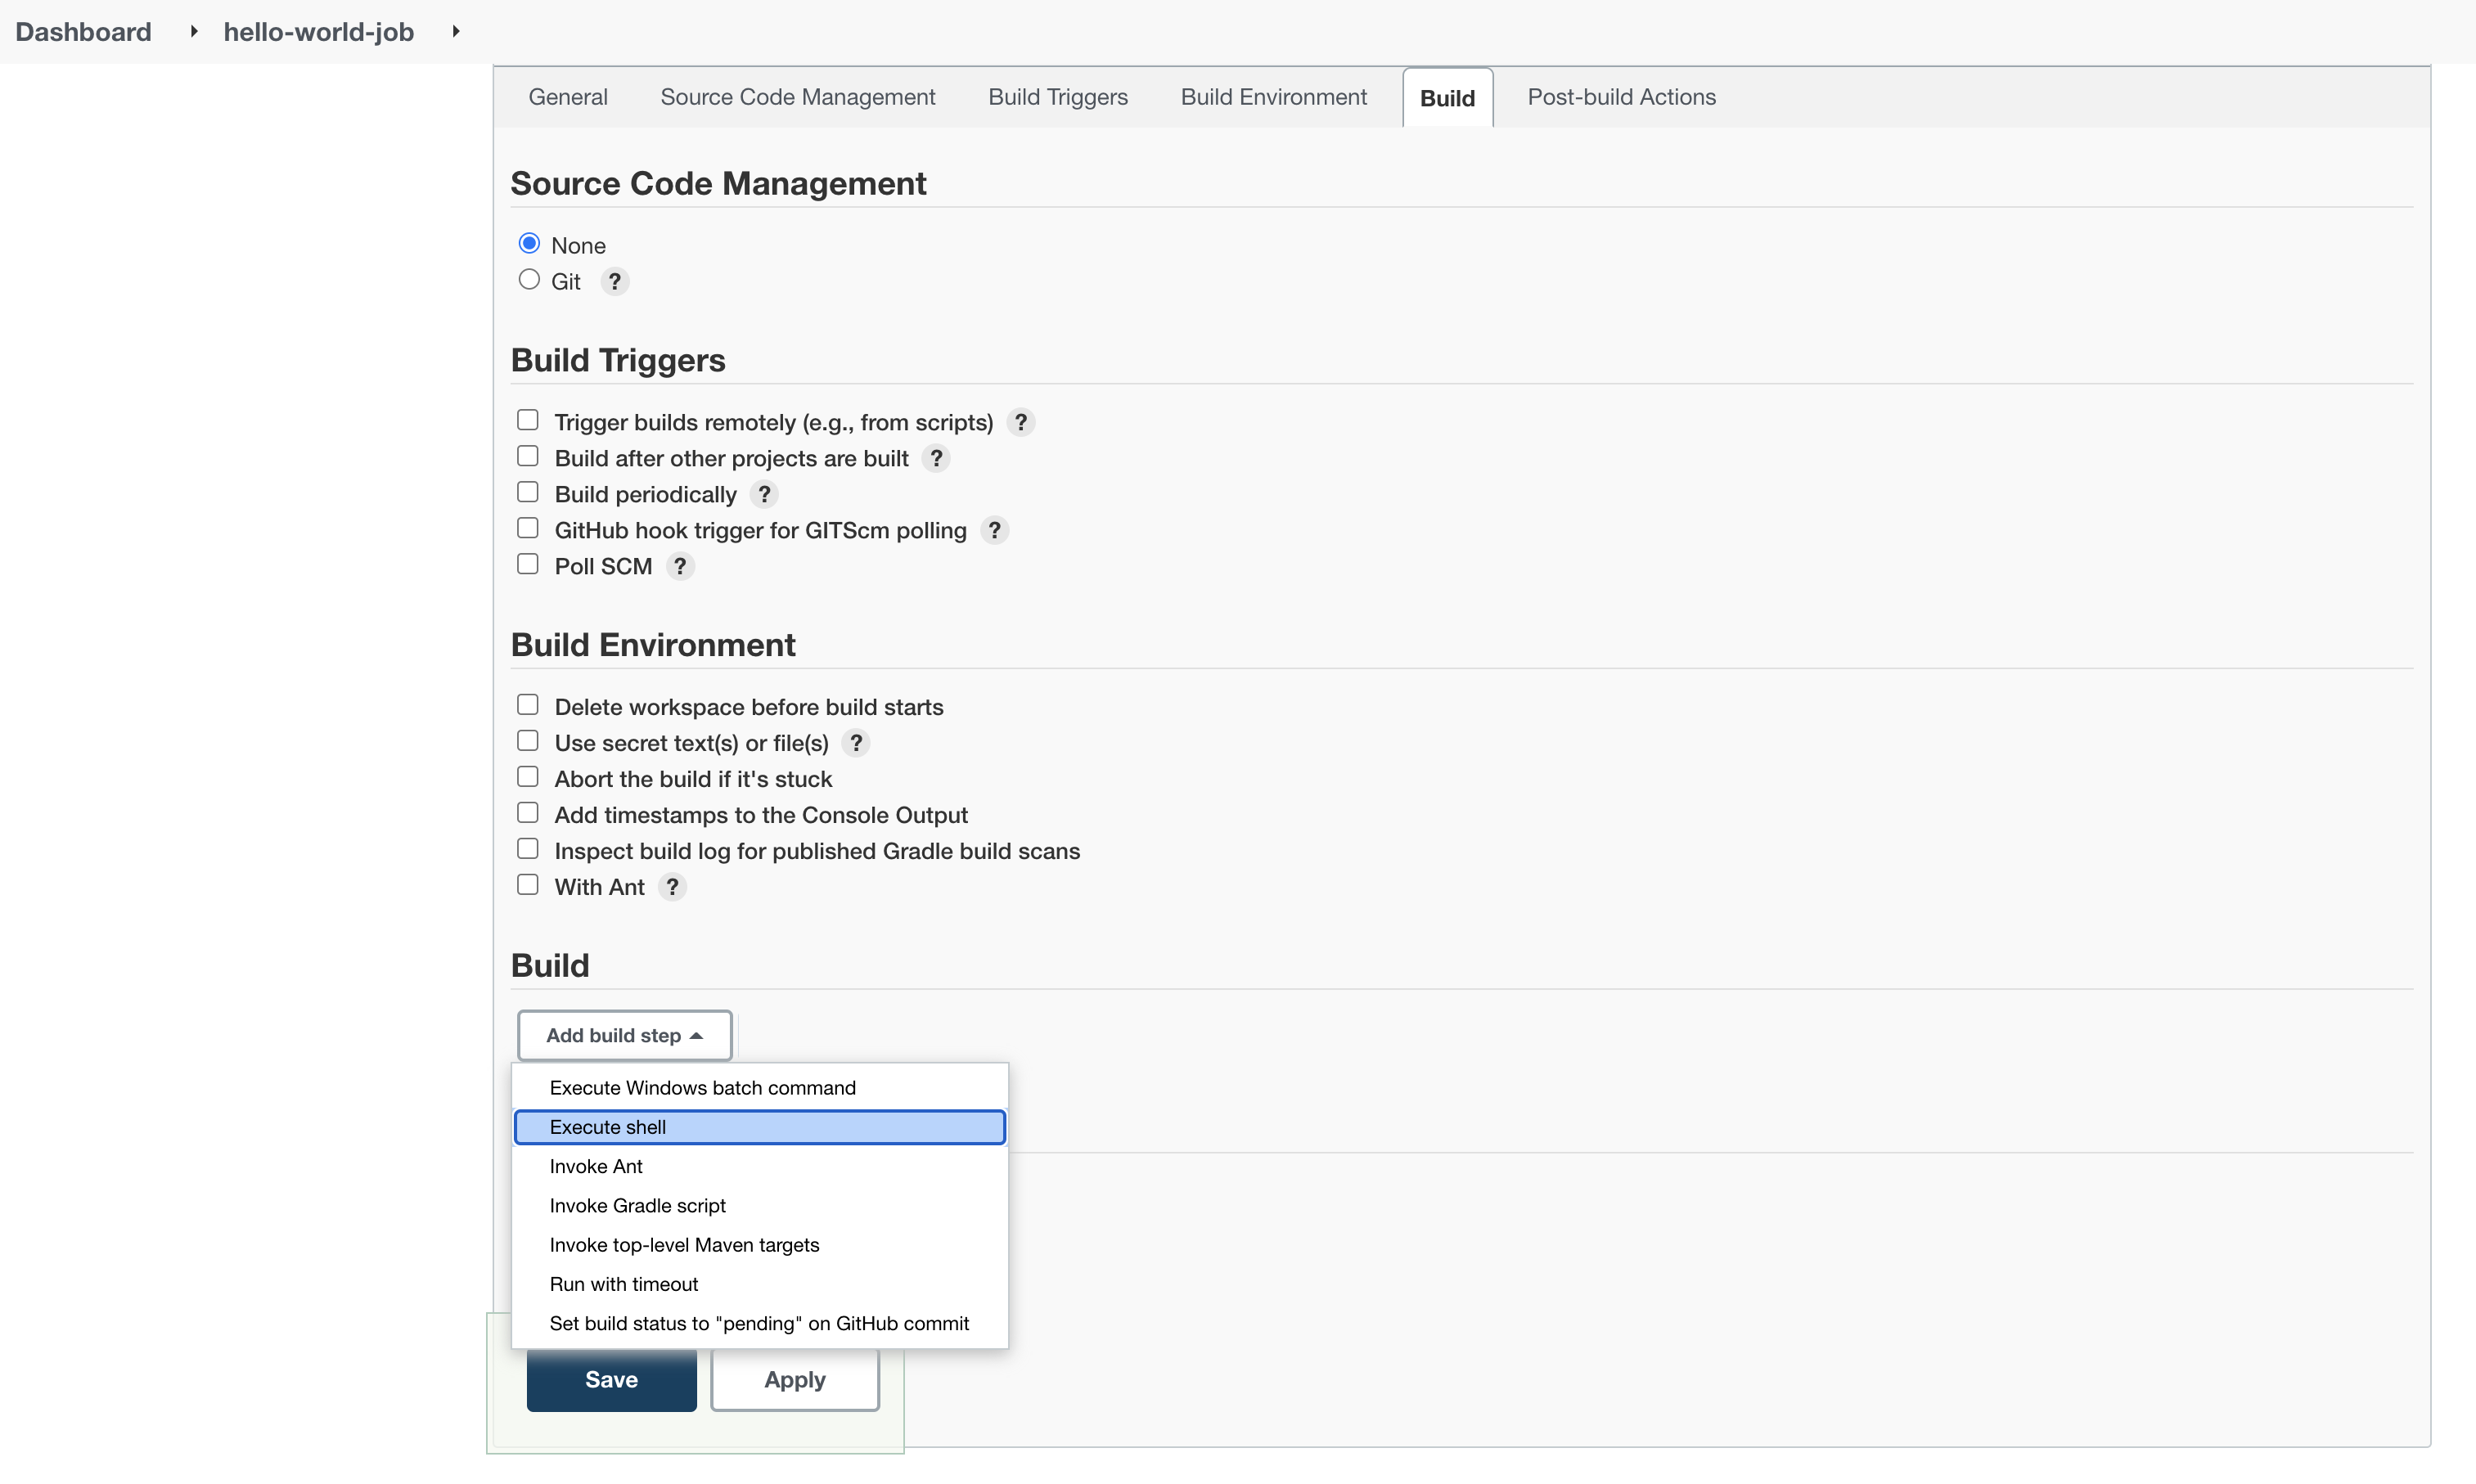
Under "Build" select "Add build step" and select "Execute shell":
You can run any shell command, as can seen below:
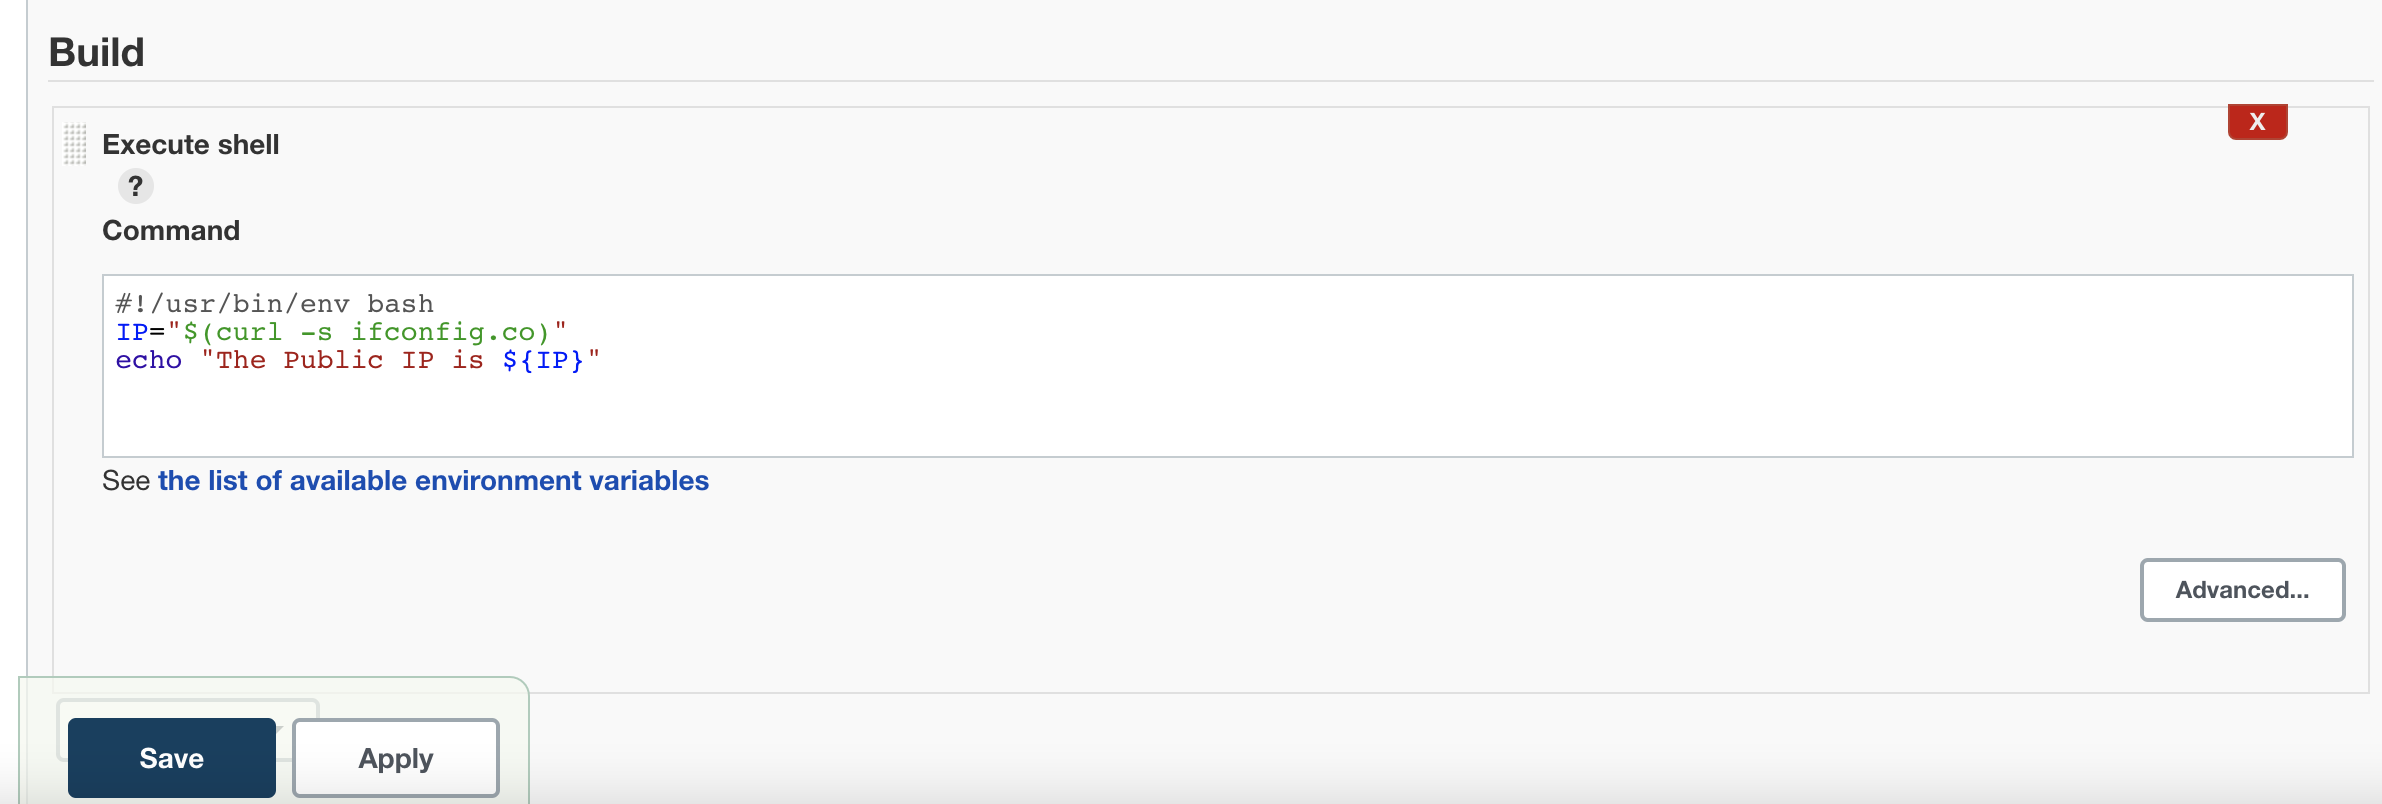
And we will execute the shell script:
IP="$(curl -s ifconfig.co)"
echo "The Public IP is ${IP}"
Select "Save" and you should see the following:
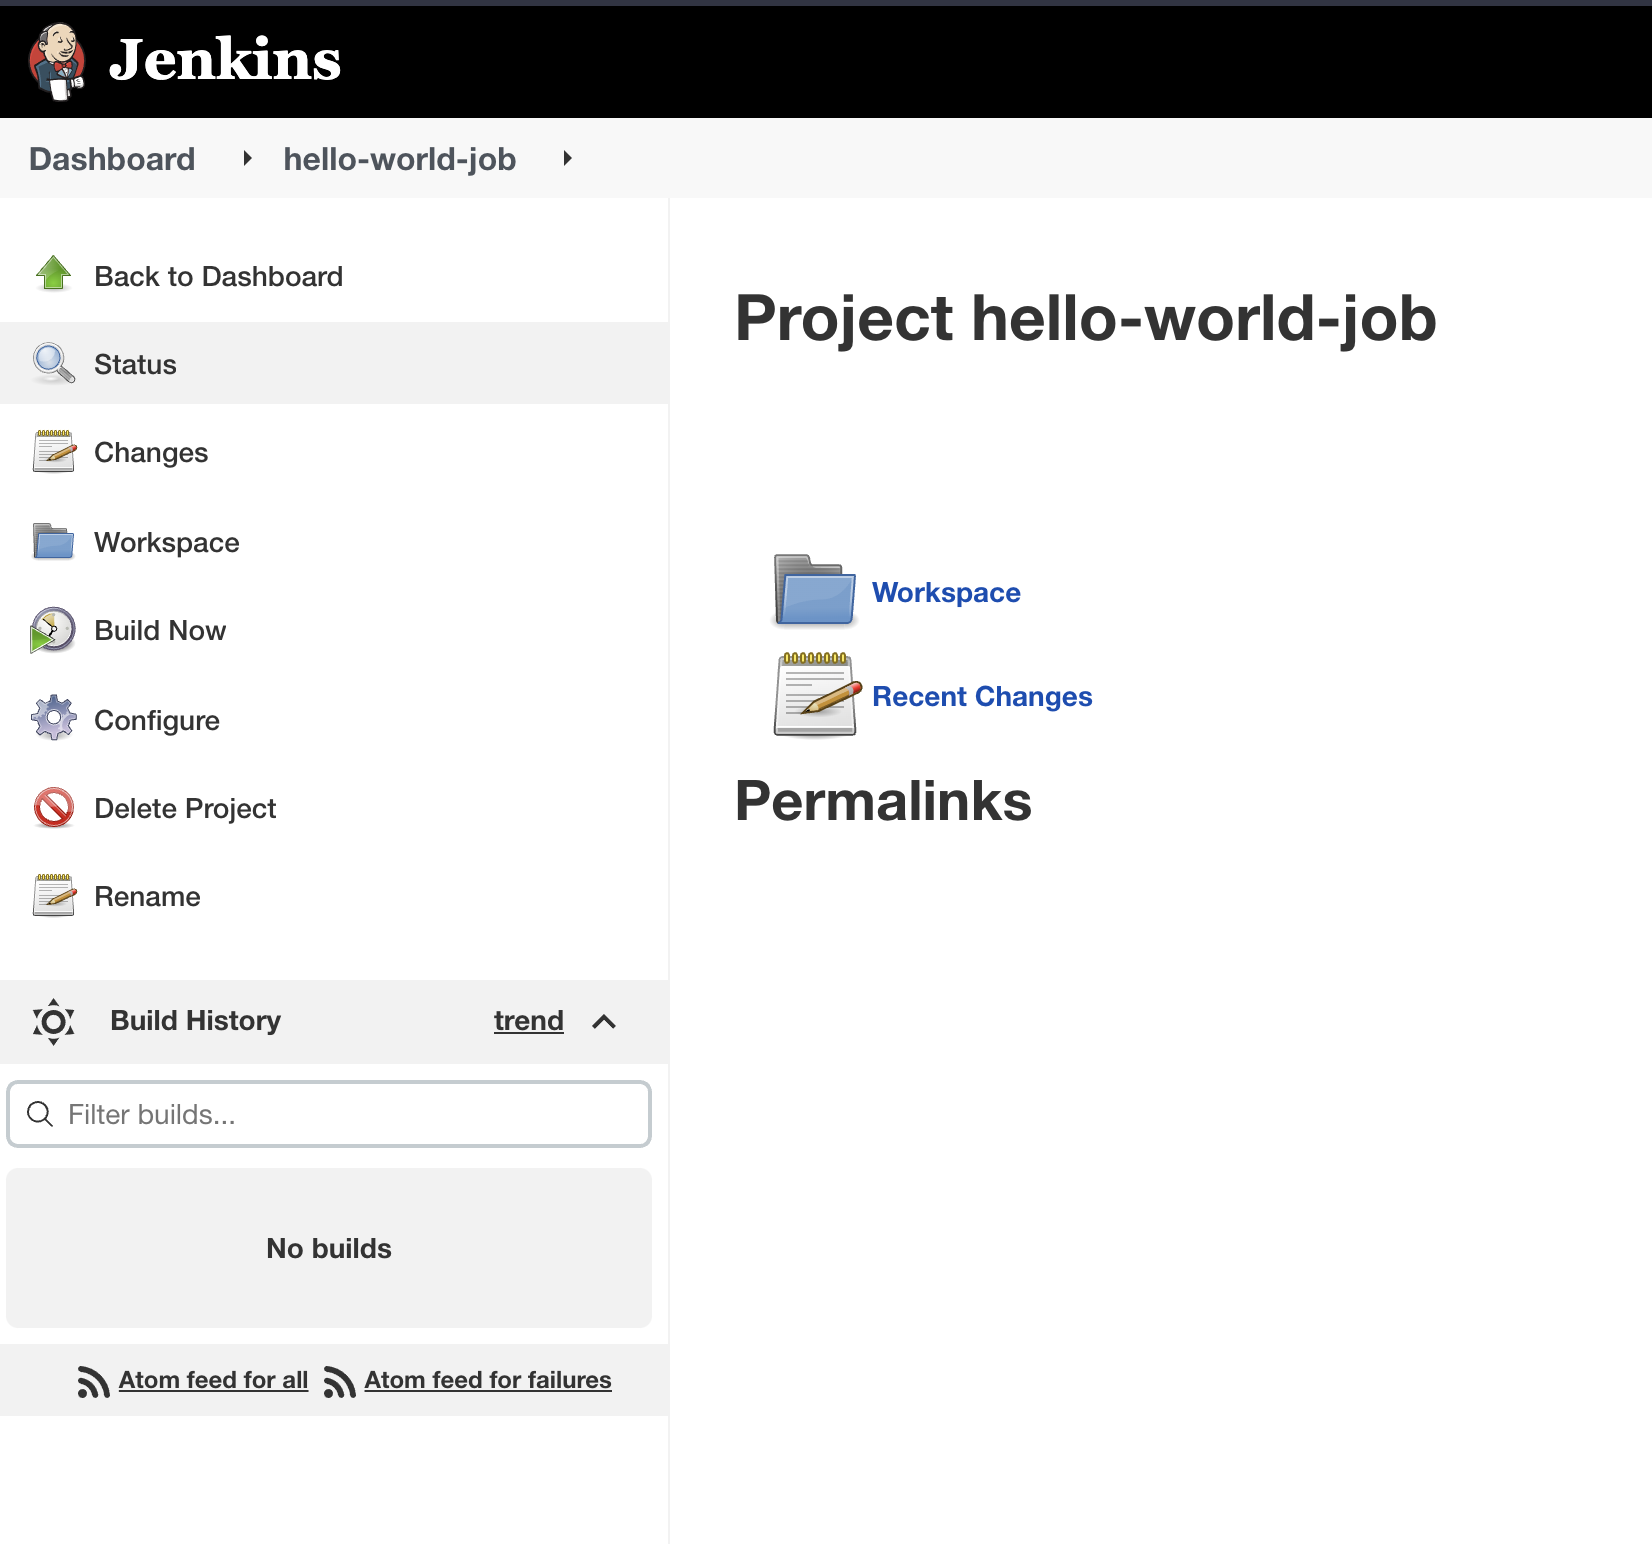
Click on "Build Now" on the left at the bottom will show your build history, and we can see one build succeeded as it's green in color:
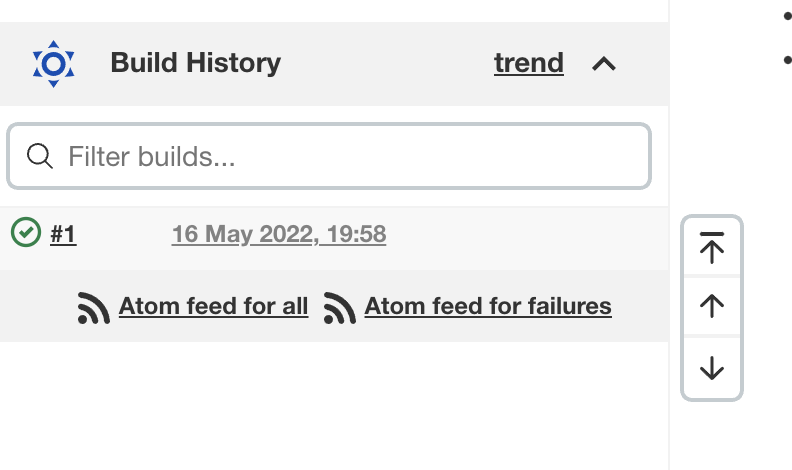
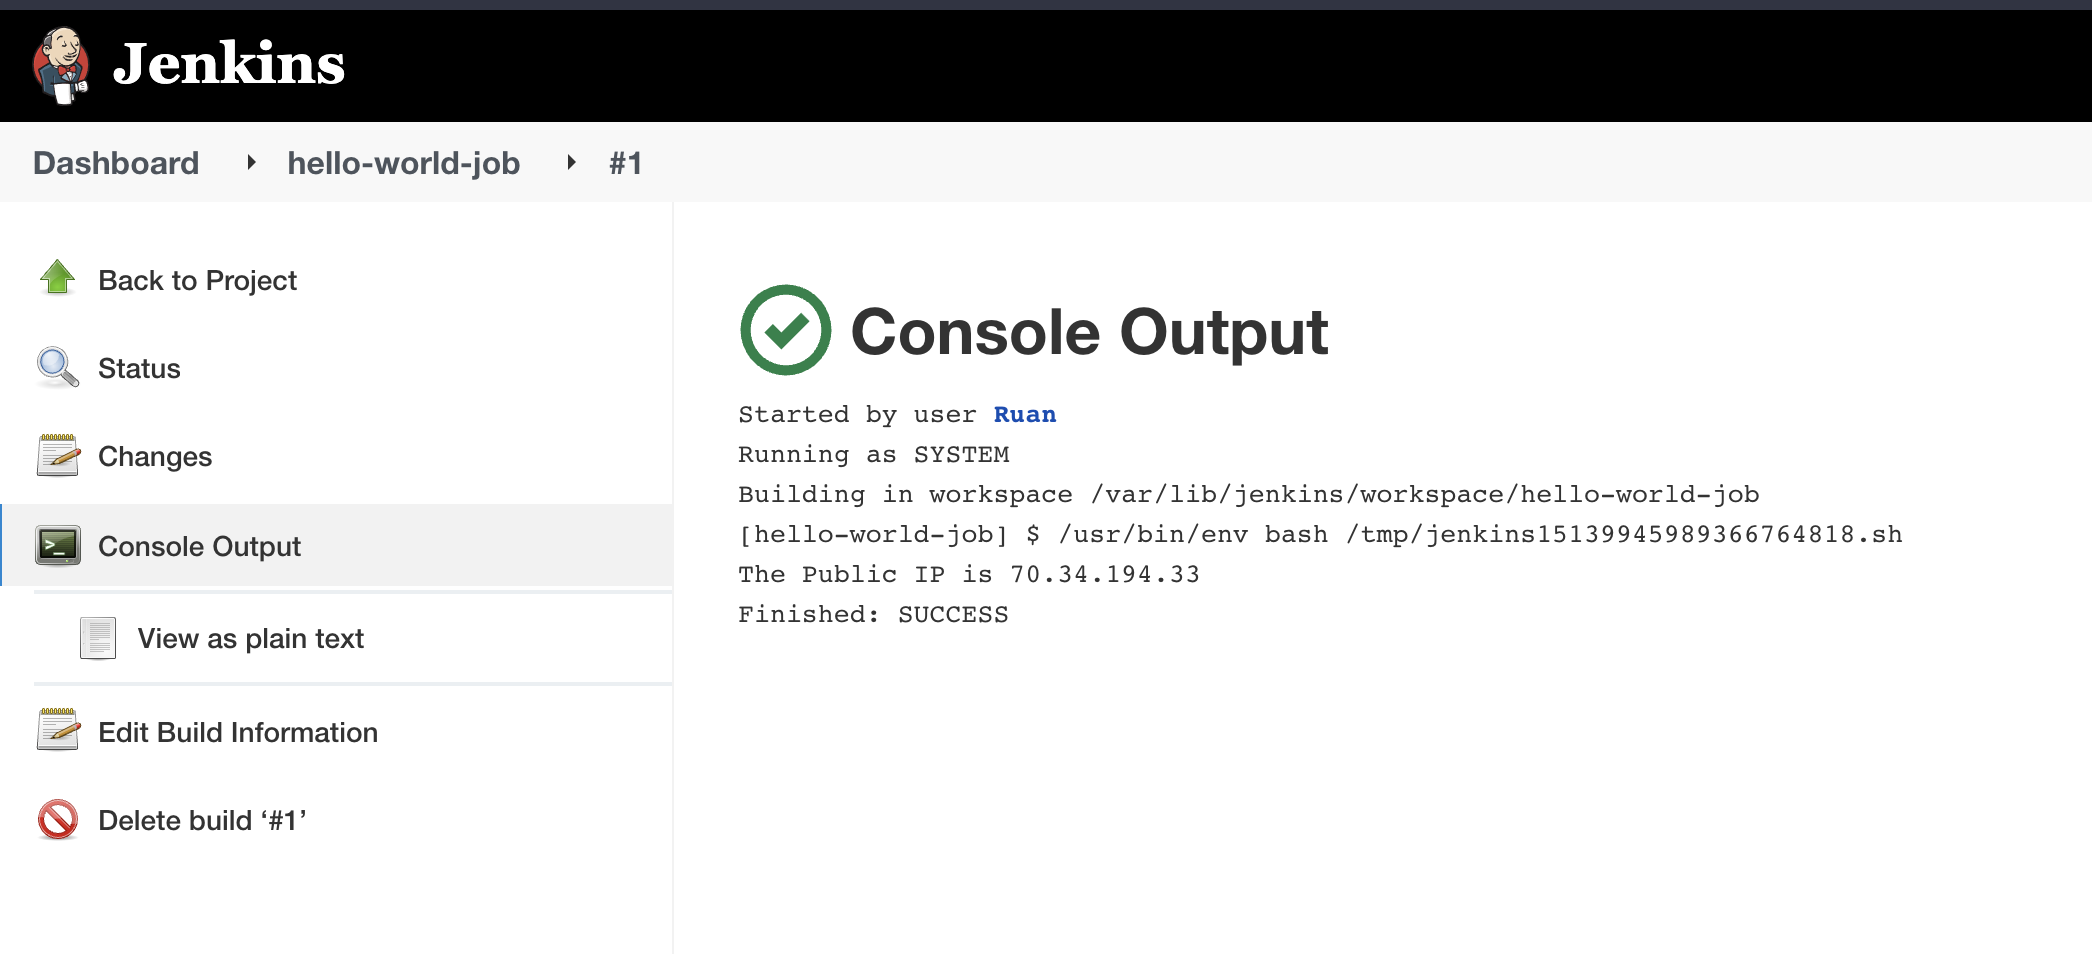
If we click on the green icon, it will take us directly to the "Console Output" where our build execution output will be shown:
Next on Jenkins
In the next post, I will change port 8080 to only listen on 127.0.0.1 and setup a caddy reverse proxy to provide SSL with LetsEncrypt.
Thank You
Thanks for reading, if you like my content, check out my website, read my newsletter or follow me at @ruanbekker on Twitter.

Comments