
In this tutorial I will show you how to deploy Jenkins on Civo's Kubernetes Marketplace, and also demonstrate persisting your Jenkins builds using Longhorn, which is a distributed block storage system for Kubernetes.
To follow along in this tutorial, you will need to have a Civo account and, for the time of writing, be part of their #KUBE100 beta program. You can apply for access to the beta here.

Pretty Amped :)
Pretty amped when my PR got merged to Civo's Kubernetes Marketplace:
Thanks to @ruanbekker for submitting @jenkinsci to our open Kubernetes Marketplace running on the world's first managed k3s service! #jenkins #k3s #opensource #kubernetes pic.twitter.com/aW1FVKOqfY
— Civo Cloud (@CivoCloud) October 23, 2019
Deploy a Kubernetes Cluster
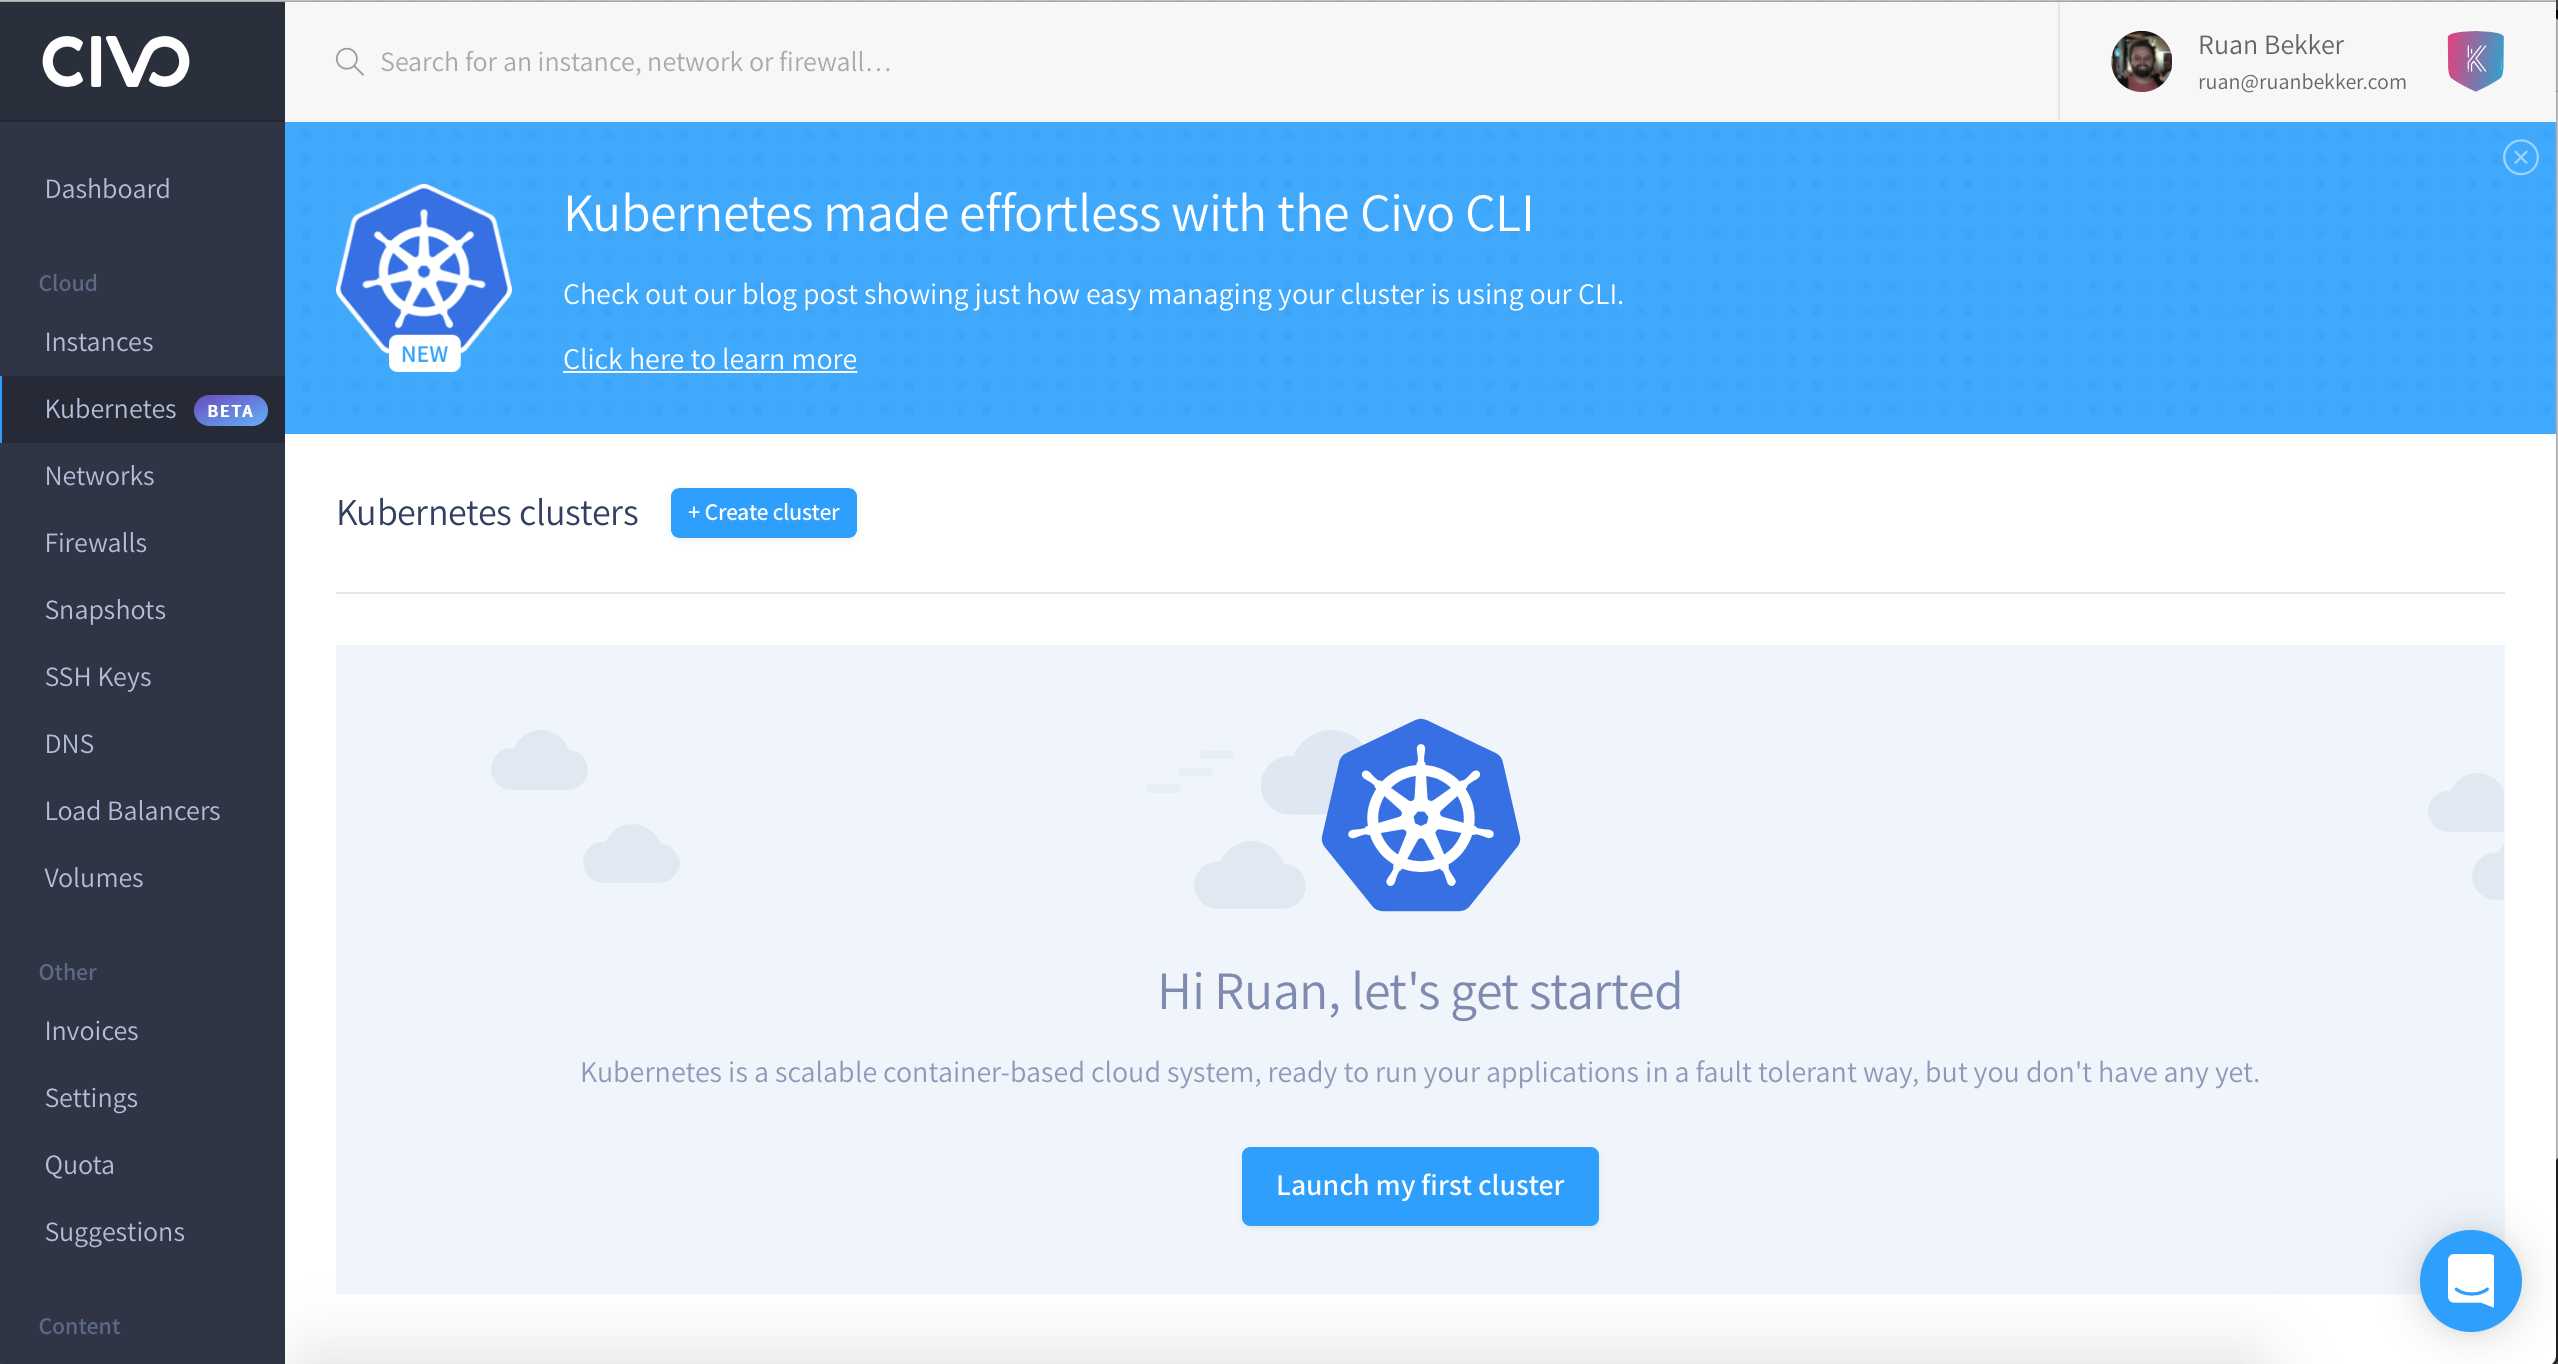
From the dashboard, go ahead and create a new cluster:
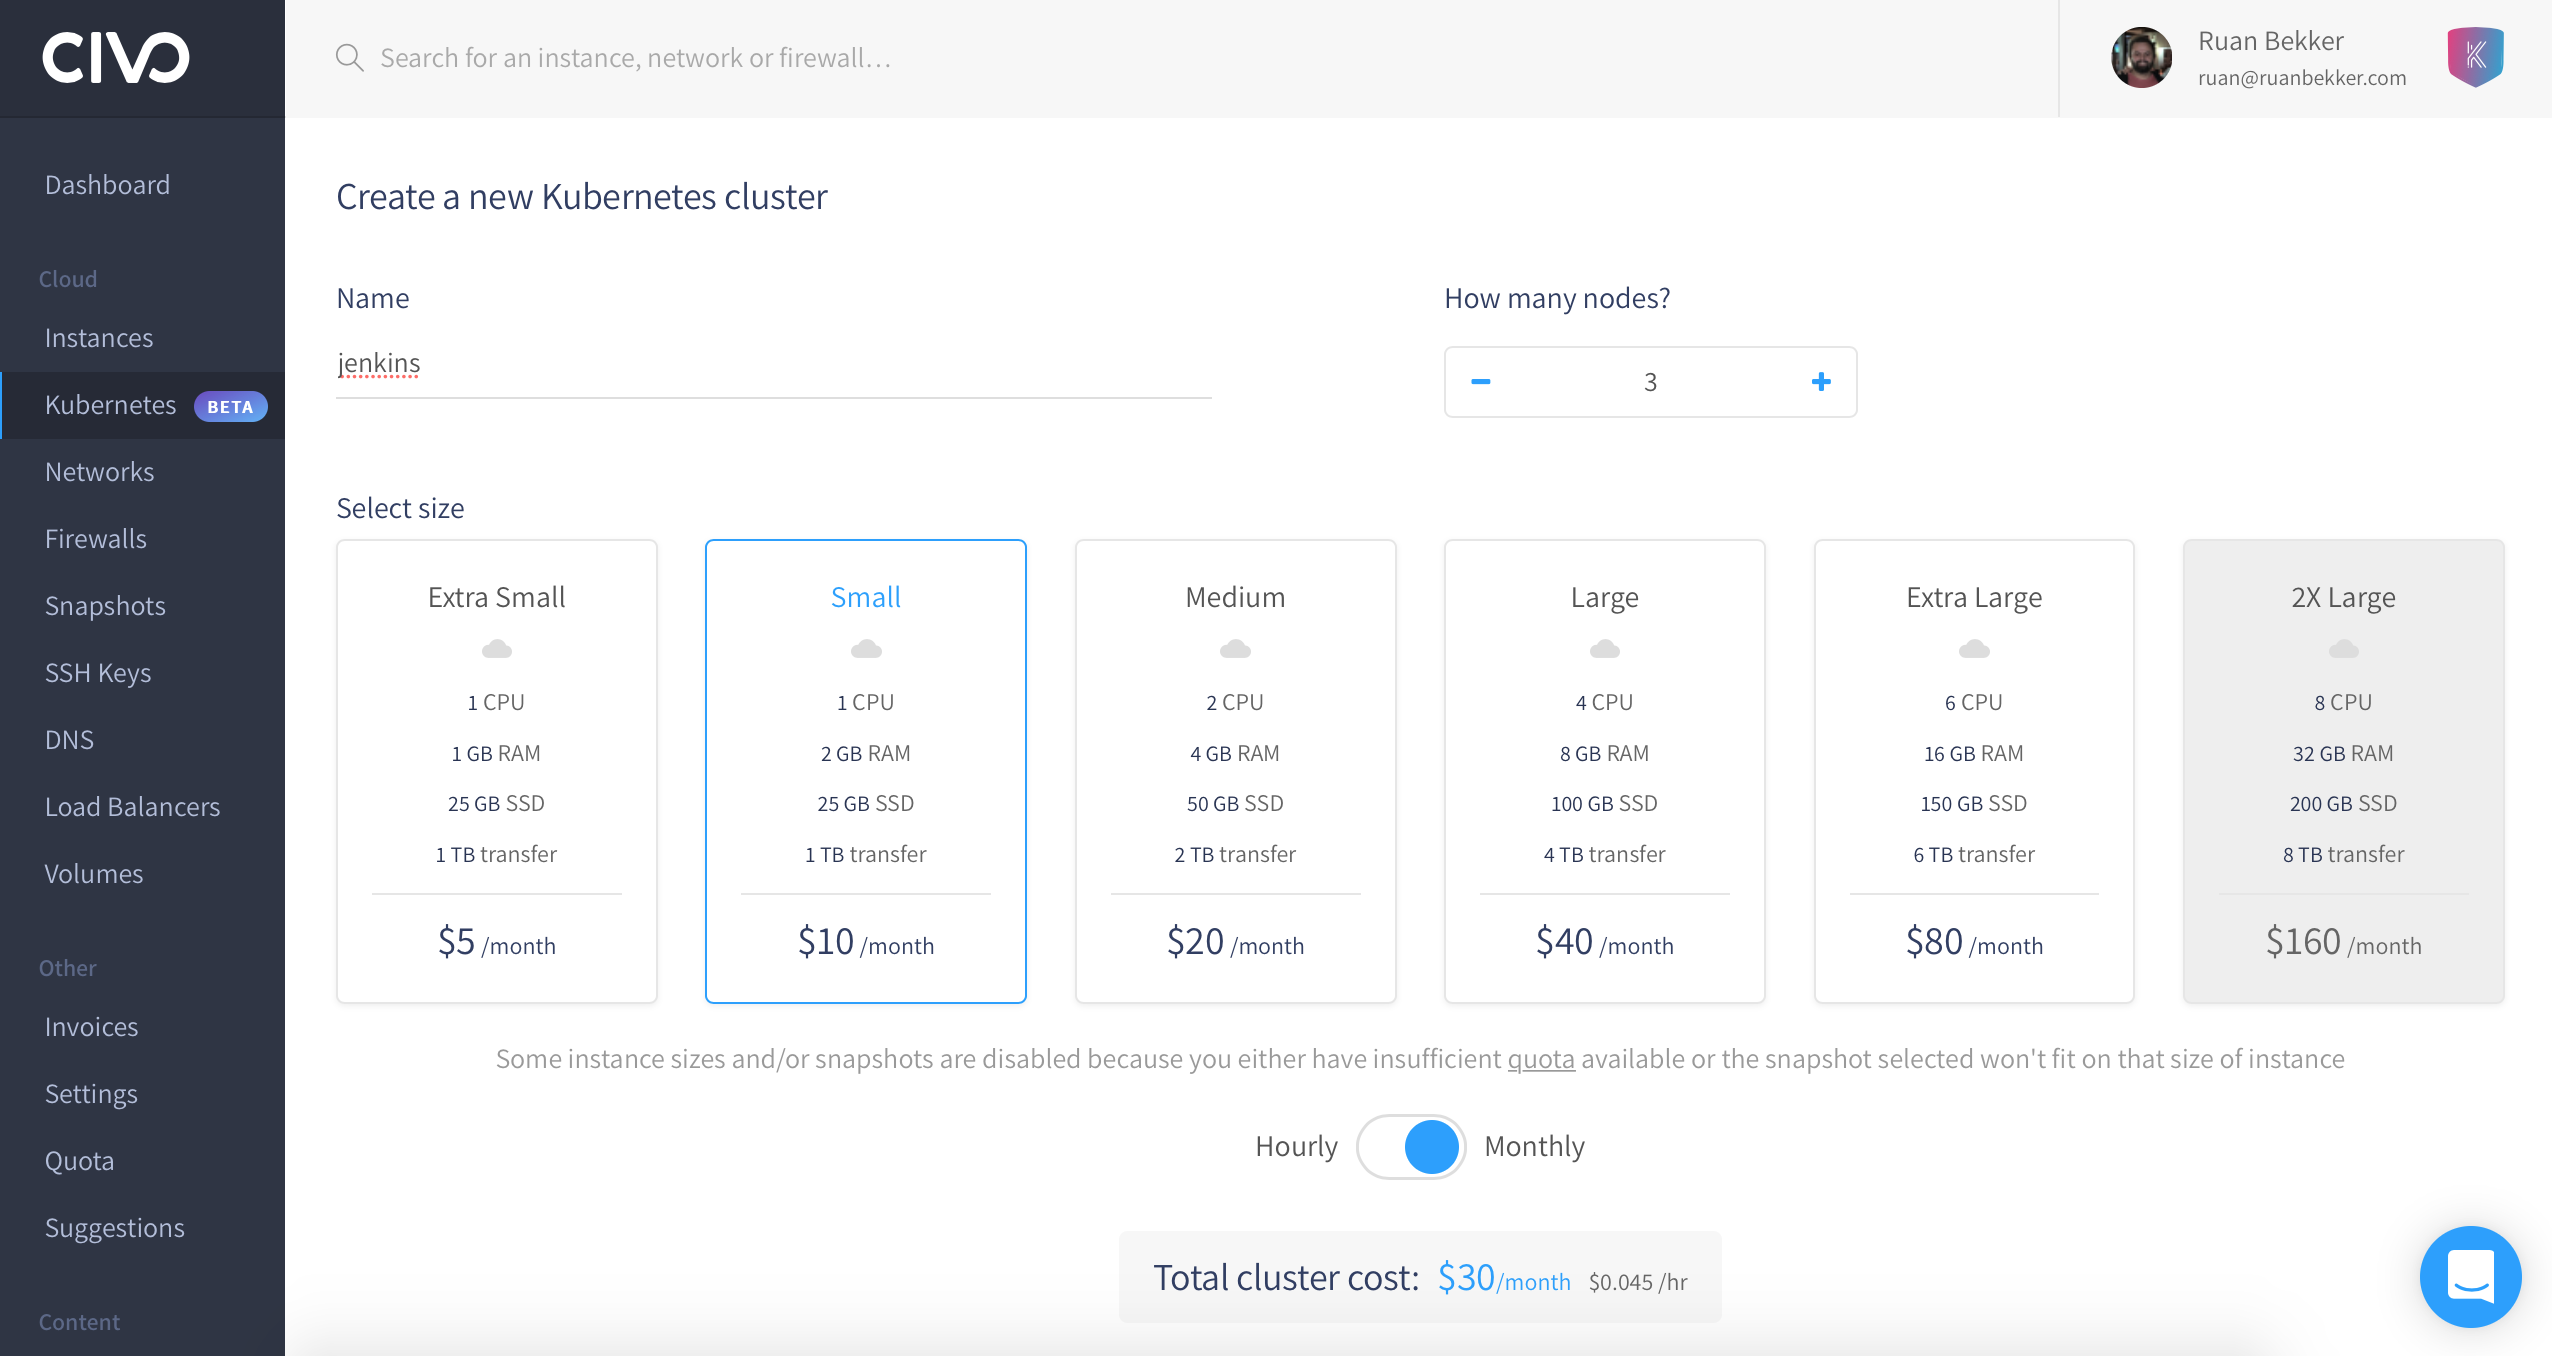
I will name my cluster "jenkins", with 3 nodes of "Small" instance type:
Because Jenkins requires persistent volumes, we require Longhorn. Select Longhorn from the "Storage" section:
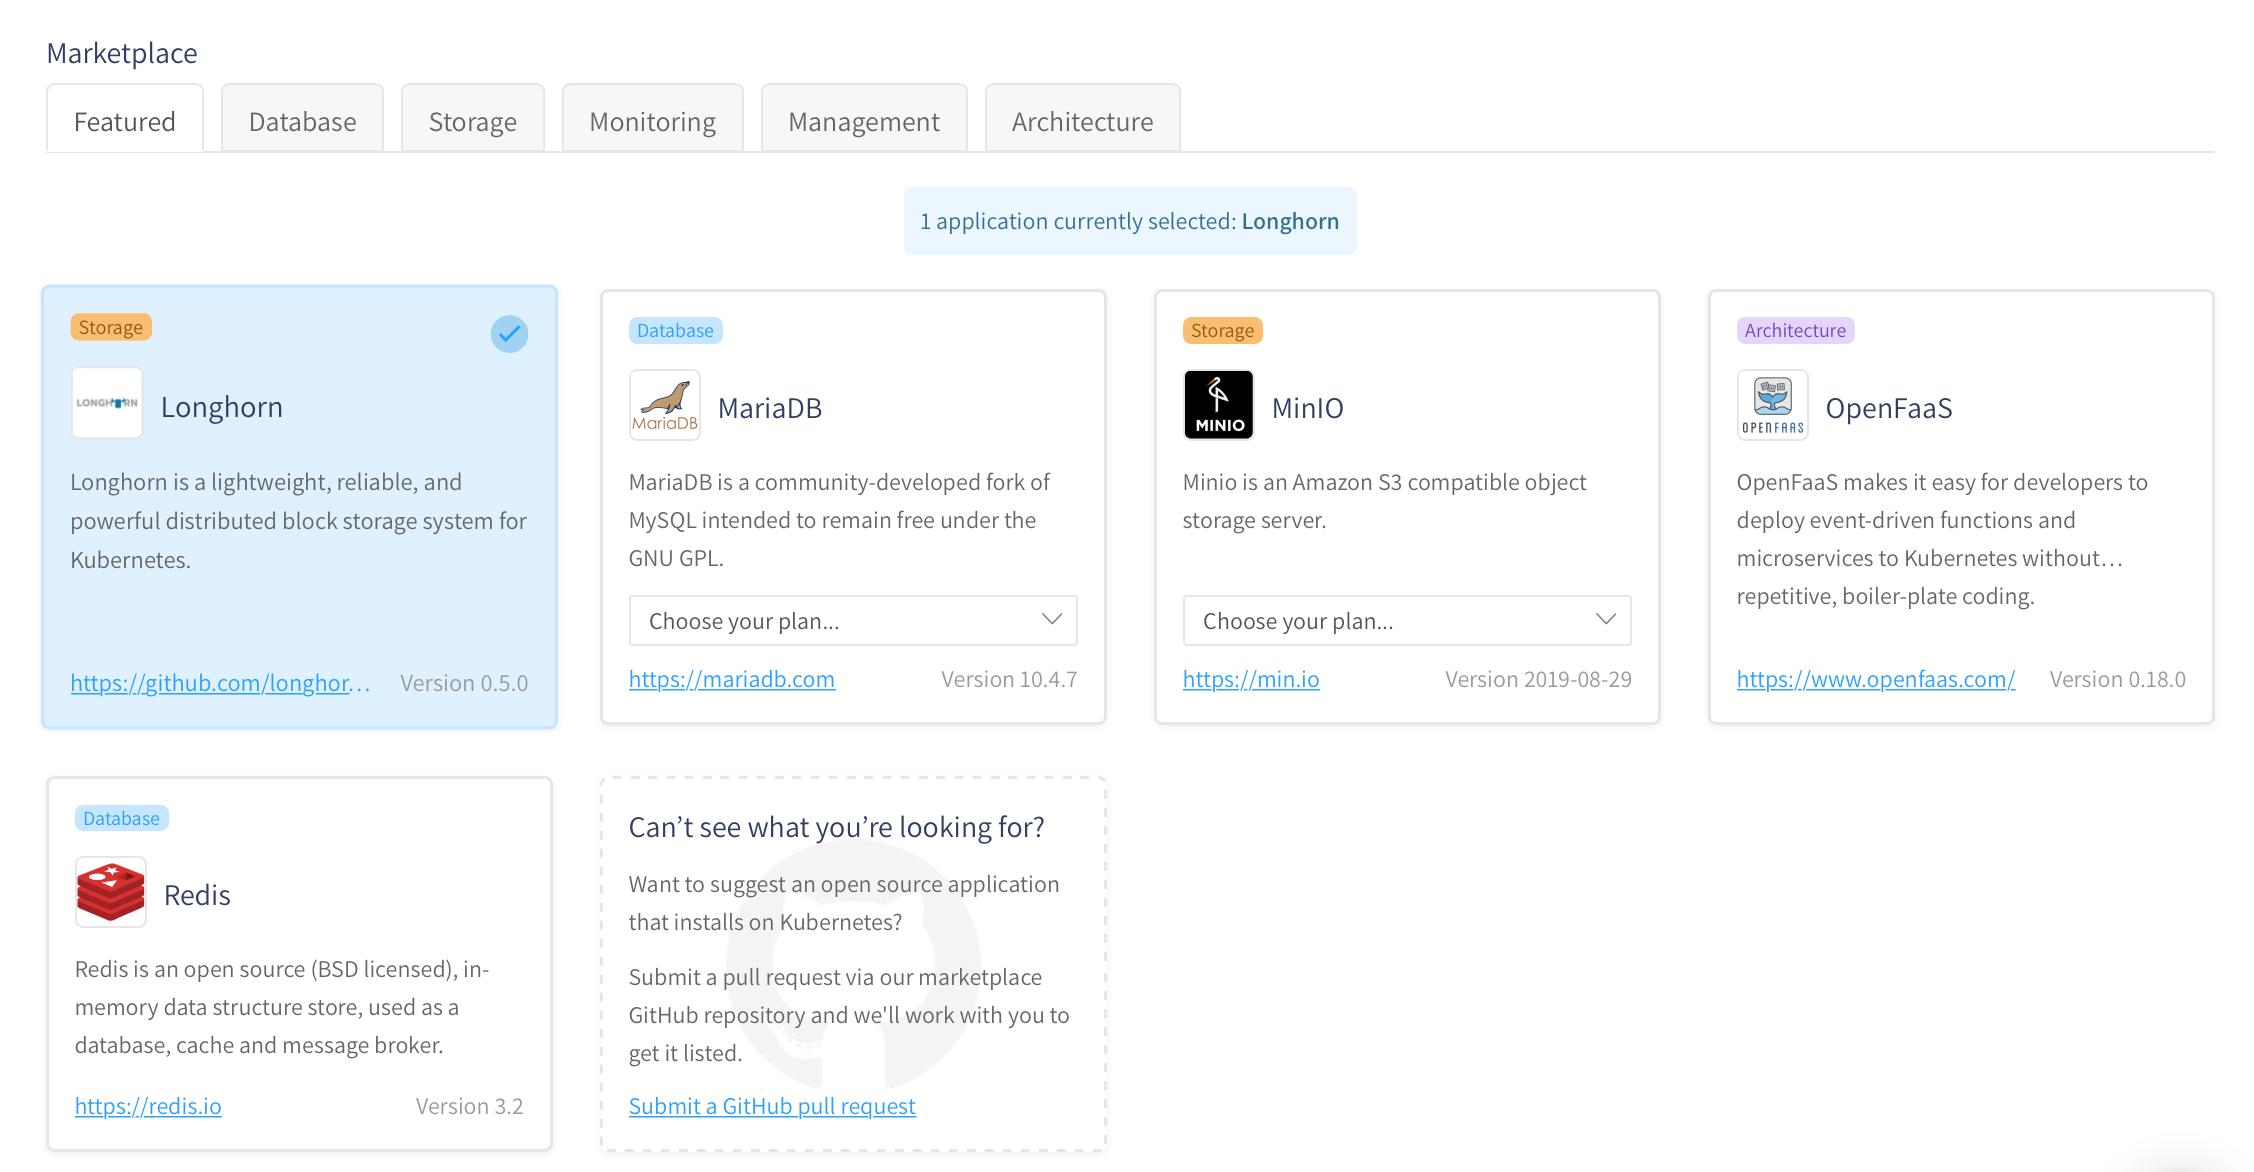
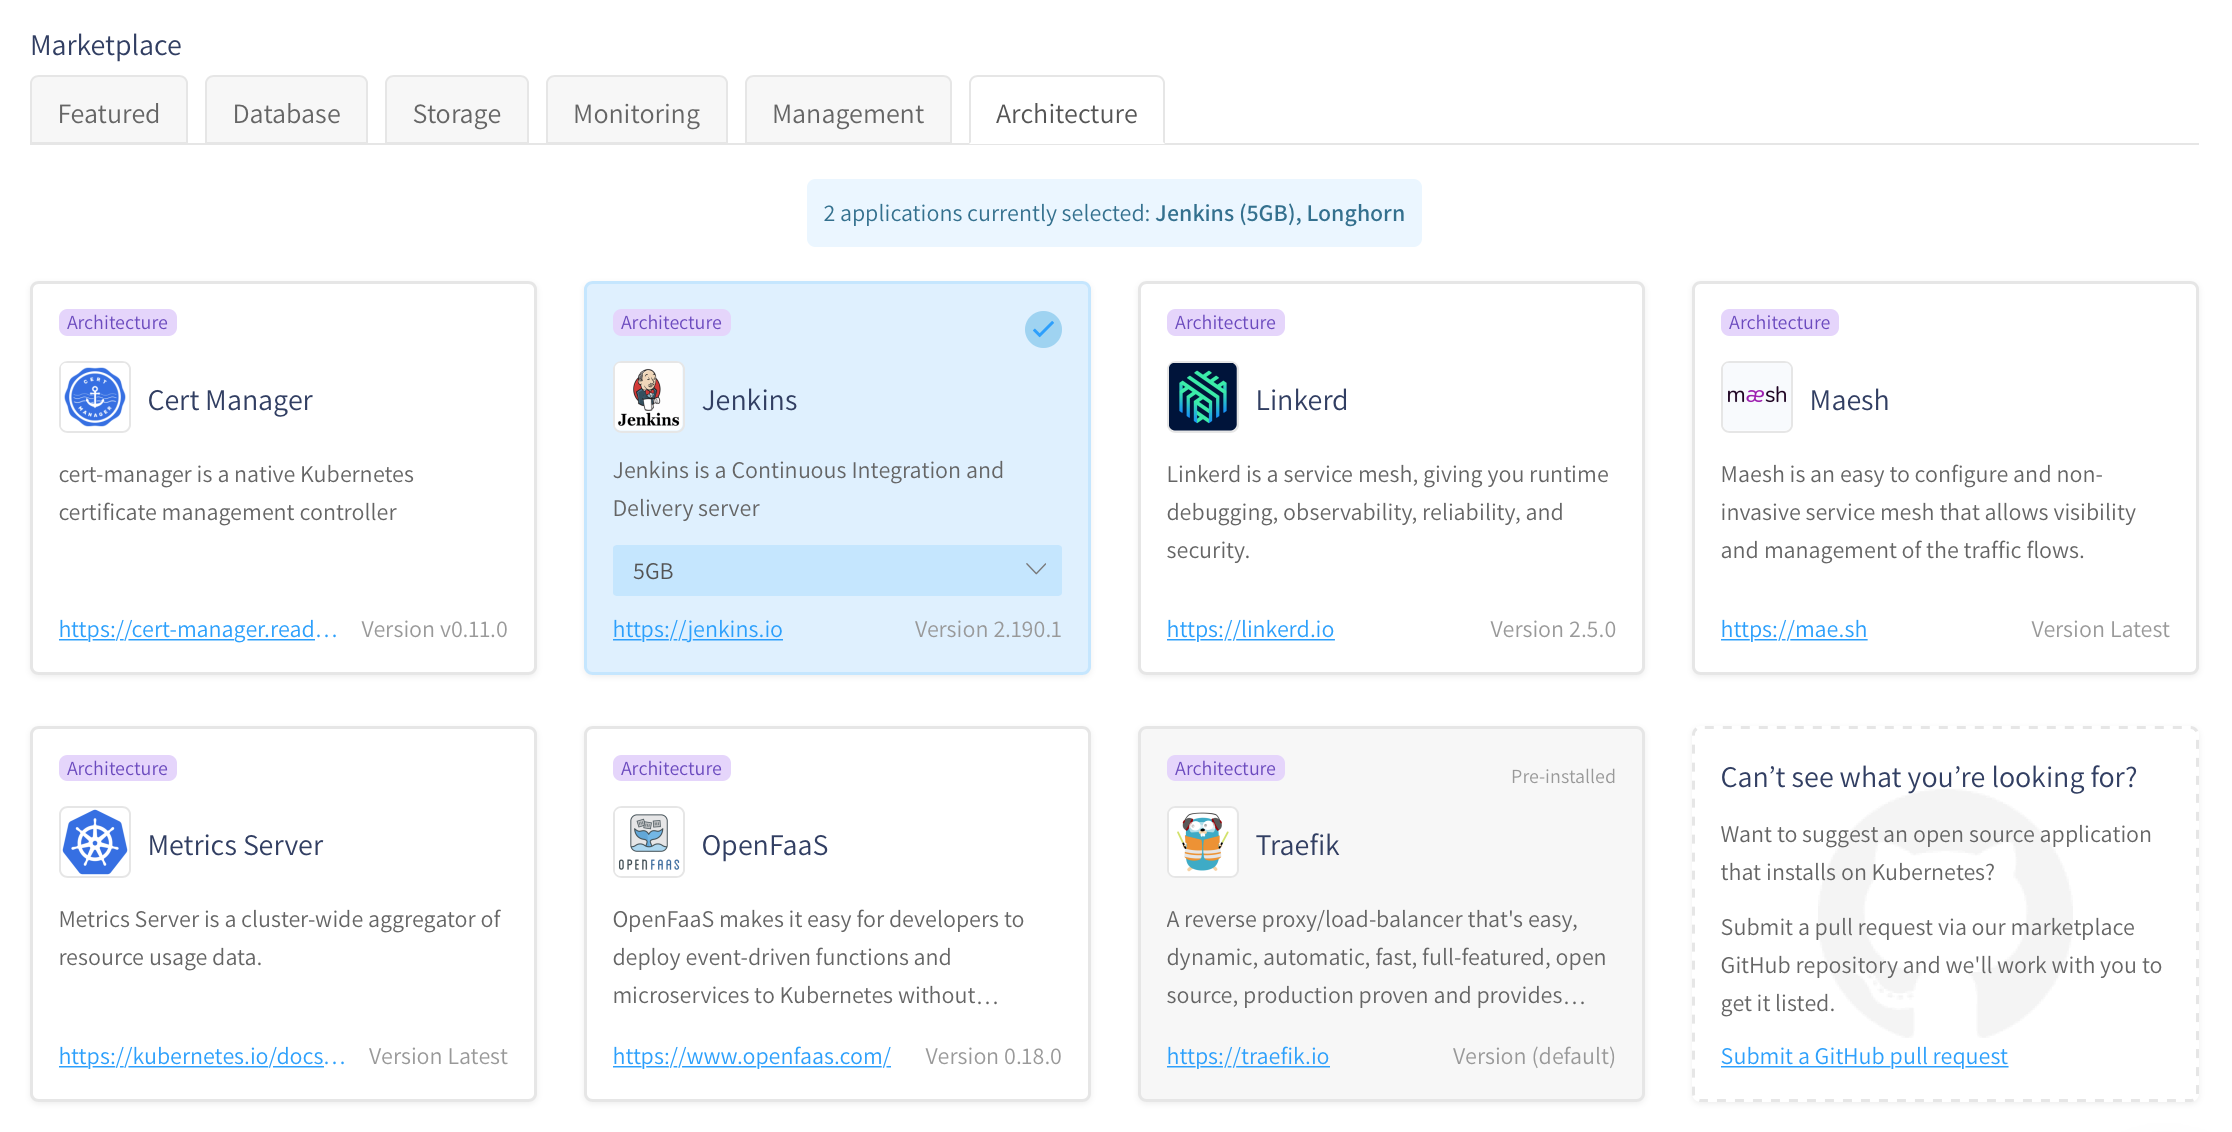
Then head over to the "Architecture" section (this will be moved in the near future to CI/CD), then select Jenkins, and select the volume size, then select create cluster:
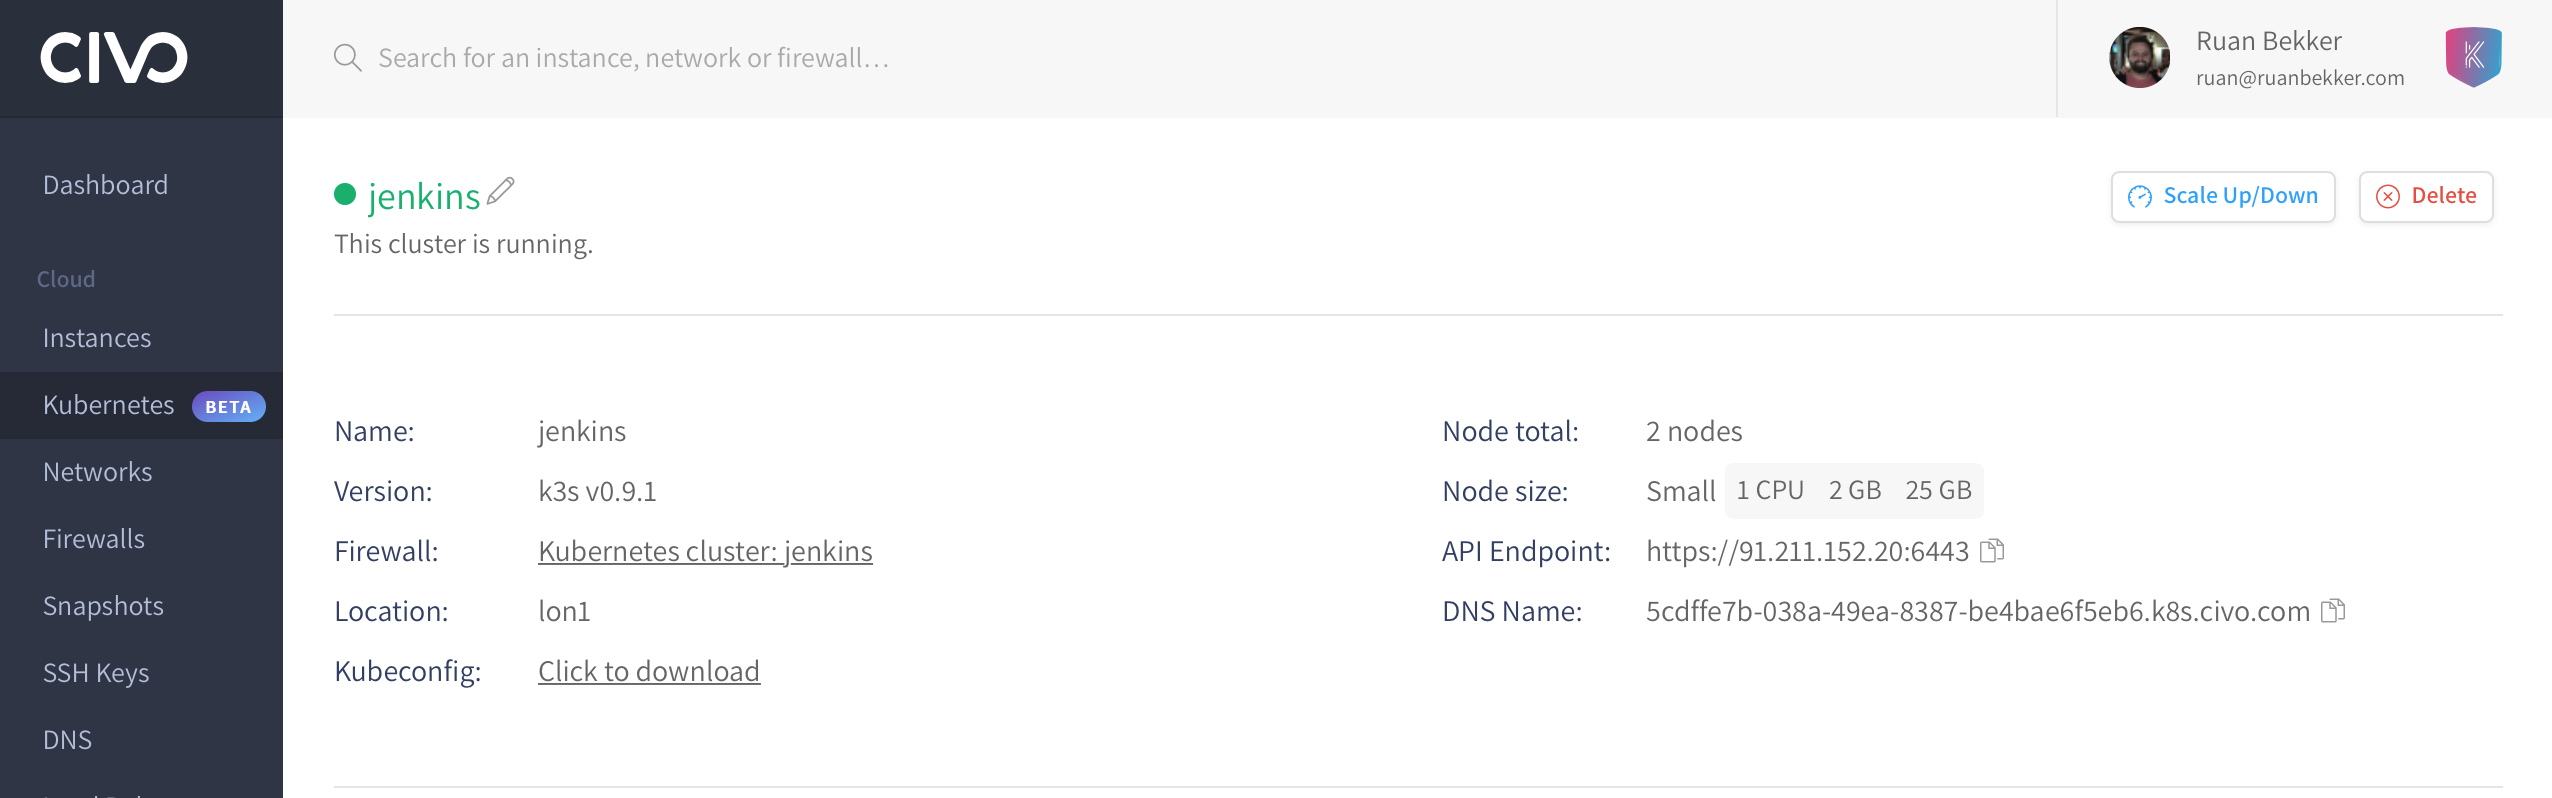
Once your cluster is deployed, you should see the following information that also includes your DNS name that we will require later for our Traefik Ingress:
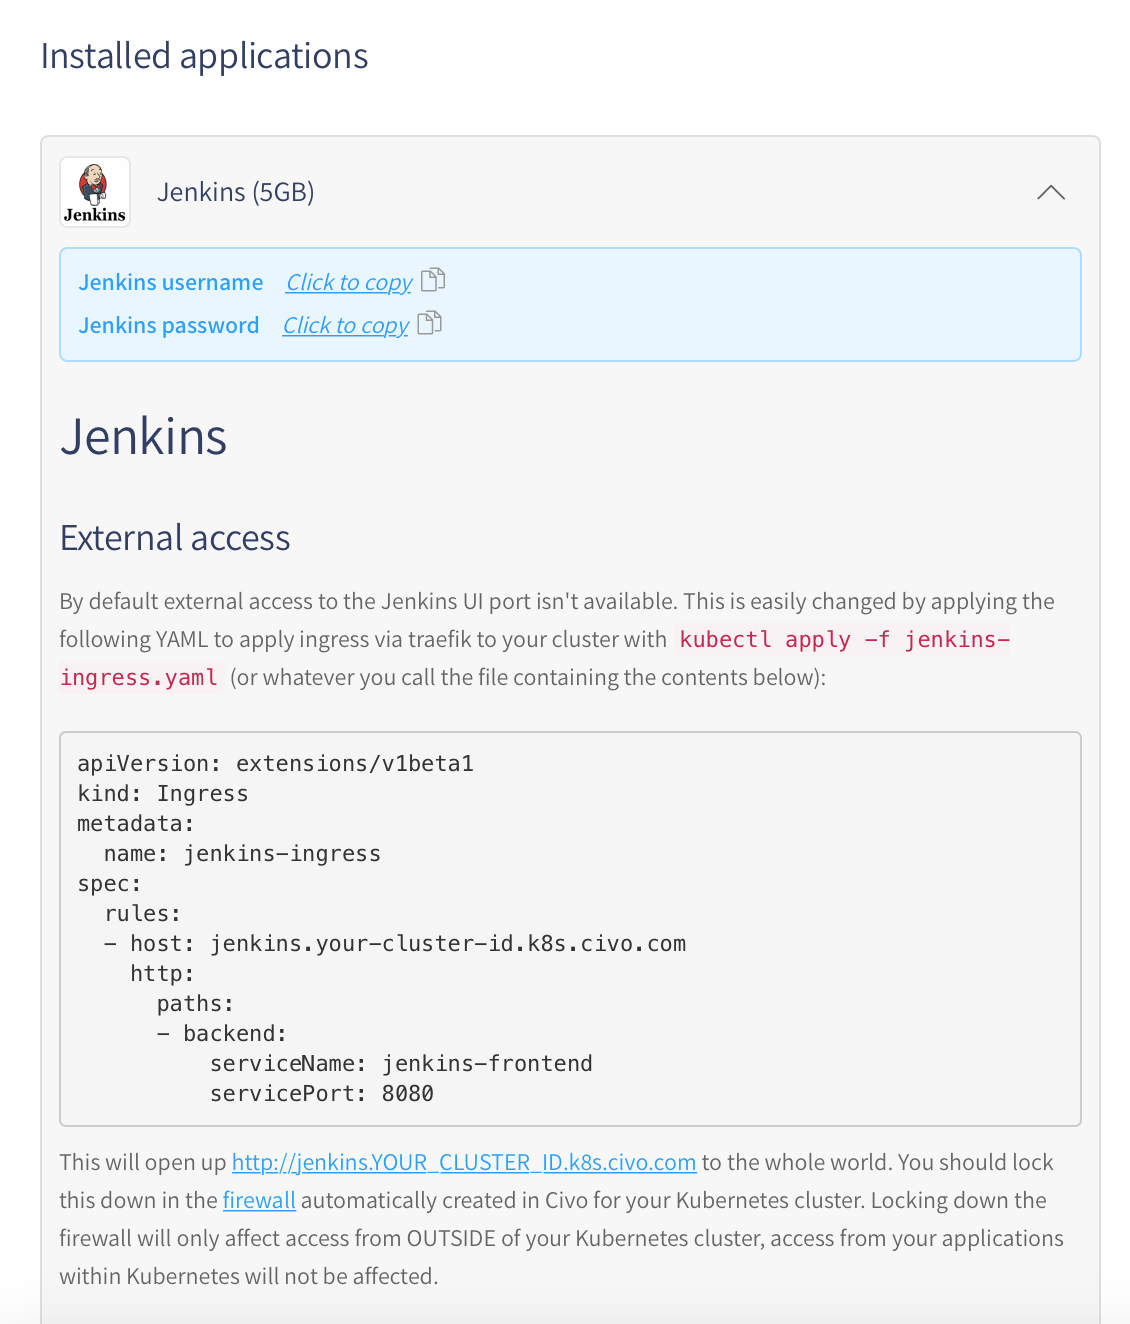
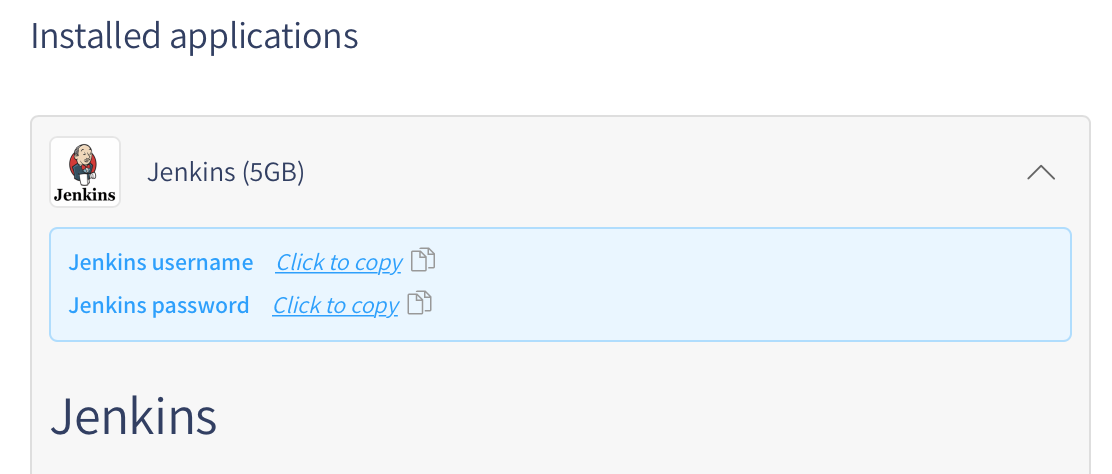
From the "Installed applications" section, you will find more information about Jenkins, such as your username and password to access Jenkins, as well as allowing external access via Traefik:
Set your DNS name and application name if you would like to access jenkins as jenkins.your-id.k8s.civo.com:
$ export CIVO_DNS=5cdffe7b-038a-49ea-8387-be4bae6f5eb6.k8s.civo.com
$ export CIVO_APP=jenkins

$ cat > jenkins-ingress.yaml << EOF
apiVersion: extensions/v1beta1
kind: Ingress
metadata:
  name: jenkins-ingress
spec:
  rules:
  - host: ${CIVO_APP}.${CIVO_DNS}
    http:
      paths:
      - backend:
          serviceName: jenkins-frontend
          servicePort: 8080
EOF
Then create the ingress:
$ kubectl apply -f jenkins-ingress.yaml
ingress.extensions/jenkins-ingress created
View the ingress:
$ kubectl get ingress
NAME              HOSTS                                                       ADDRESS        PORTS   AGE
jenkins-ingress   jenkins.5cdffe7b-038a-49ea-8387-be4bae6f5eb6.k8s.civo.com   172.31.2.107   80      22s
Access Jenkins
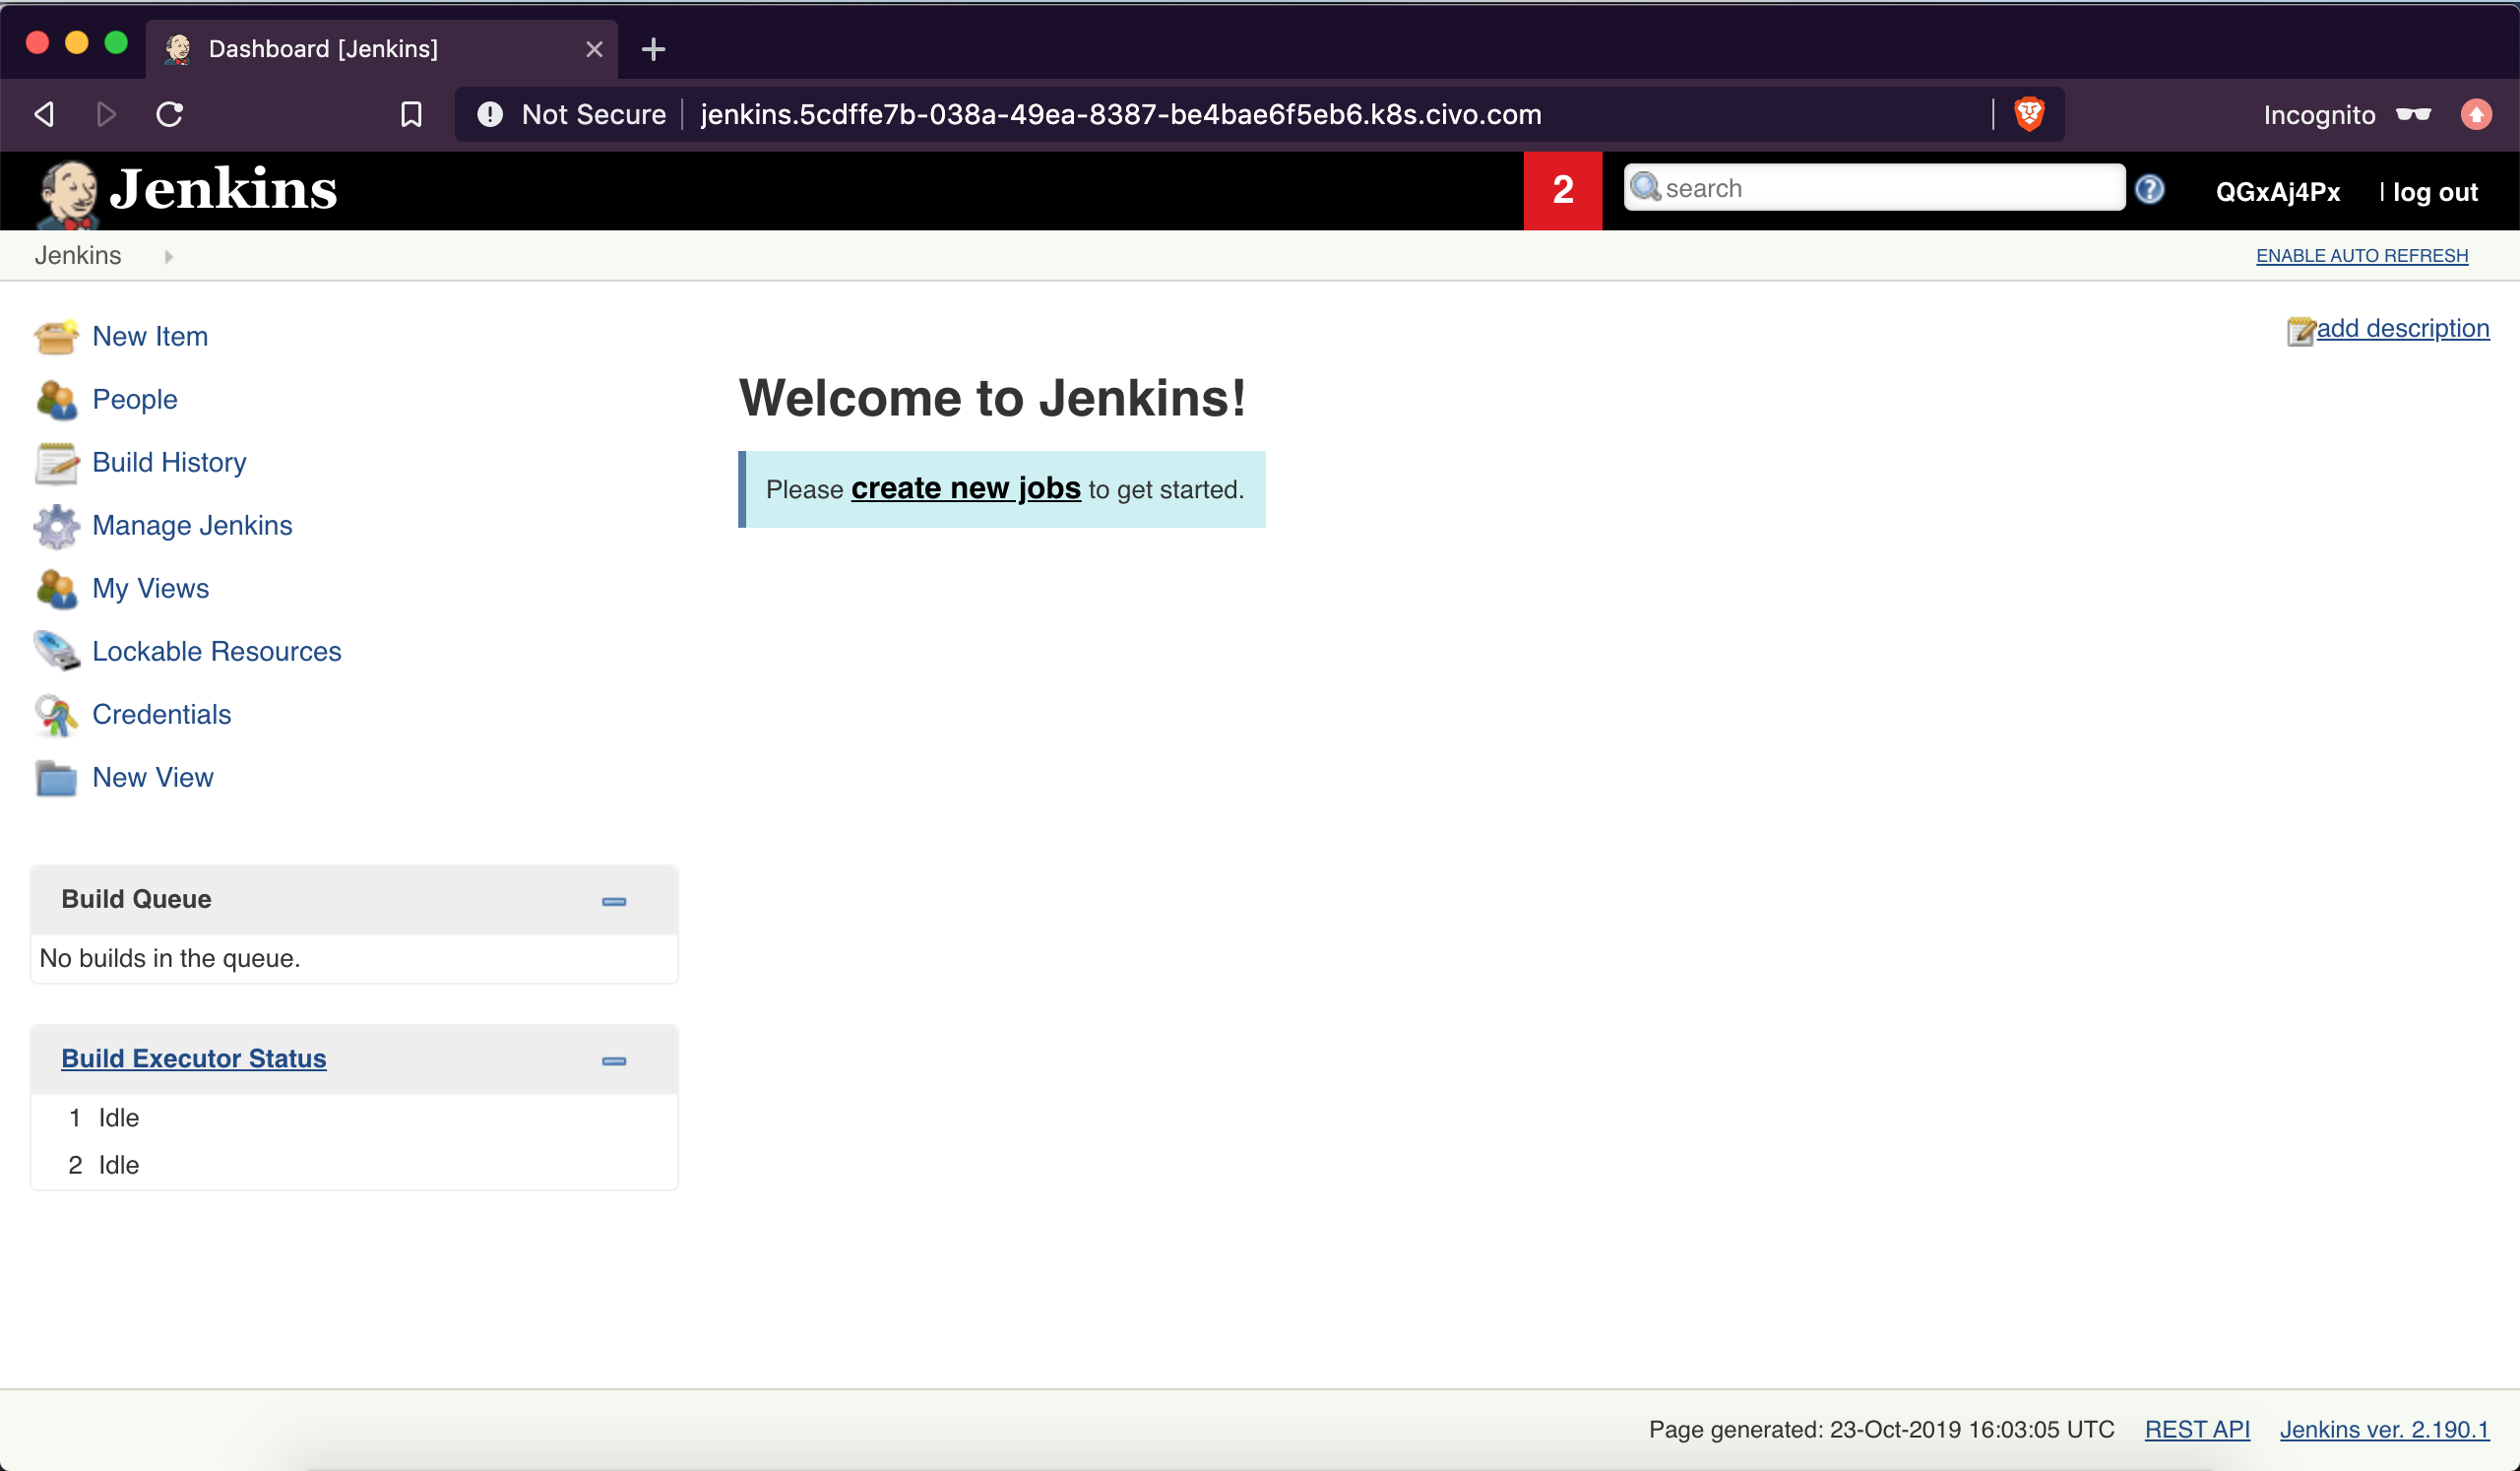
Then access Jenkins on the address that you see from the output above:
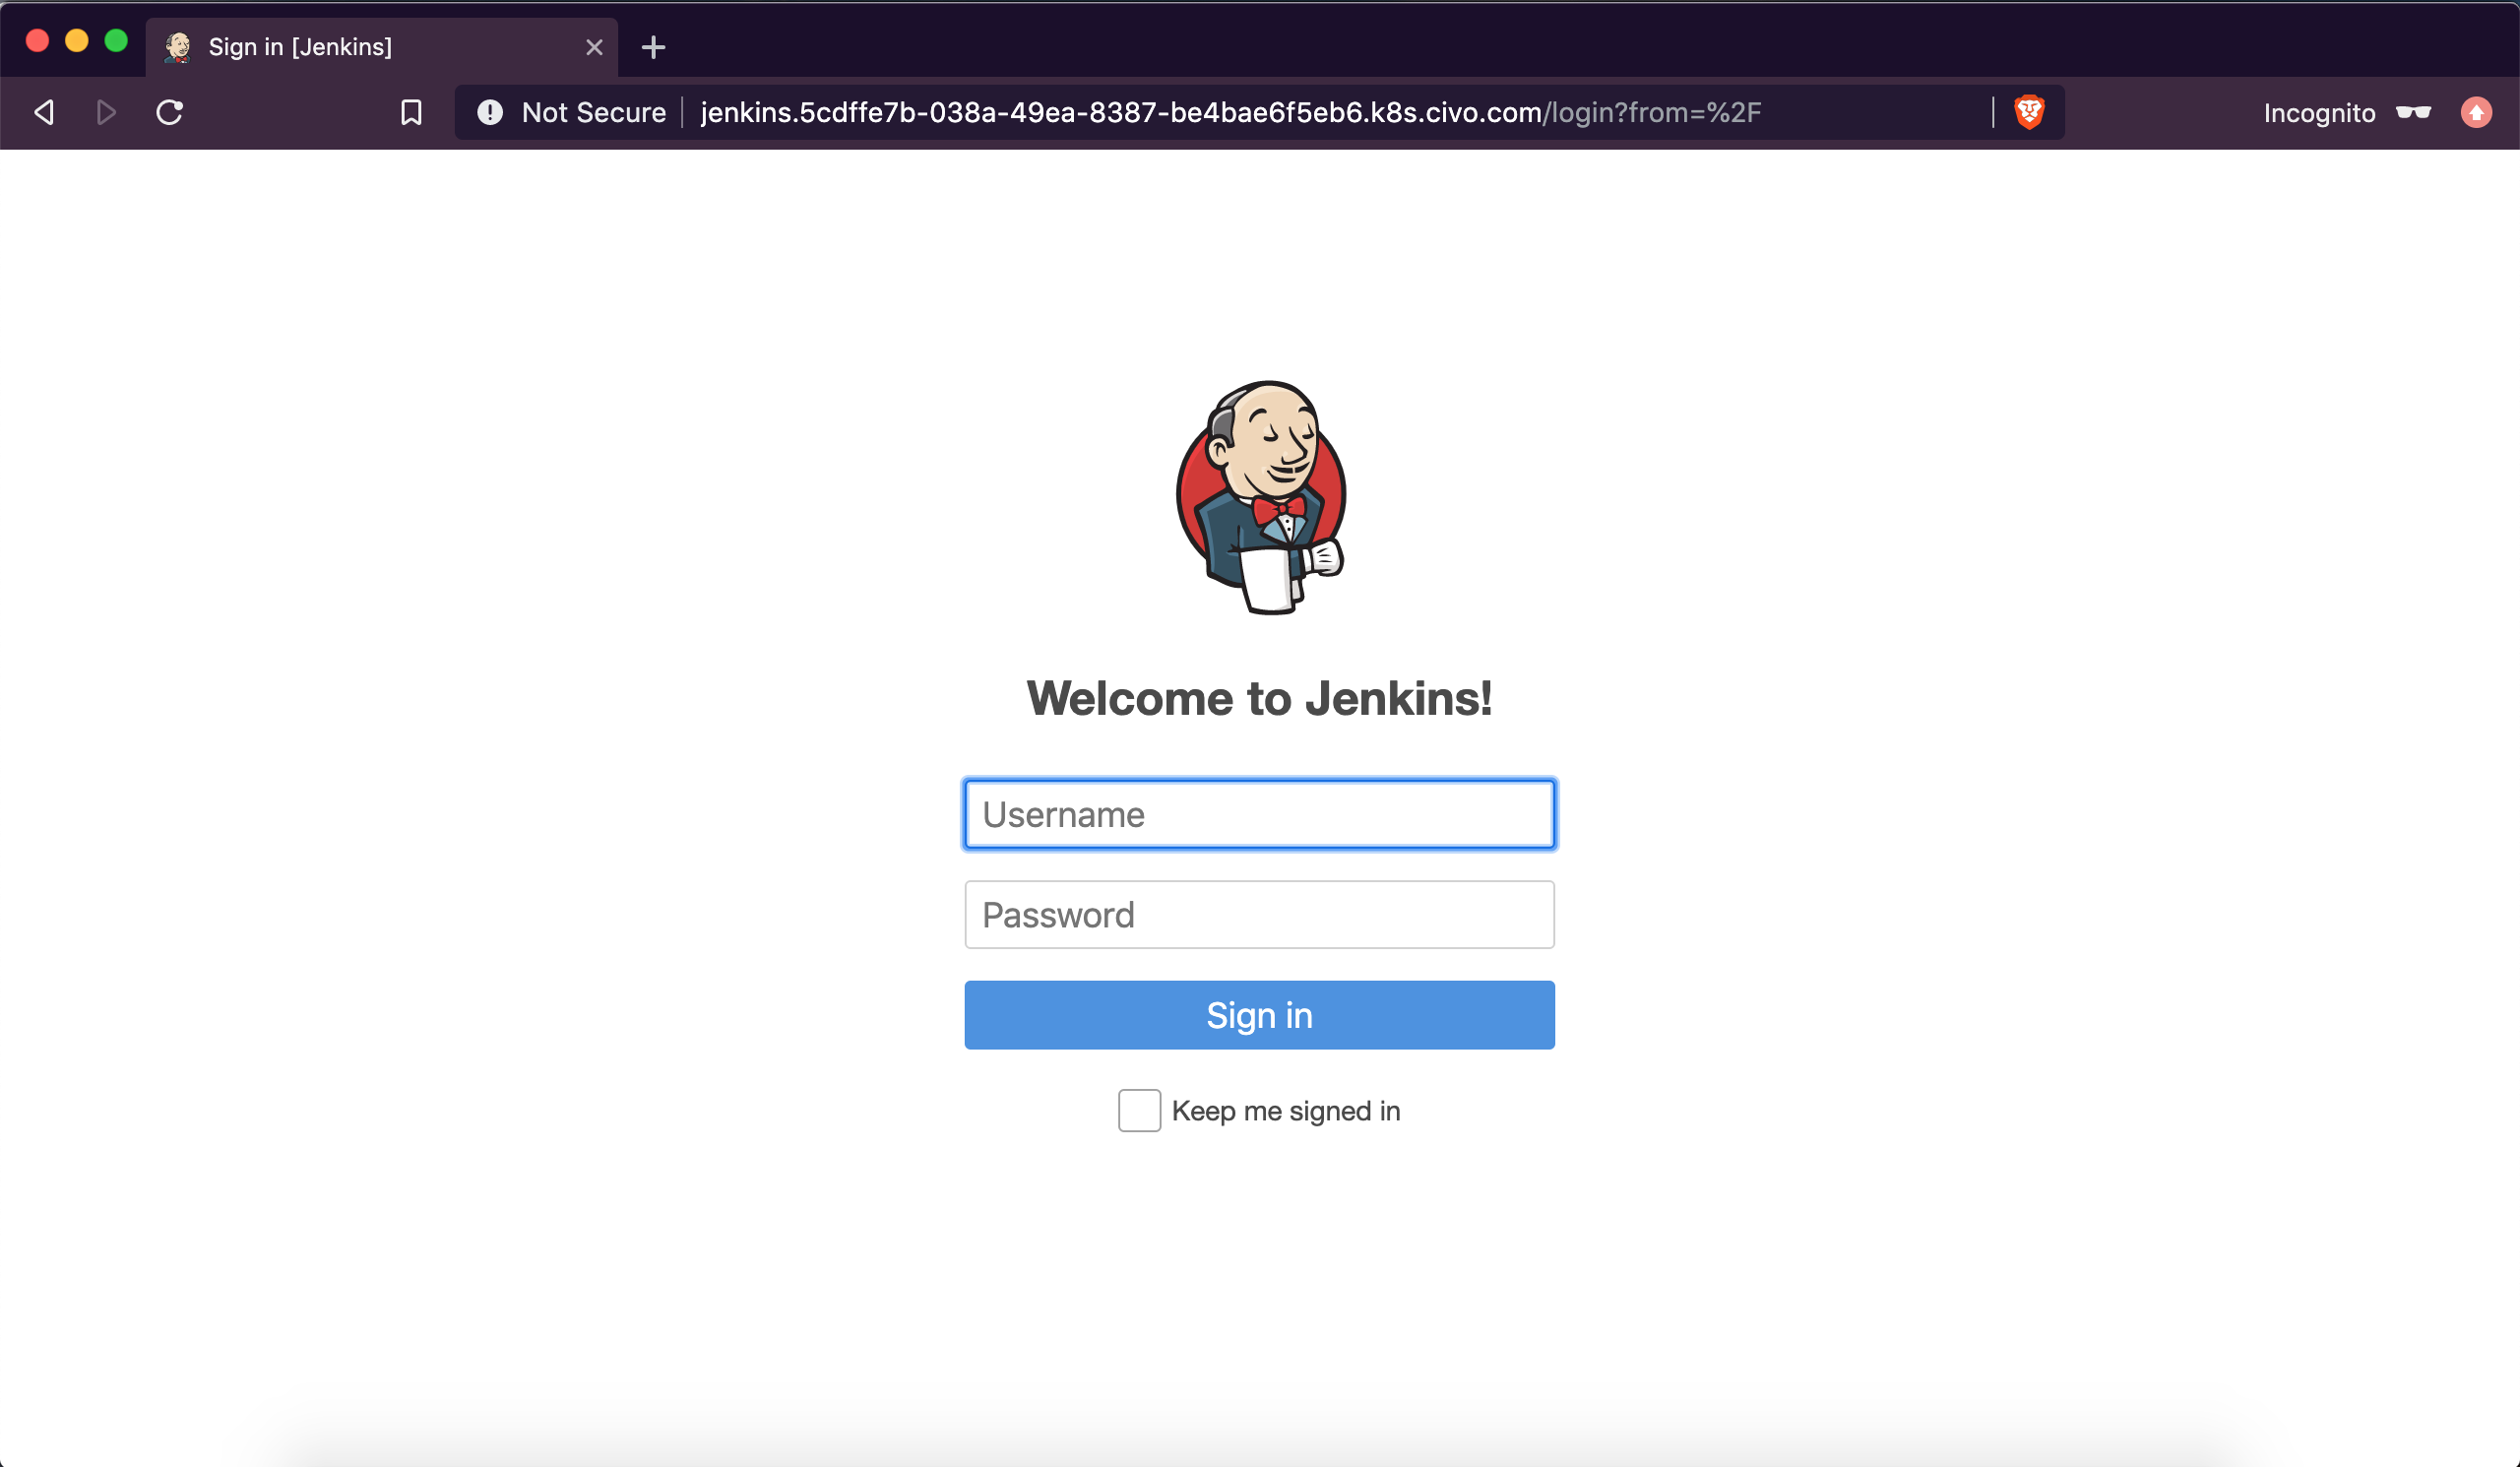
You can retrieve the username and password from the Civo Dashboard under "Installed applications":
After logging in, you should see this interface:
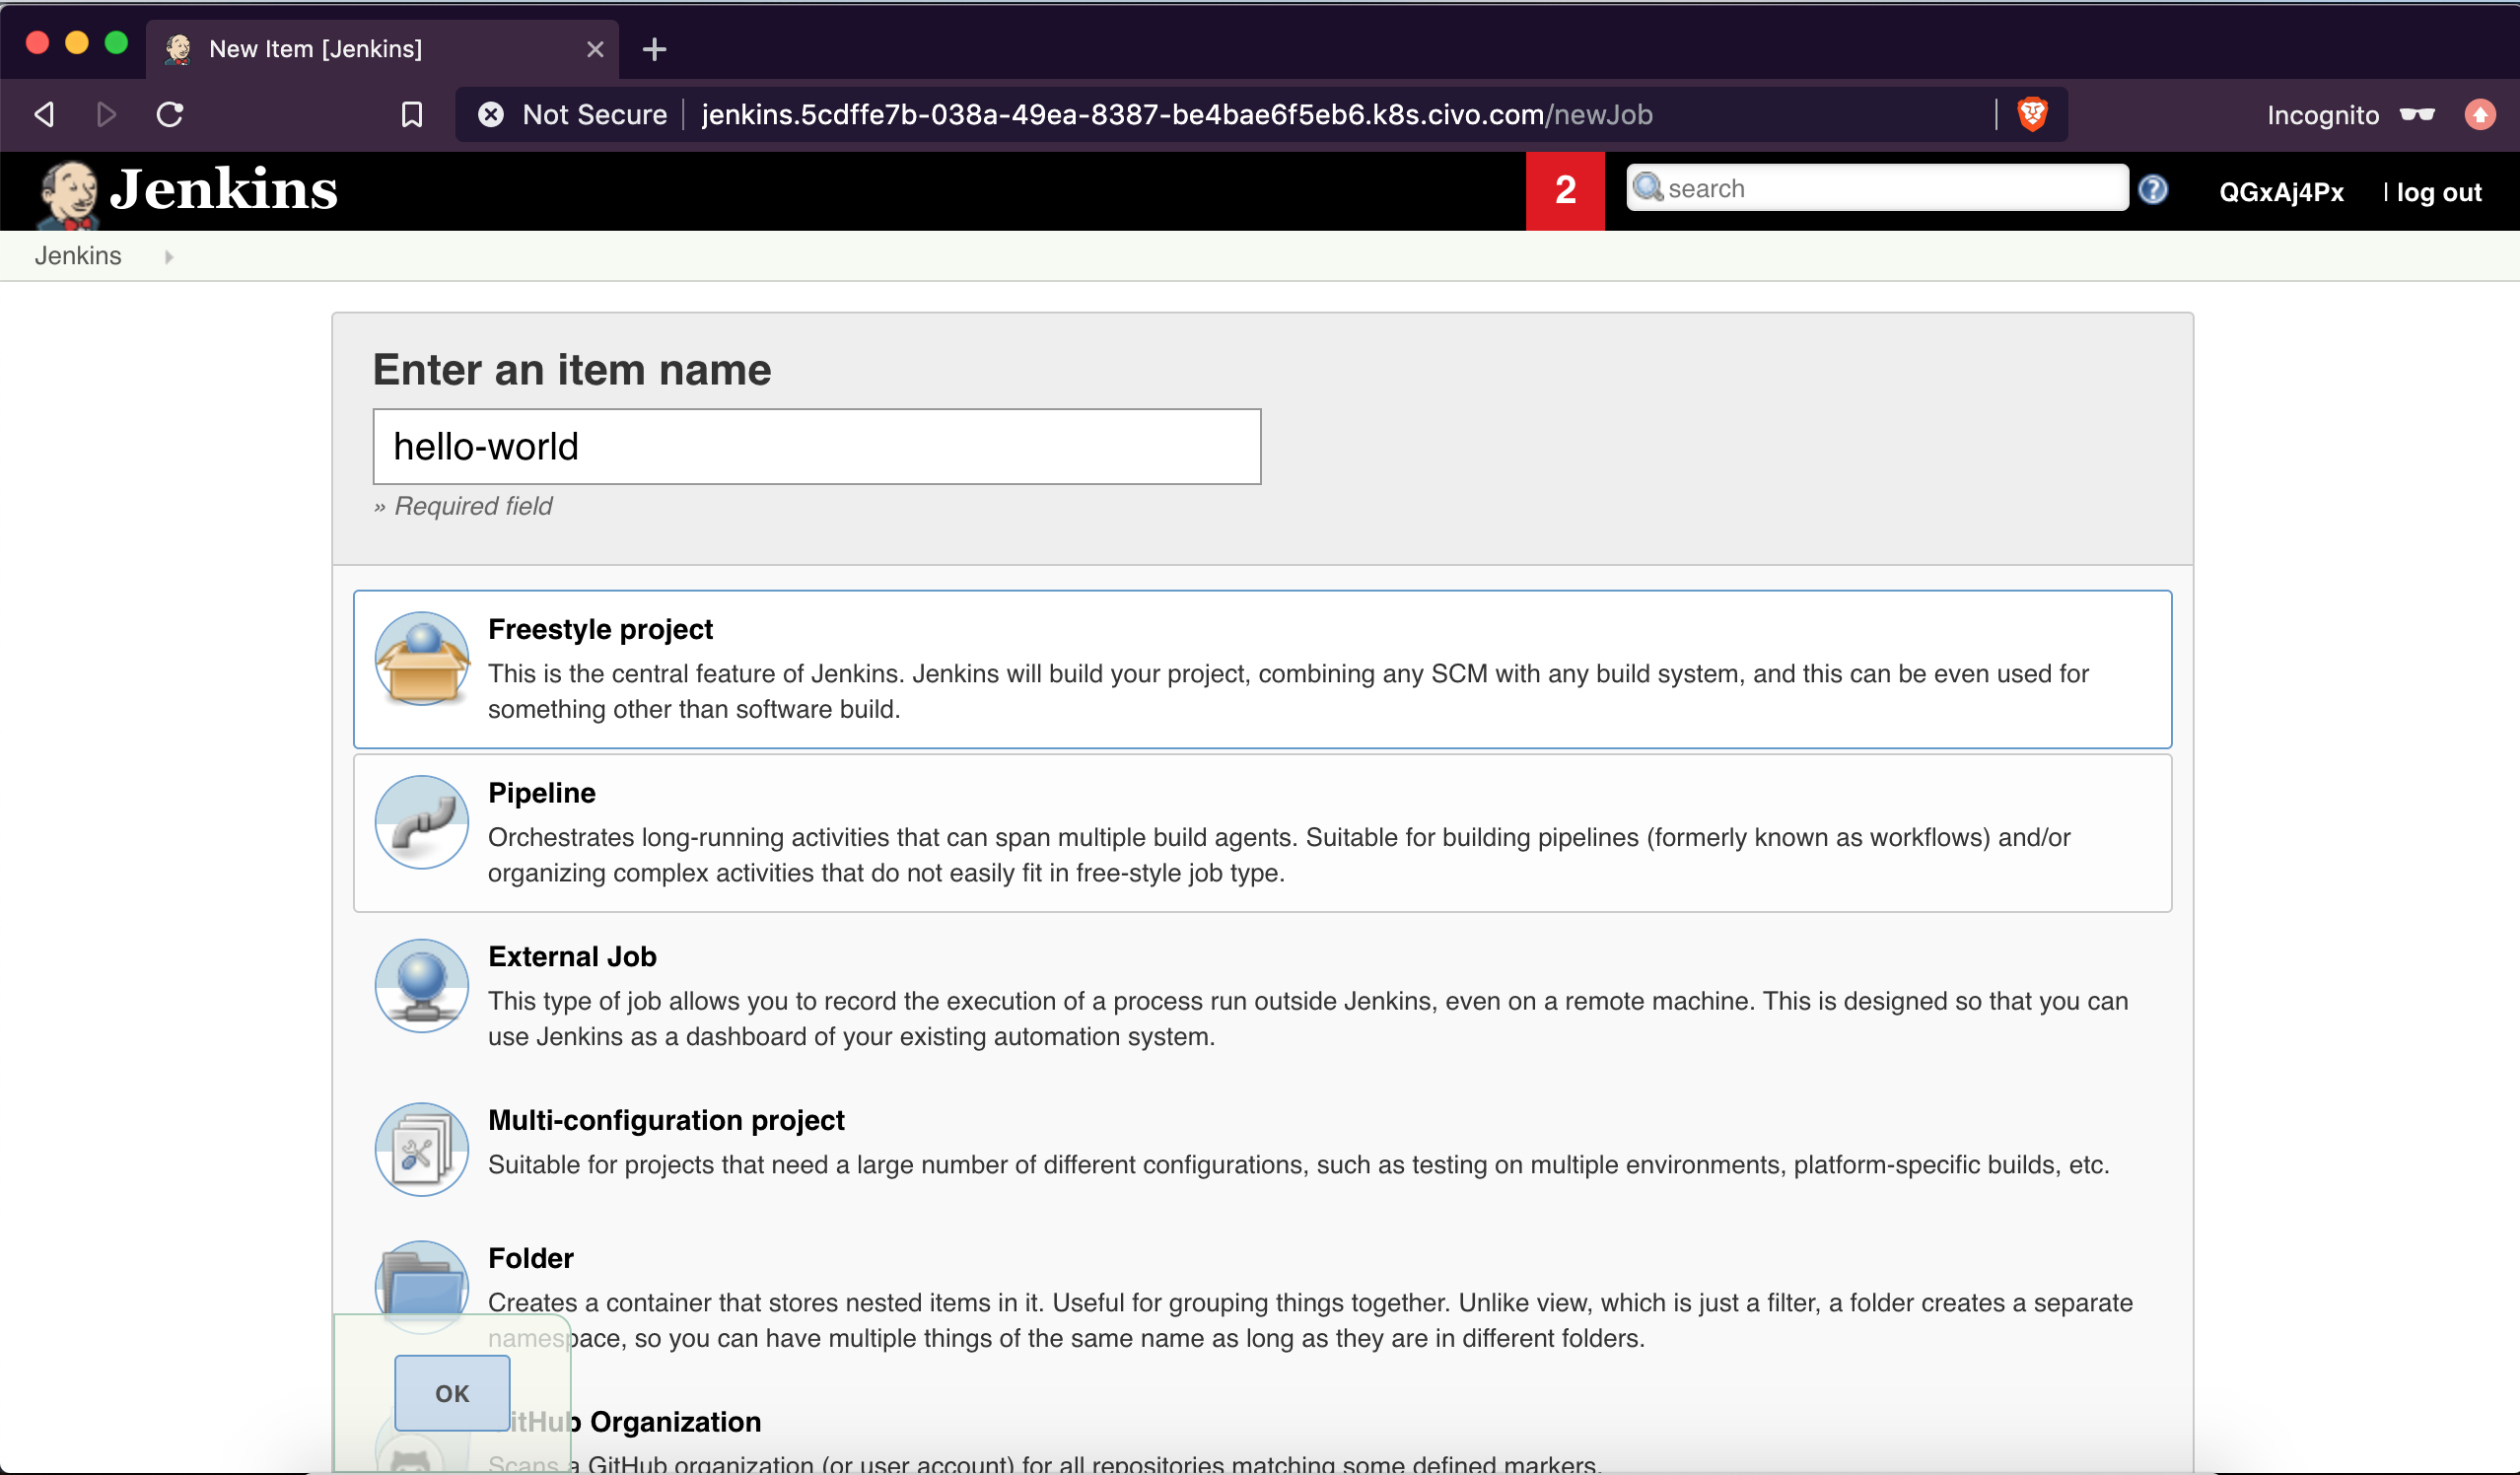
Create a basic hello-world job:
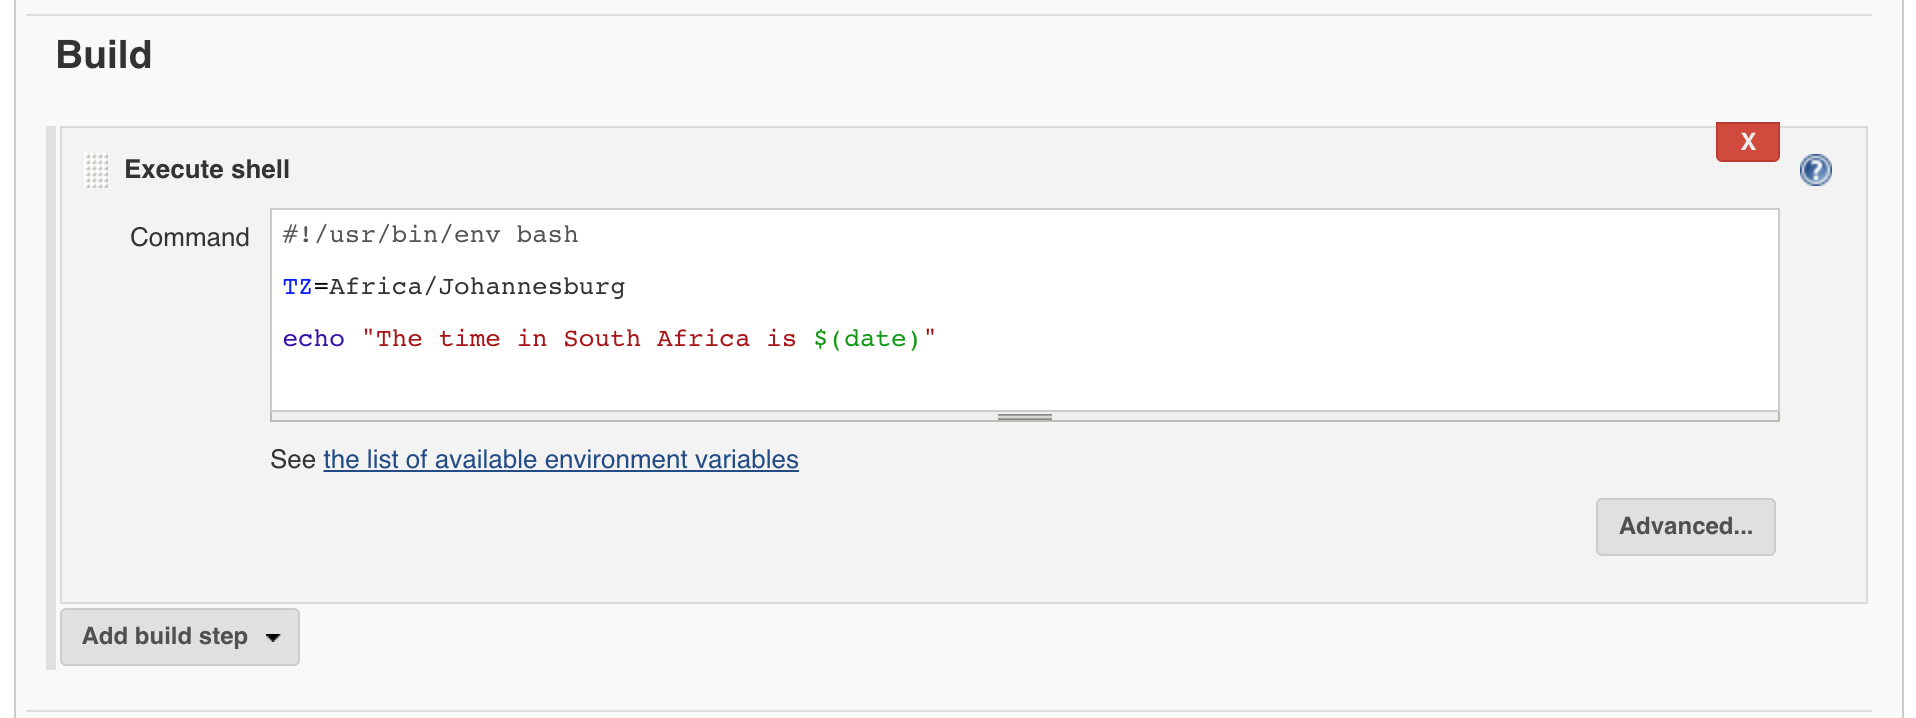
From the build section, select the execute shell option:
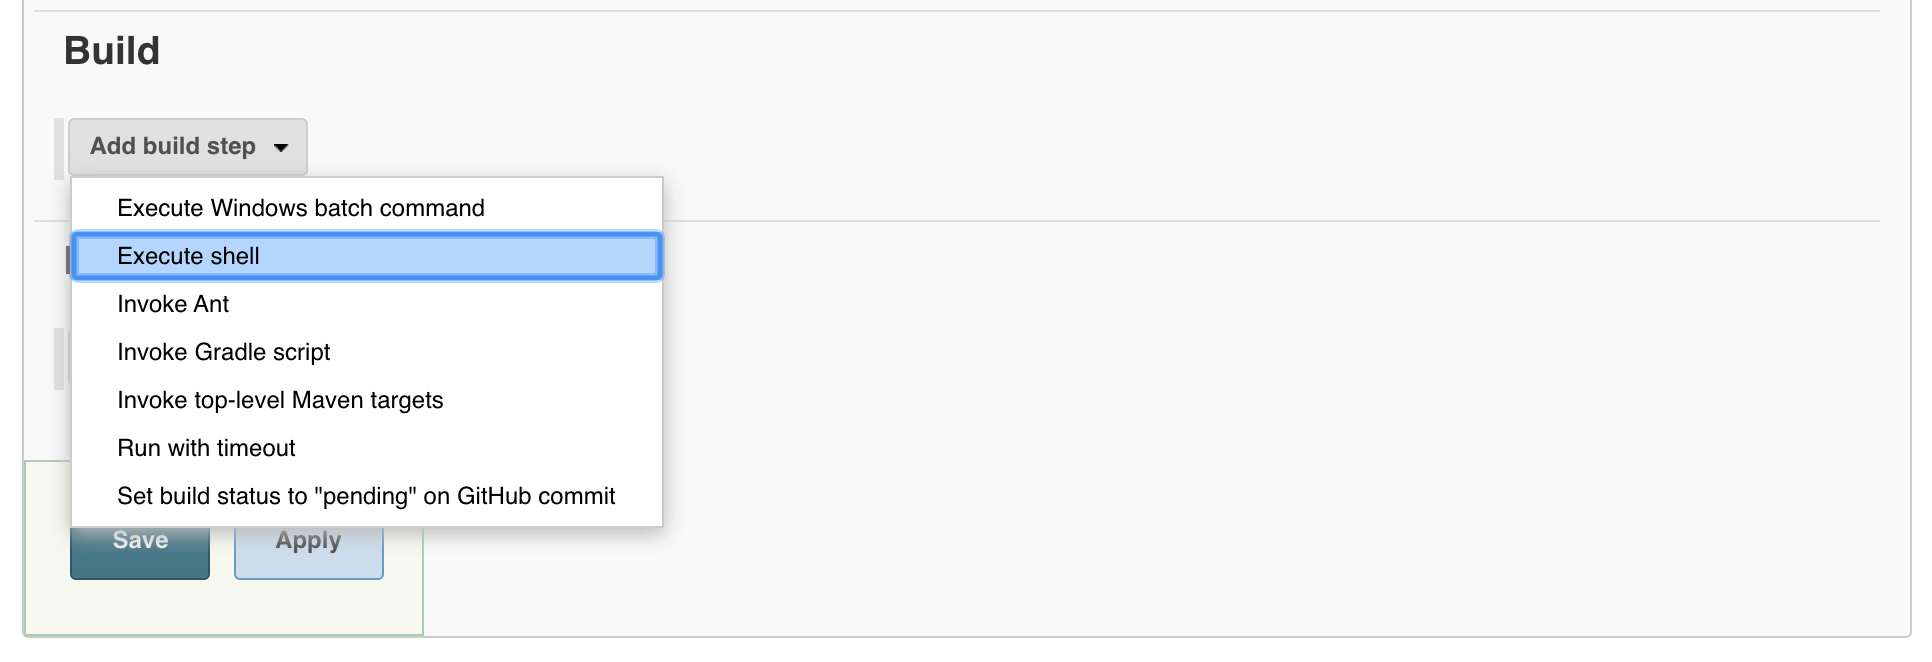
Then we will execute a very basic shell script that returns the date in South Africa's timezone:
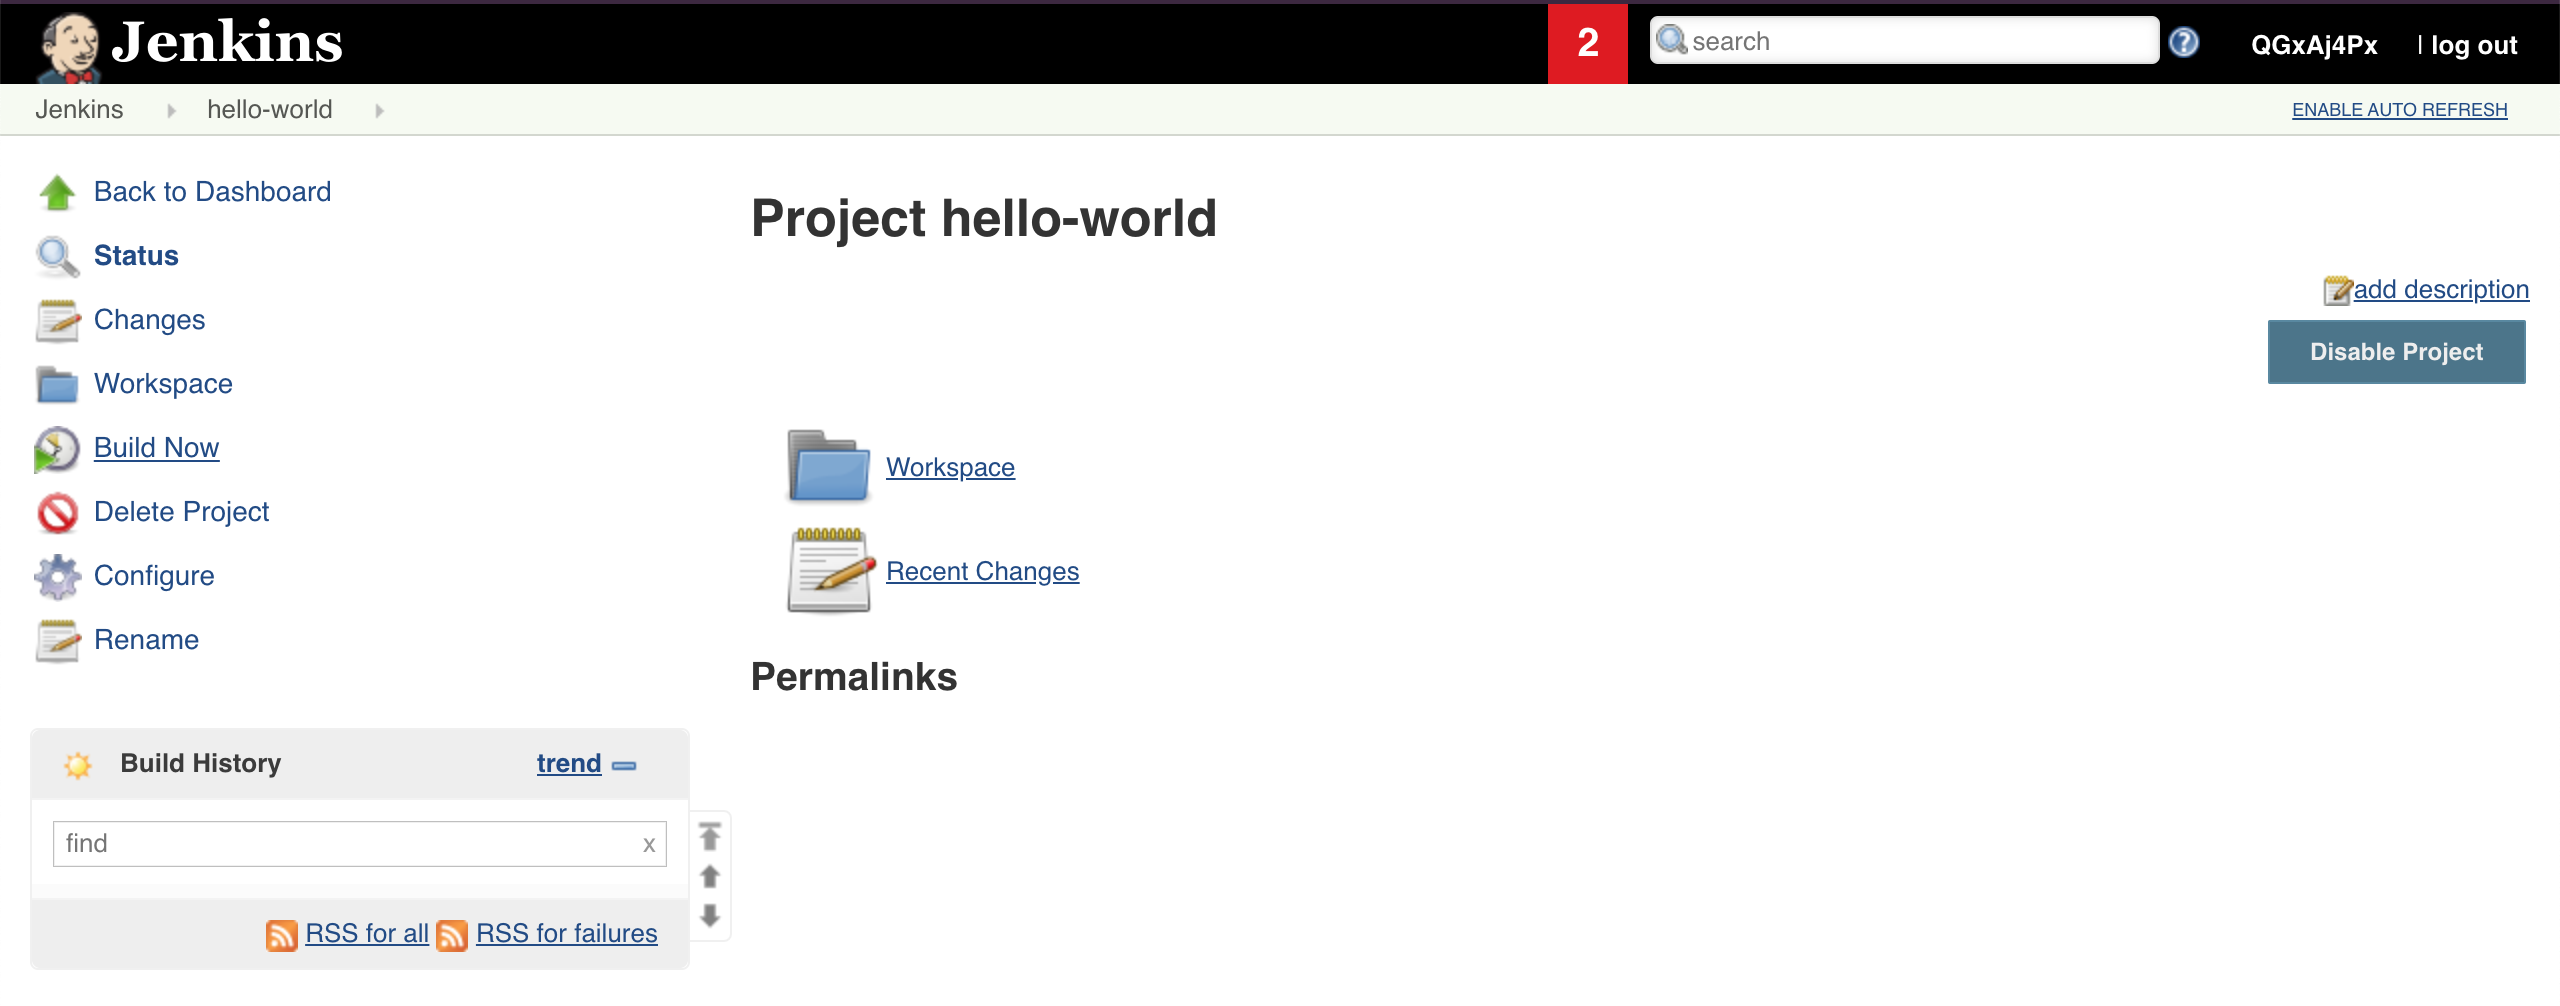
After saving the job, select build now:
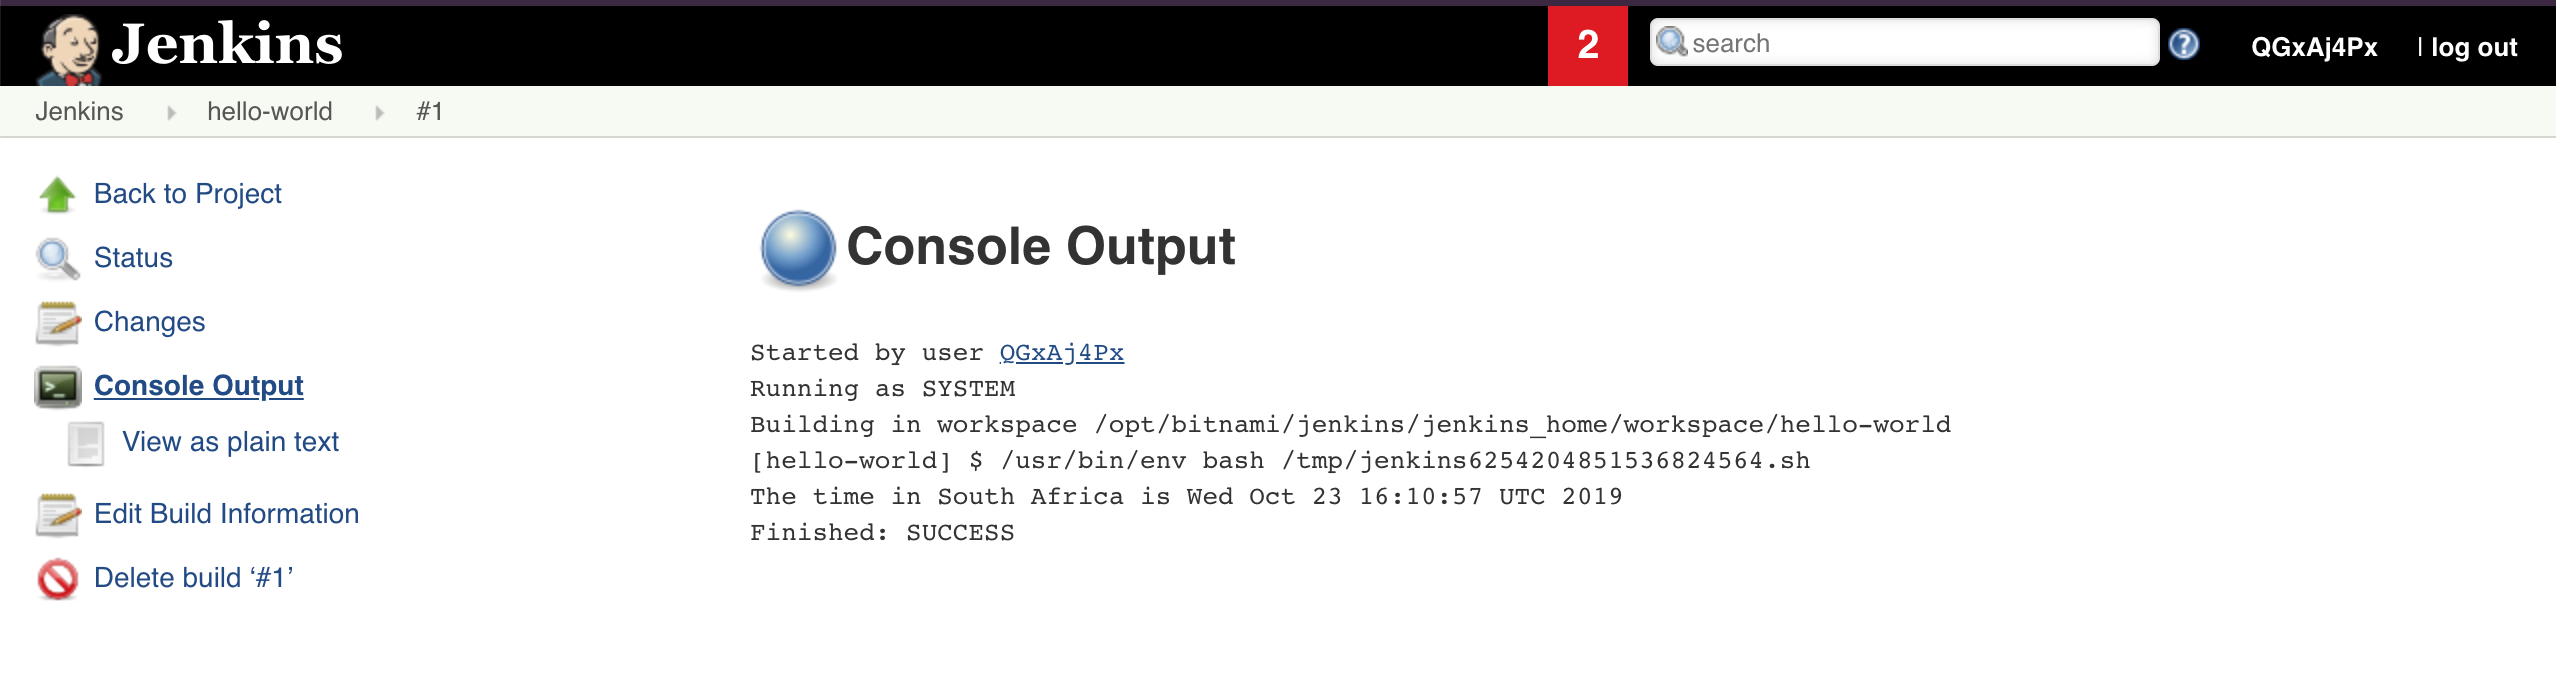
Then from the build, view the console output:
Testing Data Persistence
As we know, containers are stateless by design and if we did not have persistent volumes associated to our container, if we had to delete the container our saved job in Jenkins will be missing when the container comes back up.
But since we are using persistent volumes, the configured data is persisted in our volumes and when the container is deleted the new container will still have the saved data that was stored on the volumes.
In this example, we will delete the pod to determine if the data is still there when the new pod comes up.
View the pods with the wide output flag so that we can see on which node the pod is running:
$ kubectl get pods --selector app=jenkins --output wide
NAME                       READY   STATUS    RESTARTS   AGE   IP             NODE             NOMINATED NODE   READINESS GATES
jenkins-8559cc77b7-qwcng   1/1     Running   0          17m   192.168.1.14   kube-node-fb88   <none>           <none>
Now delete the pod:
$ kubectl delete pod/jenkins-8559cc77b7-qwcng
pod "jenkins-8559cc77b7-qwcng" deleted
Then once the pod comes back up, we can view the pod again and notice in this case that the pod runs on a different node on our kubernetes cluster:
$ kubectl get pods --selector app=jenkins --output wide
NAME                       READY   STATUS    RESTARTS   AGE    IP             NODE               NOMINATED NODE   READINESS GATES
jenkins-8559cc77b7-hvdqq   1/1     Running   0          101s   192.168.0.17   kube-master-d1a3   <none>           <none>
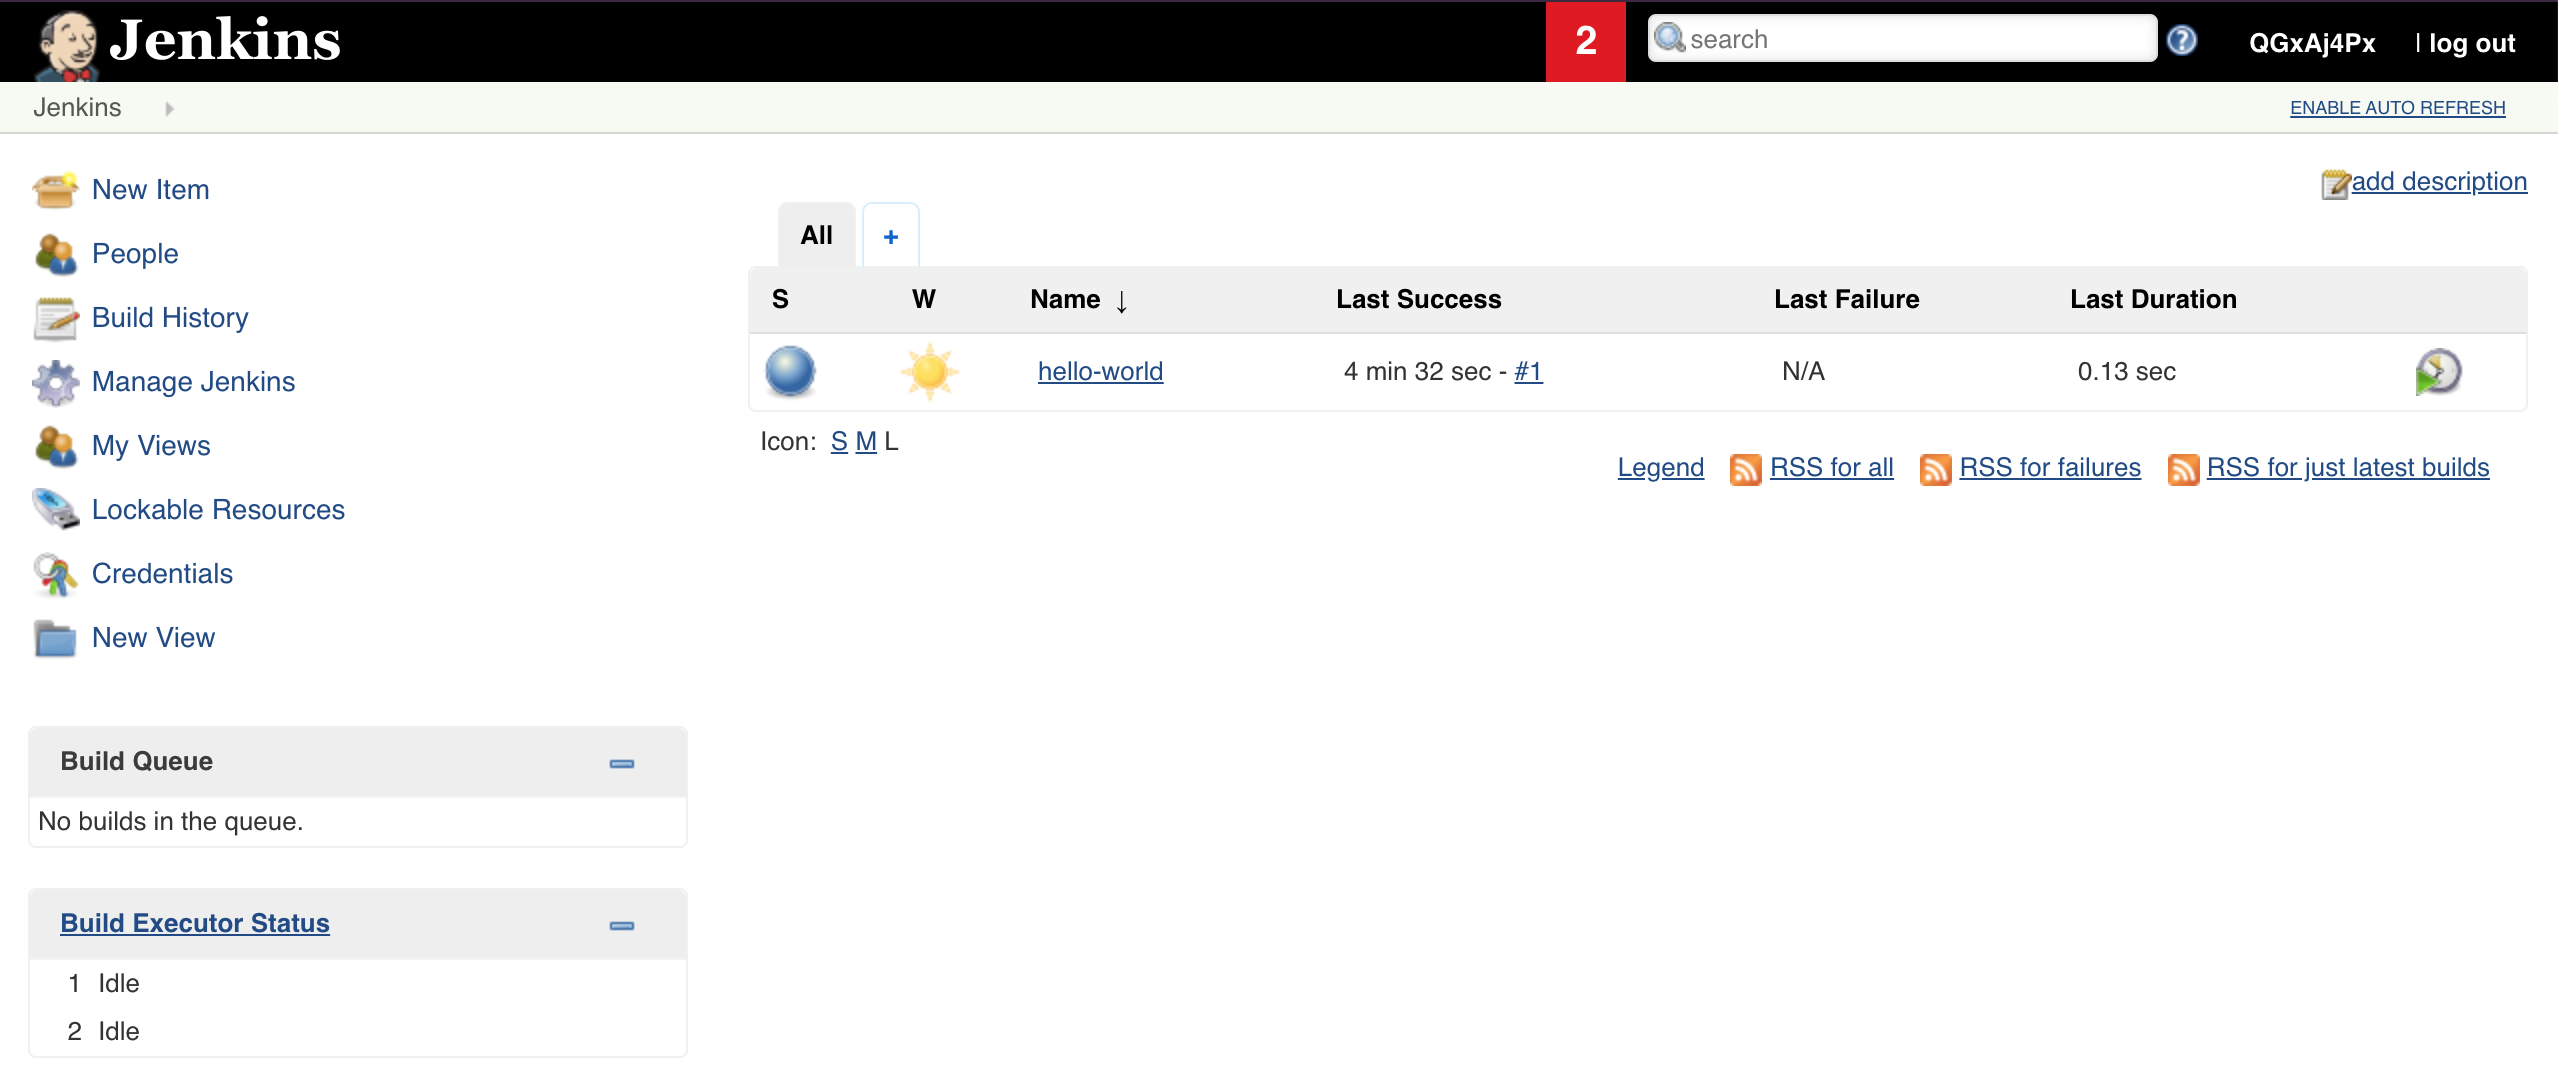
Access the Jenkins UI again, after re-authenticating, we can see that our jenkins job has persisted and still available:
Thank You
Thanks for reading. If you would like to check out more of my content, check out my website at ruan.dev or follow me on Twitter @ruanbekker
Comments