
In this post we will setup a CI/CD framework with Drone-CI (awesome lightweight container-native continuous integration, continuous delivery platform which is built on Go), Gitea (self-hosted Git platform which is built on Go), Postgres to persist our config and Longhorn for persistent volumes on Kubernetes which will be deployed on Civo.
In the next post, we will setup a CI/CD Pipeline, which will build, test and deploy our application and use the slack notification plugin for our notifications. We will also push our code to our Gitea server which will trigger our Pipeline.

Some Basic Concepts
Just to cover some concepts that I will talking about:
Gitea: Self-Hosted Git Platform which is built on Go
Drone: Awesome Lightweight Container-Native CI/CD Platform which is build on Go.
Drone-Agents: Agents which will run the jobs.
Postgres: Relational Database Server
Longhorn: Persistent Volumes in Kubernetes.
Deploy the Kubernetes Cluster
Create a new civo k3s cluster:
$ civo kubernetes create --size=g2.small --nodes=2 --wait
Building new Kubernetes cluster rebel-comrade: Done
Created Kubernetes cluster rebel-comrade in 02 min 03 sec
Append the kubernetes config to your kubeconfig file:
$ civo kubernetes config rebel-comrade --save
Merged config into ~/.kube/config
Switch the context to the new cluster:
$ kubectx rebel-comrade
Switched to context "rebel-comrade".
Now we will install Longhorn that will provide persistent volumes in our Kubernetes Cluster.
Install Longhorn 0.7.0 onto your cluster:
$ kubectl apply -f https://raw.githubusercontent.com/longhorn/longhorn/v0.7.0/deploy/longhorn.yaml

namespace/longhorn-system created
serviceaccount/longhorn-service-account created
clusterrole.rbac.authorization.k8s.io/longhorn-role created
clusterrolebinding.rbac.authorization.k8s.io/longhorn-bind created
customresourcedefinition.apiextensions.k8s.io/engines.longhorn.io created
customresourcedefinition.apiextensions.k8s.io/replicas.longhorn.io created
customresourcedefinition.apiextensions.k8s.io/settings.longhorn.io created
customresourcedefinition.apiextensions.k8s.io/volumes.longhorn.io created
customresourcedefinition.apiextensions.k8s.io/engineimages.longhorn.io created
customresourcedefinition.apiextensions.k8s.io/nodes.longhorn.io created
customresourcedefinition.apiextensions.k8s.io/instancemanagers.longhorn.io created
configmap/longhorn-default-setting created
daemonset.apps/longhorn-manager created
service/longhorn-backend created
deployment.apps/longhorn-ui created
service/longhorn-frontend created
deployment.apps/longhorn-driver-deployer created
storageclass.storage.k8s.io/longhorn created
Wait until longhorn has been deployed, you should see that all the pods will be running:
$ kubectl get pods -n longhorn-system
NAME                                        READY   STATUS    RESTARTS   AGE
svclb-longhorn-frontend-9rbkp               0/1     Pending   0          4m32s
svclb-longhorn-frontend-7mvhv               0/1     Pending   0          4m32s
longhorn-manager-zvnvx                      1/1     Running   0          4m34s
longhorn-manager-t5vdp                      1/1     Running   0          4m34s
engine-image-ei-ec95b5ad-9qh44              1/1     Running   0          4m21s
engine-image-ei-ec95b5ad-kg7sq              1/1     Running   0          4m21s
instance-manager-r-38c48cb9                 1/1     Running   0          3m57s
instance-manager-e-698fd2b4                 1/1     Running   0          3m57s
instance-manager-e-5bfea7f0                 1/1     Running   0          3m55s
instance-manager-r-22734632                 1/1     Running   0          3m54s
longhorn-driver-deployer-5558df9859-hzn8f   1/1     Running   0          4m31s
longhorn-ui-b97b74b8-l7z7h                  1/1     Running   0          4m32s
csi-provisioner-75dddf86b9-xr7j2            1/1     Running   0          3m40s
csi-attacher-5d9cffdbd6-ft272               1/1     Running   0          3m40s
csi-provisioner-75dddf86b9-w2kpj            1/1     Running   0          3m40s
csi-attacher-5d9cffdbd6-gj7b9               1/1     Running   0          3m40s
longhorn-csi-plugin-tkbhr                   4/4     Running   0          3m40s
csi-provisioner-75dddf86b9-5jt82            1/1     Running   0          3m40s
compatible-csi-attacher-7b9757dc9c-spwnc    1/1     Running   0          3m39s
csi-attacher-5d9cffdbd6-9zf5c               1/1     Running   0          3m40s
longhorn-csi-plugin-5566t                   4/4     Running   0          3m40s
We need to obtain the DNS endpoint of your cluster:
$ civo kubernetes show civo-cluster-x
                ID : c681305e-c282-4ee7-addc-53be52f5f1e5
              Name : civo-cluster-x
           # Nodes : 3
              Size : g2.small
            Status : ACTIVE
           Version : 1.0.0
      API Endpoint : https://185.136.233.41:6443
      DNS A record : c681305e-c282-4ee7-addc-53be52f5f1e5.k8s.civo.com
Configuration
You can either download the kubernetes manifest files for our deployments from my github repository and edit the values of your secrets, dns endpoints manually.
Or you can use my replacer bash script that will replace the values in the manifest files from your environment. I will demonstrate how to do the replacement option below.
First create the working directory then download the replacer script:
mkdir /tmp/civo_cicd_blog
cd /tmp/civo_cicd_blog/
wget https://raw.githubusercontent.com/ruanbekker/blog-assets/master/civo.com-drone-gitea-cicd-kubernetes/replace_values.sh
Set the Postgres Password and set your DNS endpoint of your Civo Kubernetes Cluster:
export CHANGEME_POSTGRESSPASSWORD=$(openssl rand -base64 12)
export CHANGEME_INGRESSDOMAIN=80afc0a3-f378-4cc0-8f03-653983e3084f.k8s.civo.com
Now we will download the manifest files from my github repository, and then verify that the files has been downloaded:
$ bash replace_values.sh download
$ ls manifests/
drone-agent.yml   drone-server.yml  gitea.yml         ingress.yml       postgres.yml
Next, replace the gitea values (this will replace the defaults in the manifests with your configured environment values from earlier)
$ bash replace_values.sh gitea
To ensure that it was replaced, you can have a look at the manifests/ingress.yml file:
$ cat manifests/ingress.yml | head -7
apiVersion: extensions/v1beta1
kind: Ingress
metadata:
  name: drone
spec:
  rules:
  - host: drone.80afc0a3-f378-4cc0-8f03-653983e3084f.k8s.civo.com
Deploy the Applications
First we will deploy our postgres database:
$ kubectl apply -f manifests/postgres.yml
configmap/postgres-config created
persistentvolume/postgres-pv created
persistentvolumeclaim/postgres-pv-claim created
service/postgres created
deployment.apps/postgres created
Verify if your postgres pod is running:
$ kubectl get pods --selector app=postgres
NAME                        READY   STATUS    RESTARTS   AGE
postgres-65bb9dc786-ftrgm   1/1     Running   0          106s
Next, deploy your gitea application:
$ kubectl apply -f manifests/gitea.yml
persistentvolume/gitea-pv created
persistentvolumeclaim/gitea-pv-claim created
service/gitea created
service/gitea-ssh created
deployment.apps/gitea created
Verify if your gitea pod is running:
$ kubectl get pods --selector app=gitea
NAME                     READY   STATUS    RESTARTS   AGE
gitea-66cc64898c-gxsjt   1/1     Running   0          38s
Then deploy your ingresses:
$ kubectl apply -f manifests/ingress.yml
ingress.extensions/drone created
ingress.extensions/gitea created
Setup Gitea
Now we will do the initial setup for Gitea and register our admin account. Get the endpoint of your gitea application:
$ kubectl get ingress/gitea
NAME    HOSTS                                                     ADDRESS        PORTS   AGE
gitea   gitea.80afc0a3-f378-4cc0-8f03-653983e3084f.k8s.civo.com   172.31.4.251   80      35s
Follow the address onto your browser, and you should see something like this:
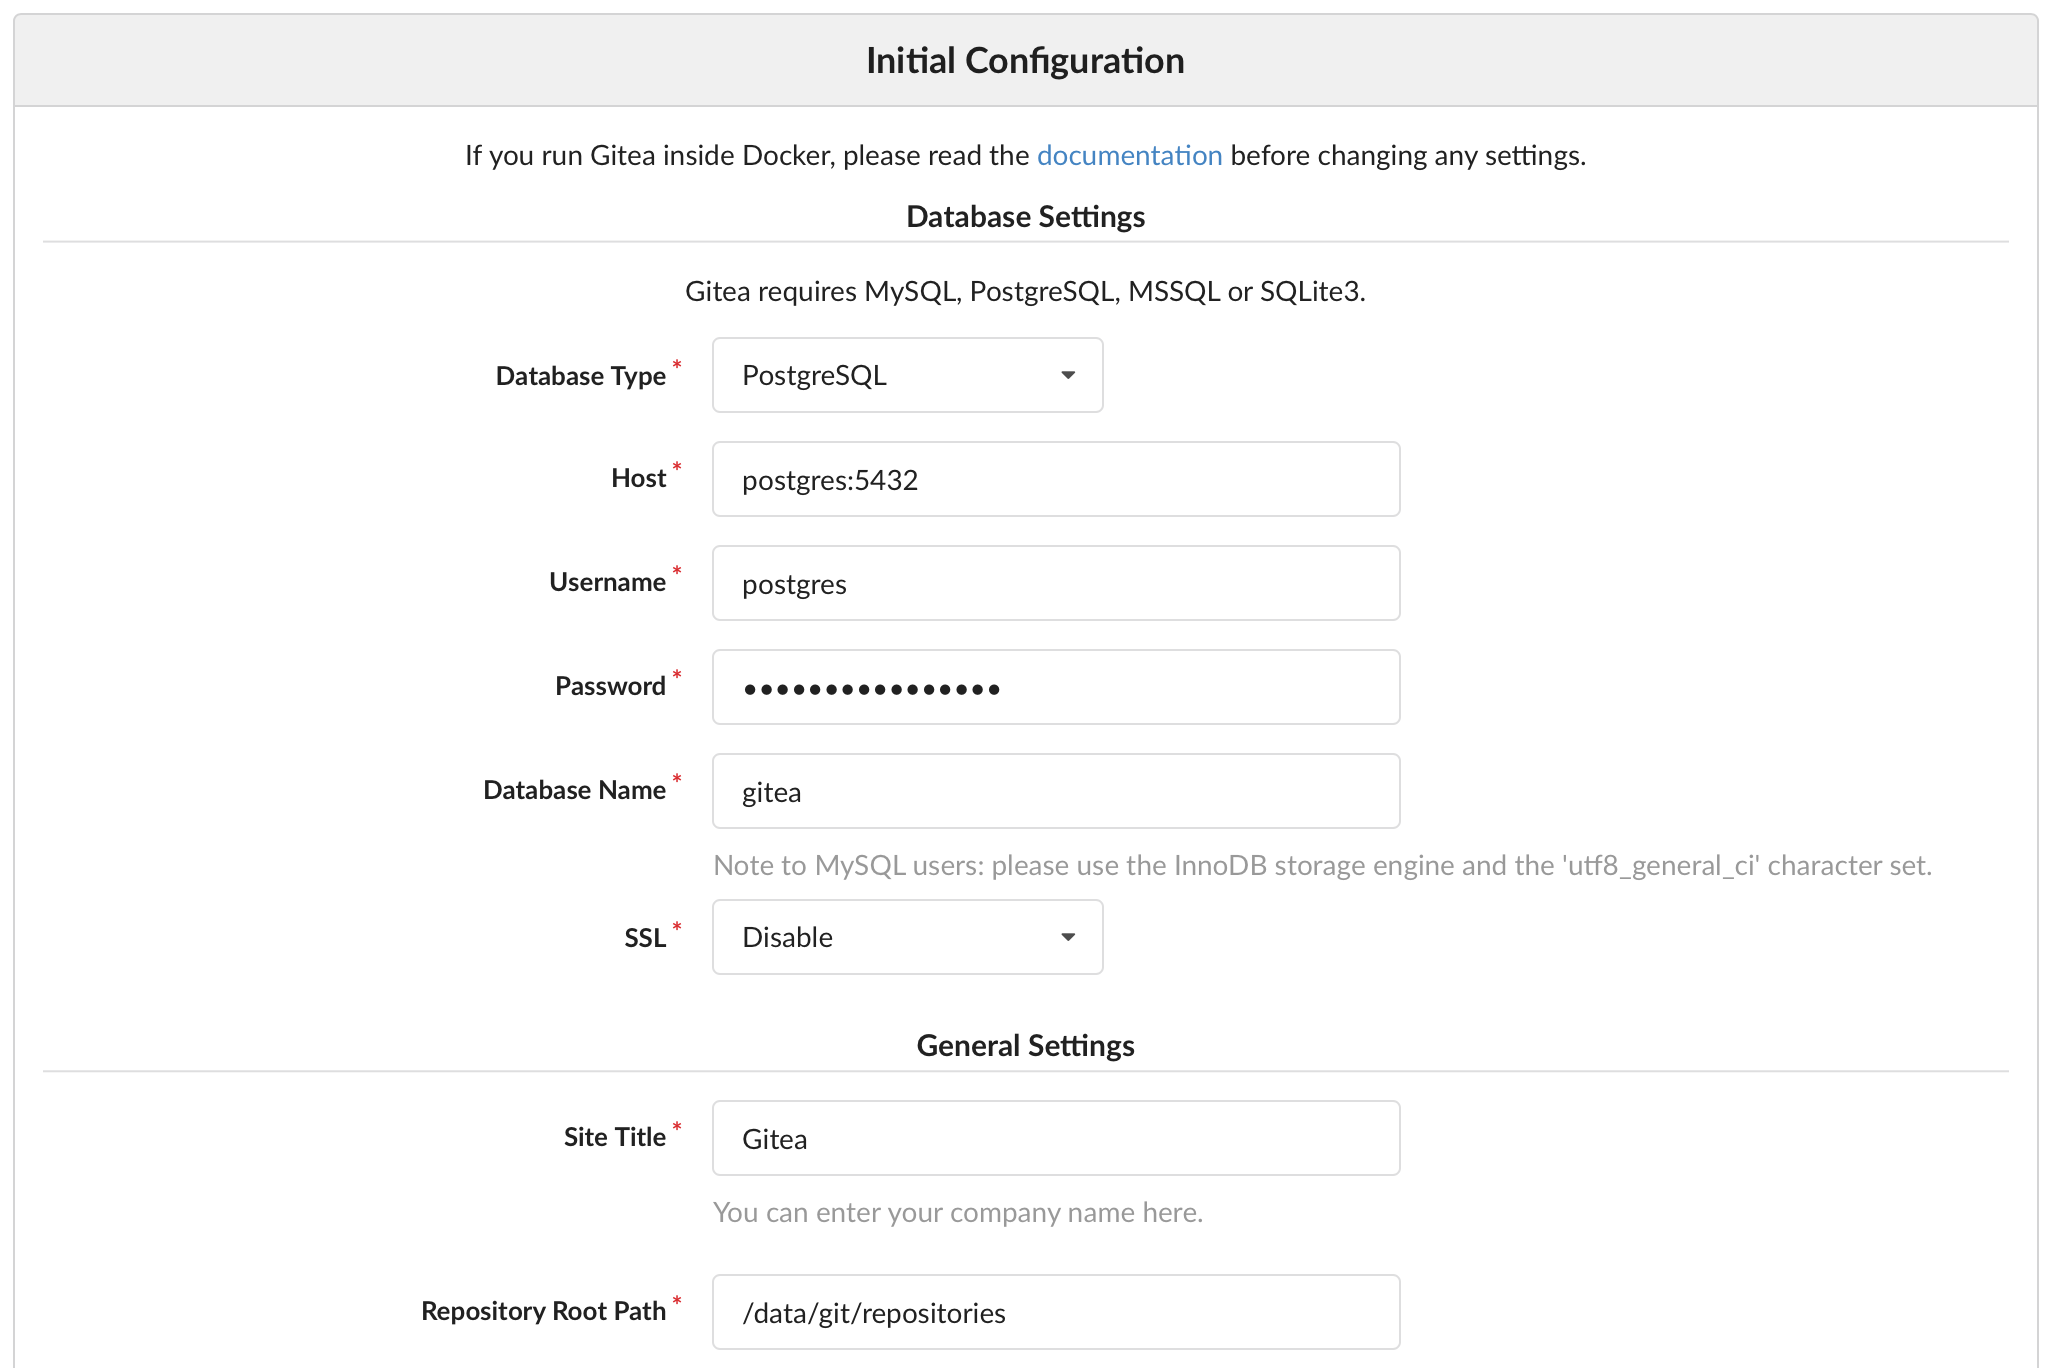
When you head over to register, most of the values should be populated like this:
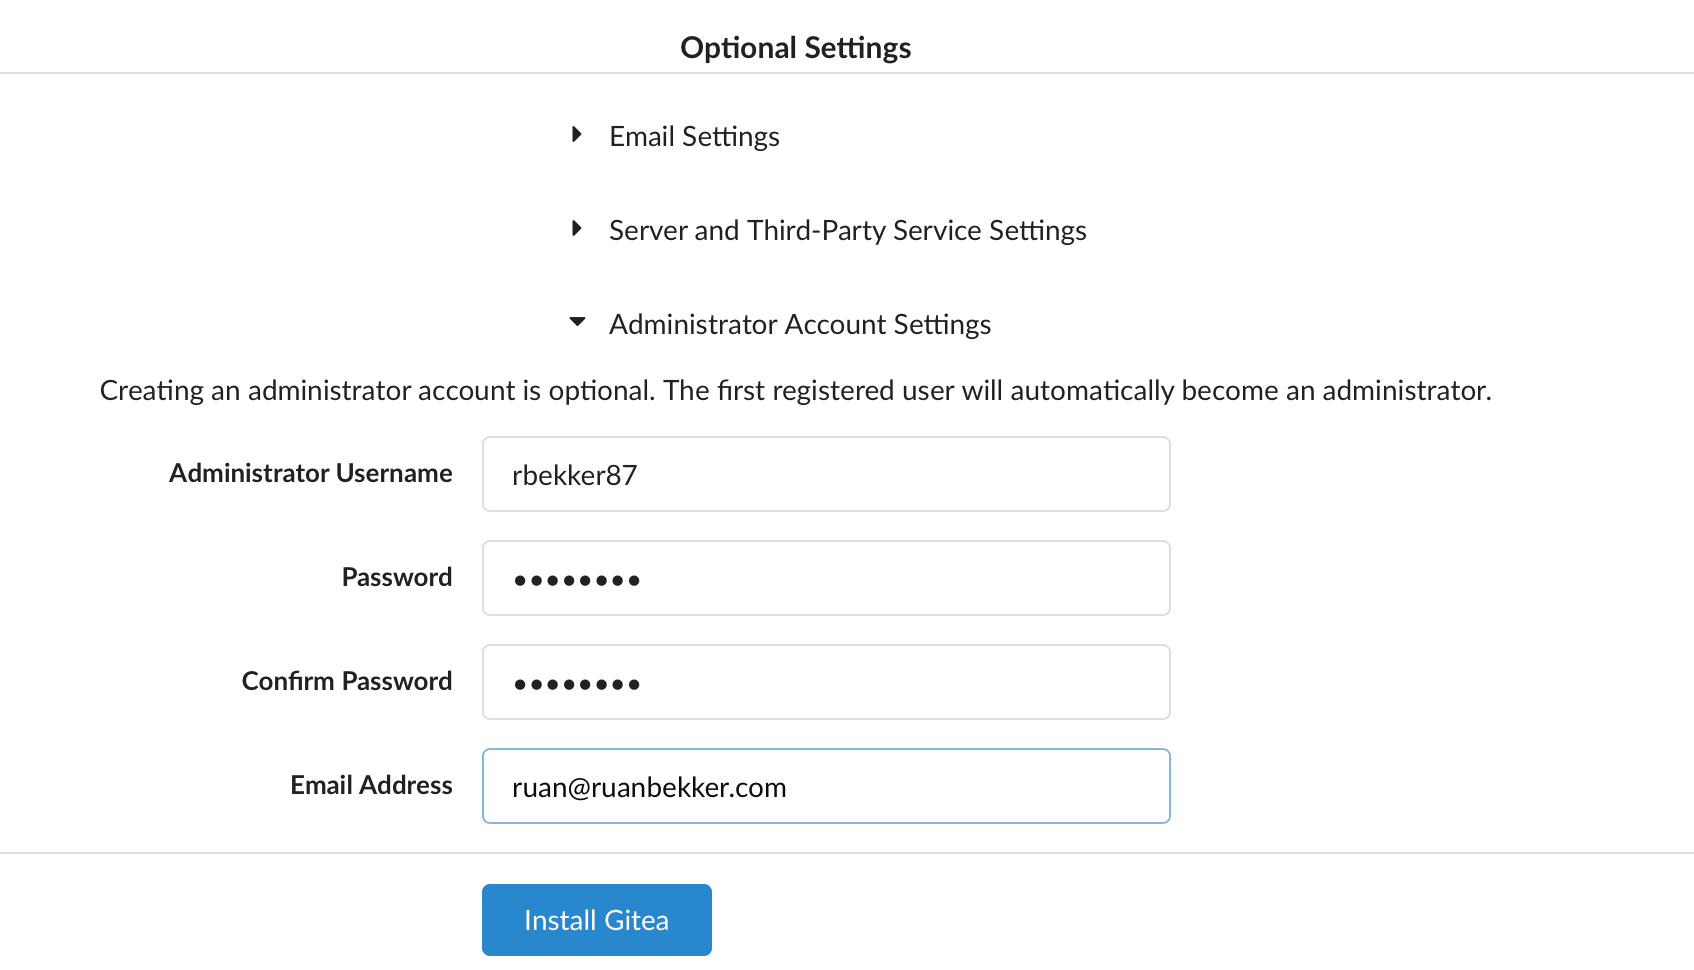
Head over to "Optional Settings" and register your admin account:
Create a OAuth2 Application
Now we should be logged in, we have to create a Oauth2 application for Drone to authenticate.
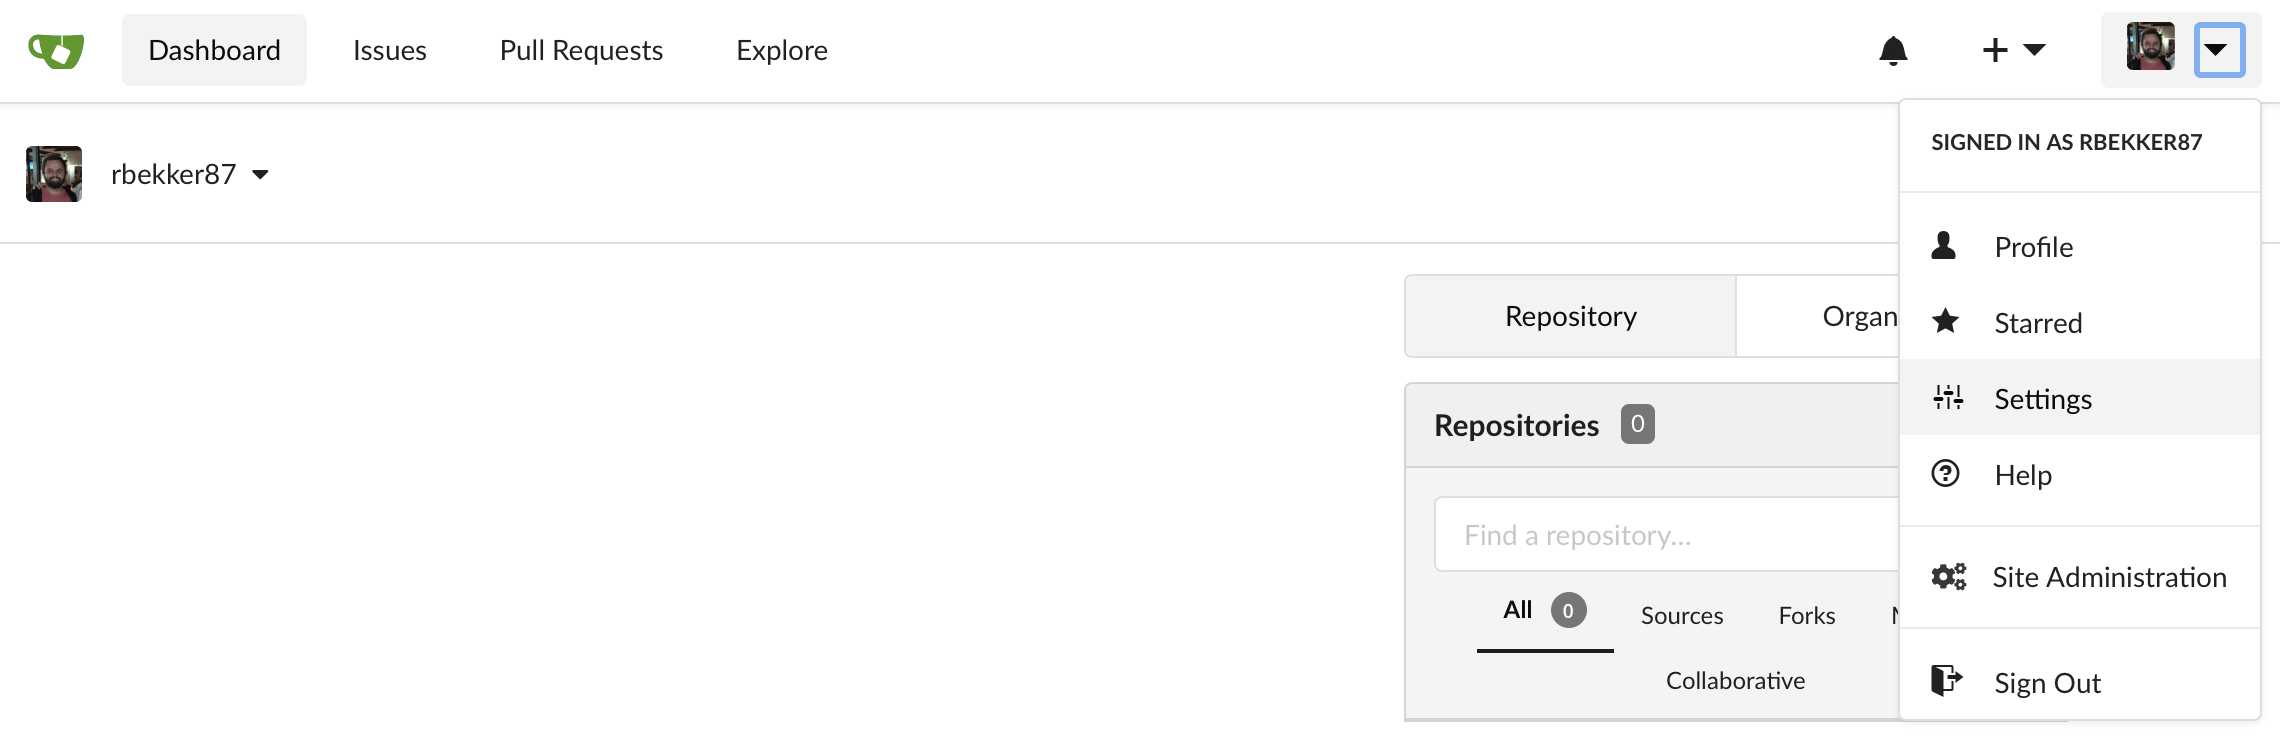
Head over to settings:
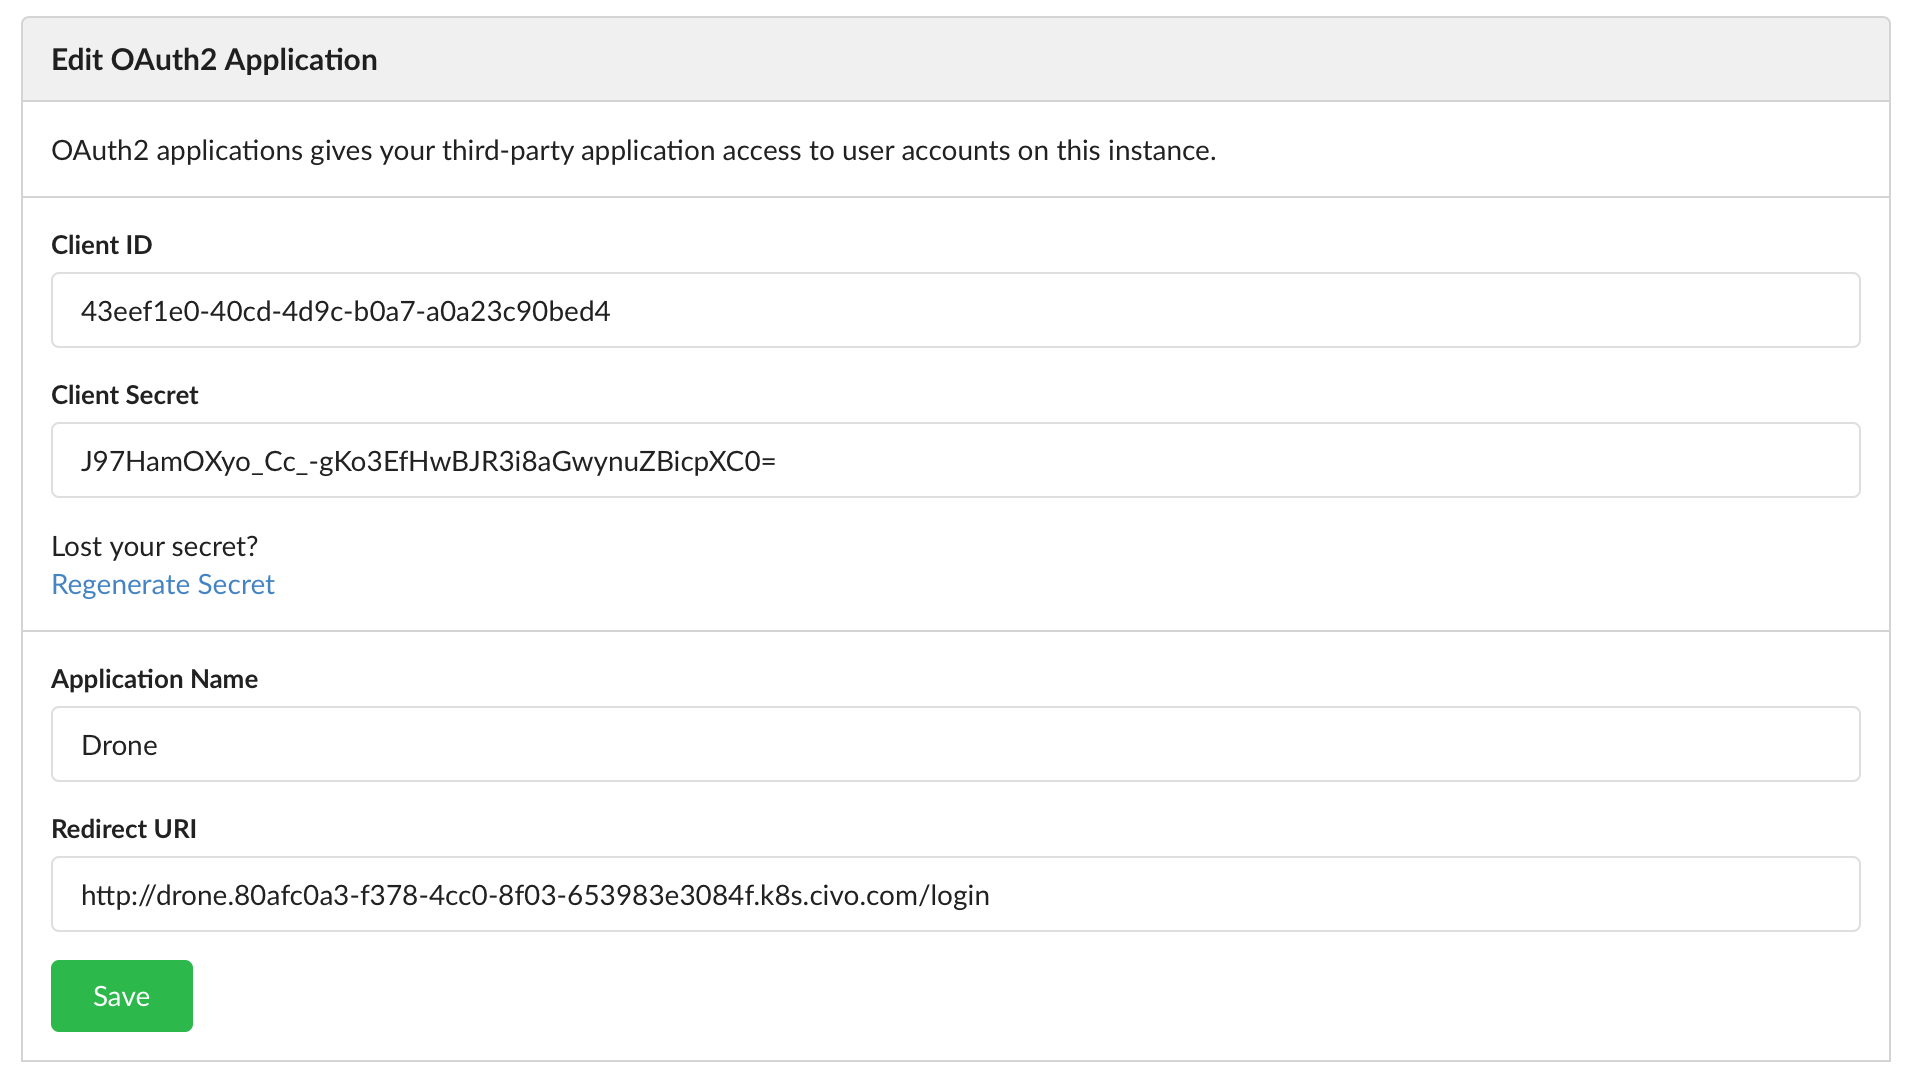
Under the "Applications" tab, we will create a new OAuth2 Application. We will need to provide the Application Name and the Redirect URI, which will be the Drone Endpoint URL and appending "/login" to the URL.
Once you create your application, you will get a ClientID and ClientSecret that we will need to note down:
Deploy Drone
We now need to parse our manifest files with our secrets. Set the above mentioned secrets to your environment that we will parse:
export CHANGEME_DRONECLIENTID=9b349abe-c9d1-4bcb-b746-5acafe858711
export CHANGEME_DRONECLIENTSECRET=MomeoFVdRxxS5mrPxma6LGrA88rkmNMrGTI9wbsLJsw=
We also require the Drone Admin User and the Drone RPC Secret:
export CHANGEME_DRONEUSER=rbekker87 # this should be your user
export CHANGEME_DRONERPCSECRET=$(openssl rand -hex 18)
Now run the script to parse the values:
$ bash replace_values.sh drone
To verify, you should see that the value is set in your manifest:
$ cat manifests/drone-server.yml | grep -A1 DRONE_GITEA_CLIENT_ID
        - name: DRONE_GITEA_CLIENT_ID
          value: "9b349abe-c9d1-4bcb-b746-5acafe858711"
Apply your drone server deployment:
$ kubectl apply -f manifests/drone-server.yml
persistentvolume/drone-pv created
persistentvolumeclaim/drone-server-pv-claim created
service/drone-server created
deployment.apps/drone-server created
Verify that drone server is running:
$ kubectl get pods --selector app=drone-server
NAME                            READY   STATUS    RESTARTS   AGE
drone-server-56fb9fbc44-fhdf8   1/1     Running   0          34s
Now deploy the Drone Agents:
$ kubectl apply -f manifests/drone-agent.yml
deployment.apps/drone-agent created
Verify that the Drone Agents are running:
$ kubectl get pods --selector app=drone-agent
NAME                           READY   STATUS    RESTARTS   AGE
drone-agent-6cf5df568d-hmzcb   2/2     Running   0          24s
drone-agent-6cf5df568d-zctkq   2/2     Running   0          23s
Get your Drone Endpoint:
$ kubectl get ingress/drone
NAME    HOSTS                                                     ADDRESS        PORTS   AGE
drone   drone.80afc0a3-f378-4cc0-8f03-653983e3084f.k8s.civo.com   172.31.4.251   80      17m
When you access your Drone Endpoint URL, you will be redirected to Gitea's sign in page:
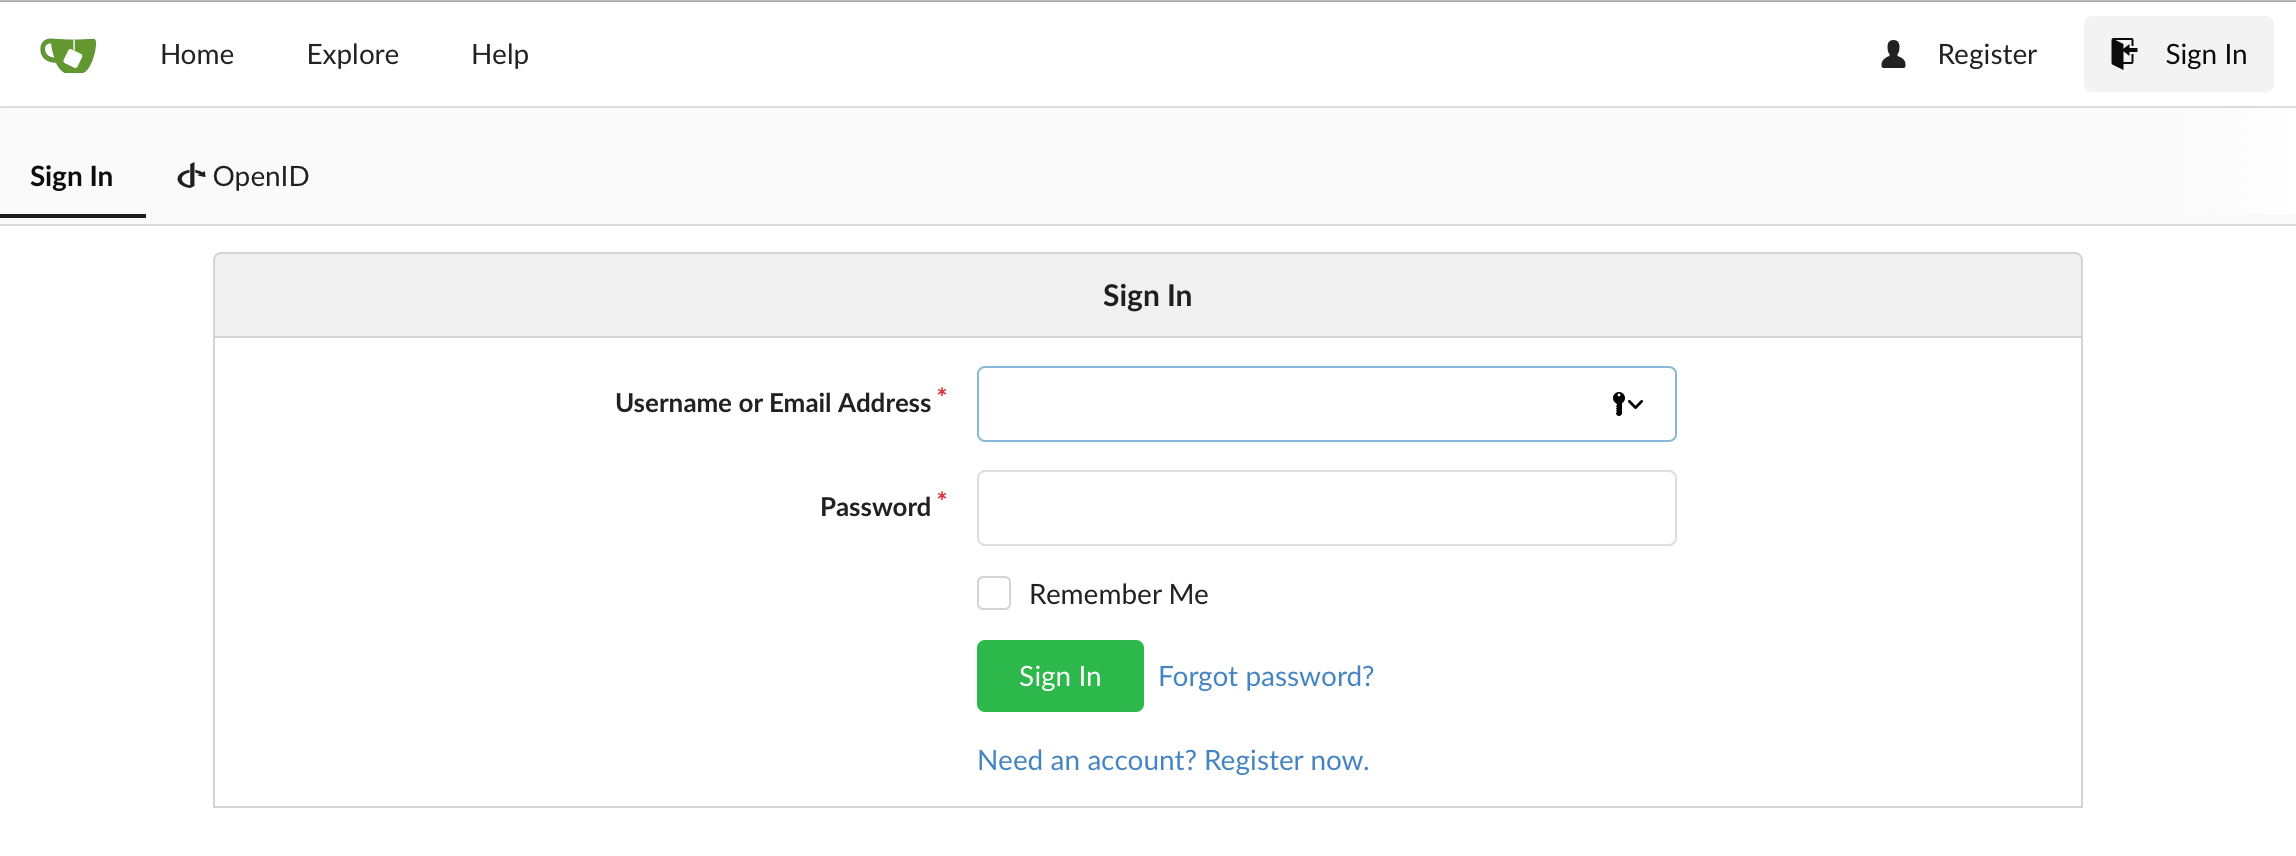
Sign in with your admin credentials, you will be prompted to authorize your application:
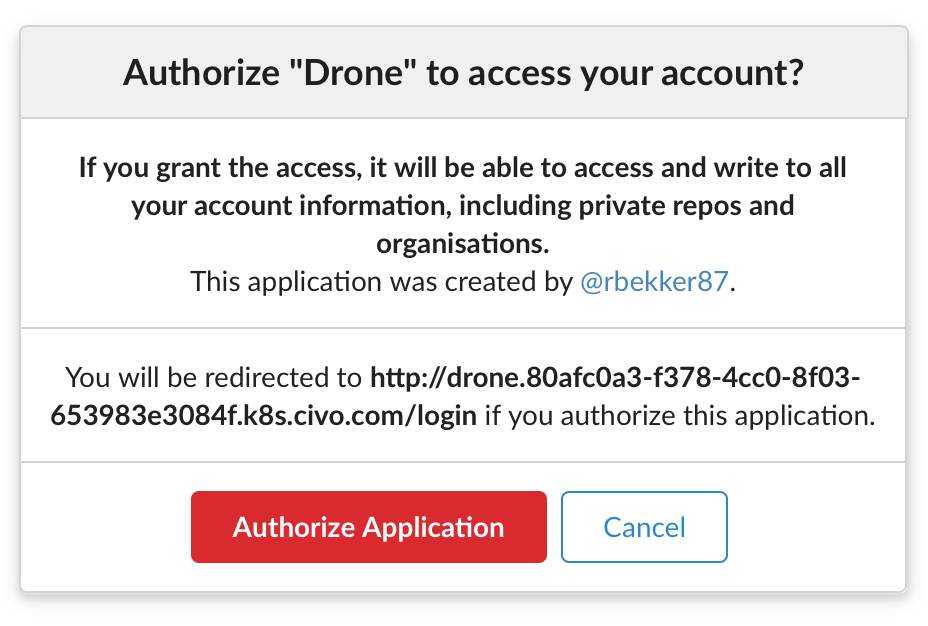
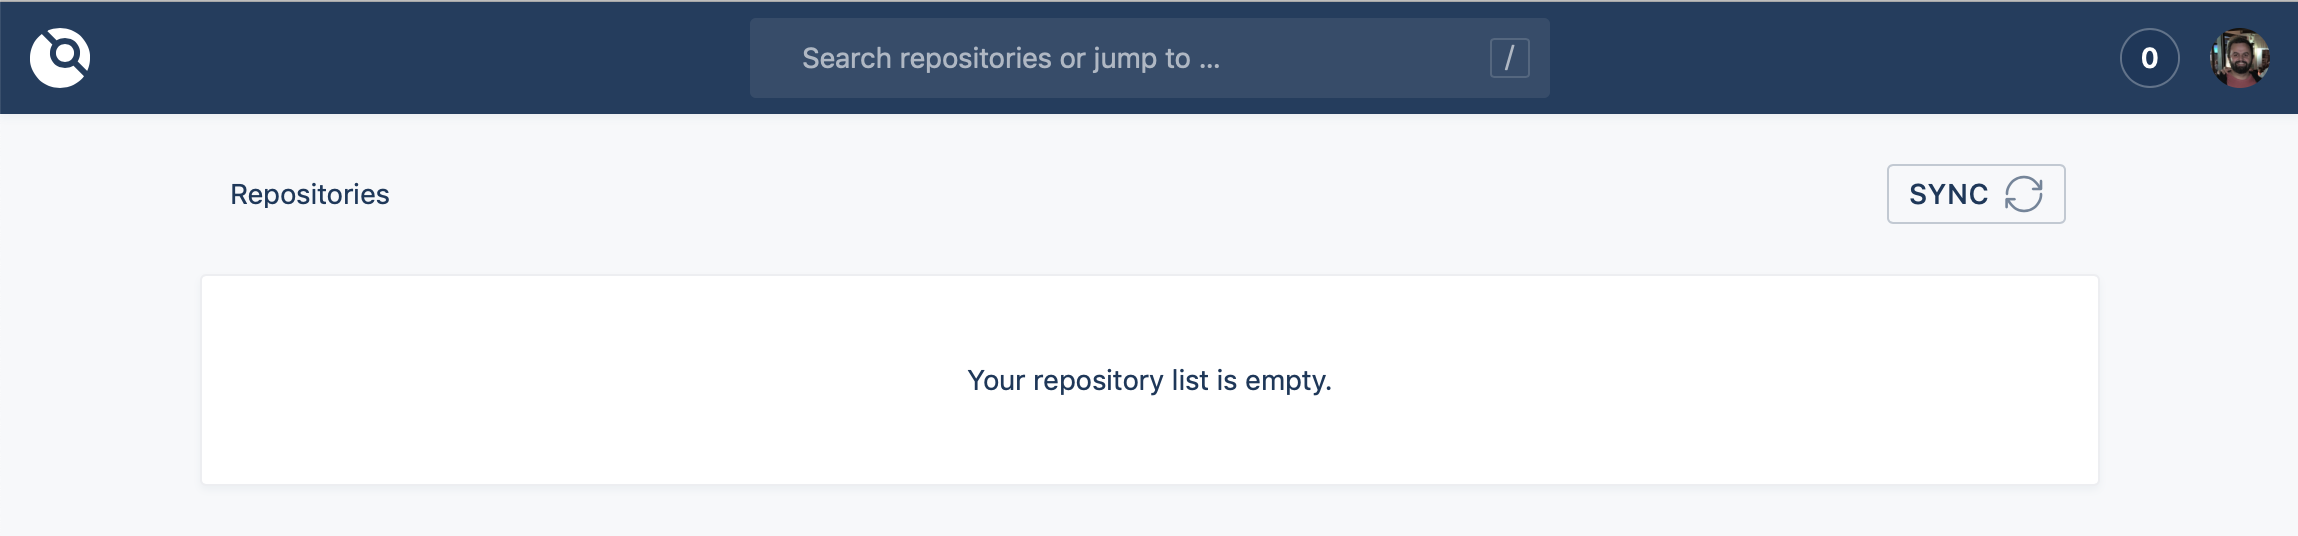
Then you should be logged into Drone:
Next Up
In the next post, we will create a Git Repository on Gitea, setup our SSH Key so that we can commit to our Git repository and setup a Basic CI/CD Pipeline on Drone to test, build and deploy our dummy application.
Comments