

In this post we will setup a 4 node minio distributed cluster on AWS.
Create AWS Resources
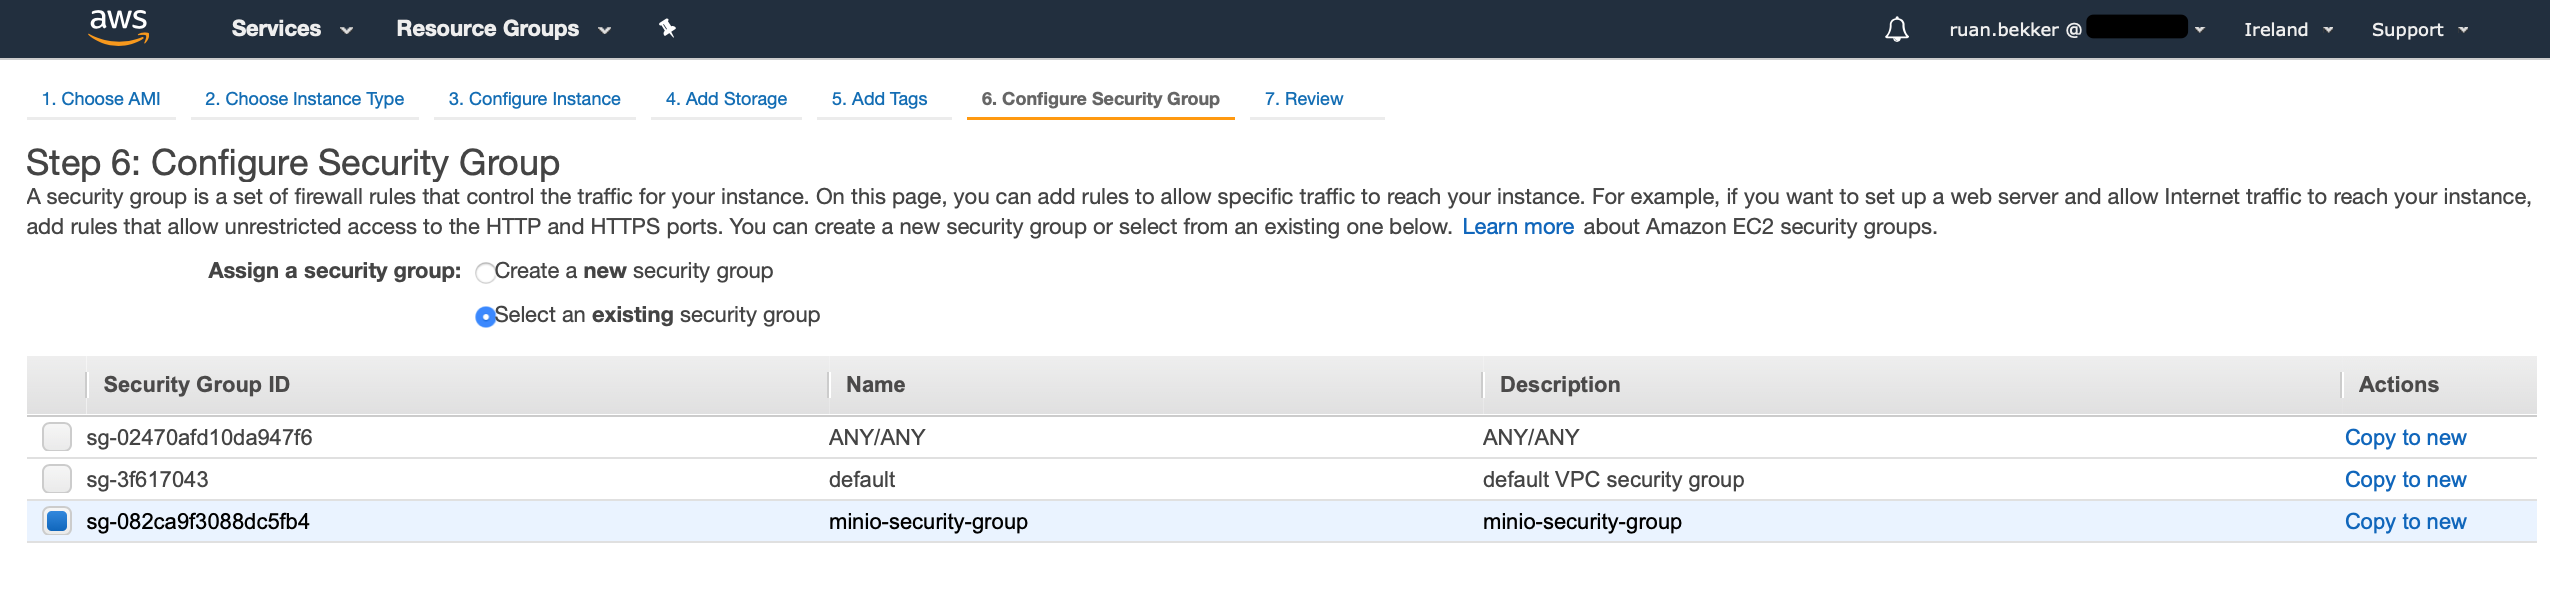
First create the minio security group that allows port 22 and port 9000 from everywhere (you can change this to suite your needs)

Attach a secondary disk to each node, in this case I will attach a EBS disk of 20GB to each instance:

Associate the security group that was created to the instances:
After your instances has been provisioned, it will look like this:

Access the EC2 Instances
The secondary disk that we associated to our EC2 instances can be found by looking at the block devices:
$ sudo lsblk
NAME    MAJ:MIN RM SIZE RO TYPE MOUNTPOINT
loop0     7:0    0  89M  1 loop /snap/core/7713
loop1     7:1    0  18M  1 loop /snap/amazon-ssm-agent/1480
xvda    202:0    0   8G  0 disk
└─xvda1 202:1    0   8G  0 part /
xvdb    202:16   0  20G  0 disk
The following steps will need to be applied on all 4 EC2 instances.
Switch to the root user and mount the secondary disk to the /data directory:
$ sudo su
$ mkdir /data
$ mkfs.xfs /dev/xvdb
$ echo "/dev/xvdb /data xfs defaults,noatime,nofail 0 0" >> /etc/fstab
$ mount -a
Verify that the disk has been mounted:
$ df -h
Filesystem      Size  Used Avail Use% Mounted on
/dev/xvda1      7.7G  1.3G  6.5G  17% /
/dev/xvdb        20G   53M   20G   1% /data
After you have mounted the disks on all 4 EC2 instances, gather the private ip addresses and set your host files on all 4 instances (in my case):
$ cat > /etc/hosts << EOF
172.31.38.98    minio-1
172.31.39.214    minio-2
172.31.37.208    minio-3
172.31.42.115    minio-4
127.0.0.1     localhost
EOF
Install Minio
Install minio on each node:
$ apt update && apt install wget -y
$ wget -O /usr/local/bin/minio https://dl.minio.io/server/minio/release/linux-amd64/minio
$ chmod +x /usr/local/bin/minio
After minio has been installed on all the nodes, create the systemd unit files on the nodes:
$ cat > /lib/systemd/system/minio.service << EOF
[Unit]
Description=minio
Documentation=https://docs.min.io
Wants=network-online.target
After=network-online.target
AssertFileIsExecutable=/usr/local/bin/minio

[Service]
WorkingDirectory=/usr/local/
User=root
Group=root
EnvironmentFile=/etc/default/minio
ExecStart=/usr/local/bin/minio server \$MINIO_OPTS
Restart=always
LimitNOFILE=65536
TimeoutStopSec=infinity
SendSIGKILL=no

[Install]
WantedBy=multi-user.target
EOF
In my case, I am setting my access key to AKaHEgQ4II0S7BjT6DjAUDA4BX and my secret key to SKFzHq5iDoQgF7gyPYRFhzNMYSvY6ZFMpH, therefore I am setting this to the minio's default configuration:
$ cat > /etc/default/minio << EOF
MINIO_OPTS="http://minio-1:9000/data http://minio-2:9000/data http://minio-3:9000/data http://minio-4:9000/data"
MINIO_ACCESS_KEY="AKaHEgQ4II0S7BjT6DjAUDA4BX"
MINIO_SECRET_KEY="SKFzHq5iDoQgF7gyPYRFhzNMYSvY6ZFMpH"
EOF
When the above step has been applied to all the nodes, reload the systemd daemon, enable the service on boot and start the service on all the nodes:
$ systemctl daemon-reload
$ systemctl enable minio
$ systemctl start minio.service
Head over to any node and run a status to see if minio has started:
$ systemctl status minio.service
  minio.service - minio
   Loaded: loaded (/lib/systemd/system/minio.service; enabled; vendor preset: enabled)
   Active: active (running) since Wed 2019-10-09 17:47:15 UTC; 1min 16s ago
     Docs: https://docs.min.io
Main PID: 2089 (minio)
    Tasks: 8 (limit: 1152)
   CGroup: /system.slice/minio.service
           └─2089 /usr/local/bin/minio server http://minio-1:9000/data http://minio-2:9000/data http://minio-3:9000/data http://minio-4:9000/data


Oct 09 17:47:24 ip-172-31-38-98 minio[2089]: Status:         4 Online, 0 Offline.
Oct 09 17:47:24 ip-172-31-38-98 minio[2089]: Endpoint:  http://172.31.38.98:9000  http://127.0.0.1:9000
Oct 09 17:47:24 ip-172-31-38-98 minio[2089]: Browser Access:
Oct 09 17:47:24 ip-172-31-38-98 minio[2089]:    http://172.31.38.98:9000  http://127.0.0.1:9000
Oct 09 17:47:24 ip-172-31-38-98 minio[2089]: Object API (Amazon S3 compatible):
Oct 09 17:47:24 ip-172-31-38-98 minio[2089]:    Go:         https://docs.min.io/docs/golang-client-quickstart-guide
Oct 09 17:47:24 ip-172-31-38-98 minio[2089]:    Java:       https://docs.min.io/docs/java-client-quickstart-guide
Oct 09 17:47:24 ip-172-31-38-98 minio[2089]:    Python:     https://docs.min.io/docs/python-client-quickstart-guide
Oct 09 17:47:24 ip-172-31-38-98 minio[2089]:    JavaScript: https://docs.min.io/docs/javascript-client-quickstart-guide
Oct 09 17:47:24 ip-172-31-38-98 minio[2089]:    .NET:       https://docs.min.io/docs/dotnet-client-quickstart-guide
As you can see, all 4 nodes has started.
Minio WebUI
Get the public ip of one of your nodes and access it on port 9000:

Creating your first bucket will look like this:

Using the Python API
Create a virtual environment and install minio:
$ virtualenv .venv-minio -p /usr/local/bin/python3.7  && source .venv-minio/bin/activate
$ pip install minio
Create a file that we will upload to minio:
$ echo "ok" > file.txt
Enter the python interpreter, instantiate a minio client, create a bucket and upload the text file that we created:
>>> from minio import Minio
>>> minioClient = Minio('34.248.202.30:9000', access_key='AKaHEgQ4II0S7BjT6DjAUDA4BX', secret_key='SKFzHq5iDoQgF7gyPYRFhzNMYSvY6ZFMpH', secure=False)
>>> minioClient.make_bucket('log-bucket', location='us-east-1’)
>>> minioClient.fput_object('log-bucket', 'objects/file.txt', 'file.txt’)
Let's list the objects in our newly created bucket:
>>> objects = minioClient.list_objects('log-bucket', prefix='', recursive=True)
>>> for obj in objects:
...     print(obj.object_name)
...
objects/file.txt
We can also list our buckets:
>>> buckets = minioClient.list_buckets()
>>> for bucket in buckets:
...     print(bucket.name)
...
log-bucket
my-first-bucket
For more information check out:
Comments