
During the COVID19 pandemic and lockdown, I've invested a lot of time building a new homelab setup, and this weekend while traveling I had more time on my hands to test out some things.
So most of the services are only reachable inside my home network and had to setup a VPN to access them remotely.
I stumbled upon PiVPNwhich is a VPN built for the Raspberry Pi that supports WireGuard and OpenVPN and super easy to setup.I am running PiHole on my network so I would like to take advantage of ad-blocking as well while I am connected to the VPN.About this guide
In this post we will setup PiVPN on a Raspberry Pi Zero and will demonstrate how to connect your client to the VPN as well.
I will also show how to generate a QR code which will make it easier to connect you mobile devices to the VPN.
Installing the Server
On the Raspberry Pi, install PiVPN:
$ curl -L https://install.pivpn.io | bash
You can select WireGuard or OpenVPN, I'm going with WireGuard for this installation.
You will be prompted with a couple of options, select the ones that suited best for your environment.
Once the setup is done, reboot the server and when back up, create the first vpn client:
$ pivpn add
Enter a Name for the Client: ruan-laptop
::: Client Keys generated
::: Client config generated
::: Updated server config
::: WireGuard restarted
======================================================================
::: Done! ruan-laptop.conf successfully created!
::: ruan-laptop.conf was copied to /home/pi/configs for easy transfer.
::: Please use this profile only on one device and create additional
::: profiles for other devices. You can also use pivpn -qr
::: to generate a QR Code you can scan with the mobile app.
======================================================================
This config will be generated at /home/pi/configs/ruan-laptop.conf
I have selected port 51820 for my server, ensure its running:
$ sudo netstat -tulpn | grep 51820
udp        0      0 0.0.0.0:51820           0.0.0.0:*
Go to you Router and do port forwarding for UDP/51820 to the RaspberryPi Server IP.
Client Side
Head to wireguard install page and download the client of choice.Copy the config from the server, in my case /home/pi/configs/ruan-laptop.conf and paste the content into a file on your client device, in my case my laptop under /tmp/config.conf
Install the WireGuard client and create and import the config from file, and locate to the config which we saved to disk.
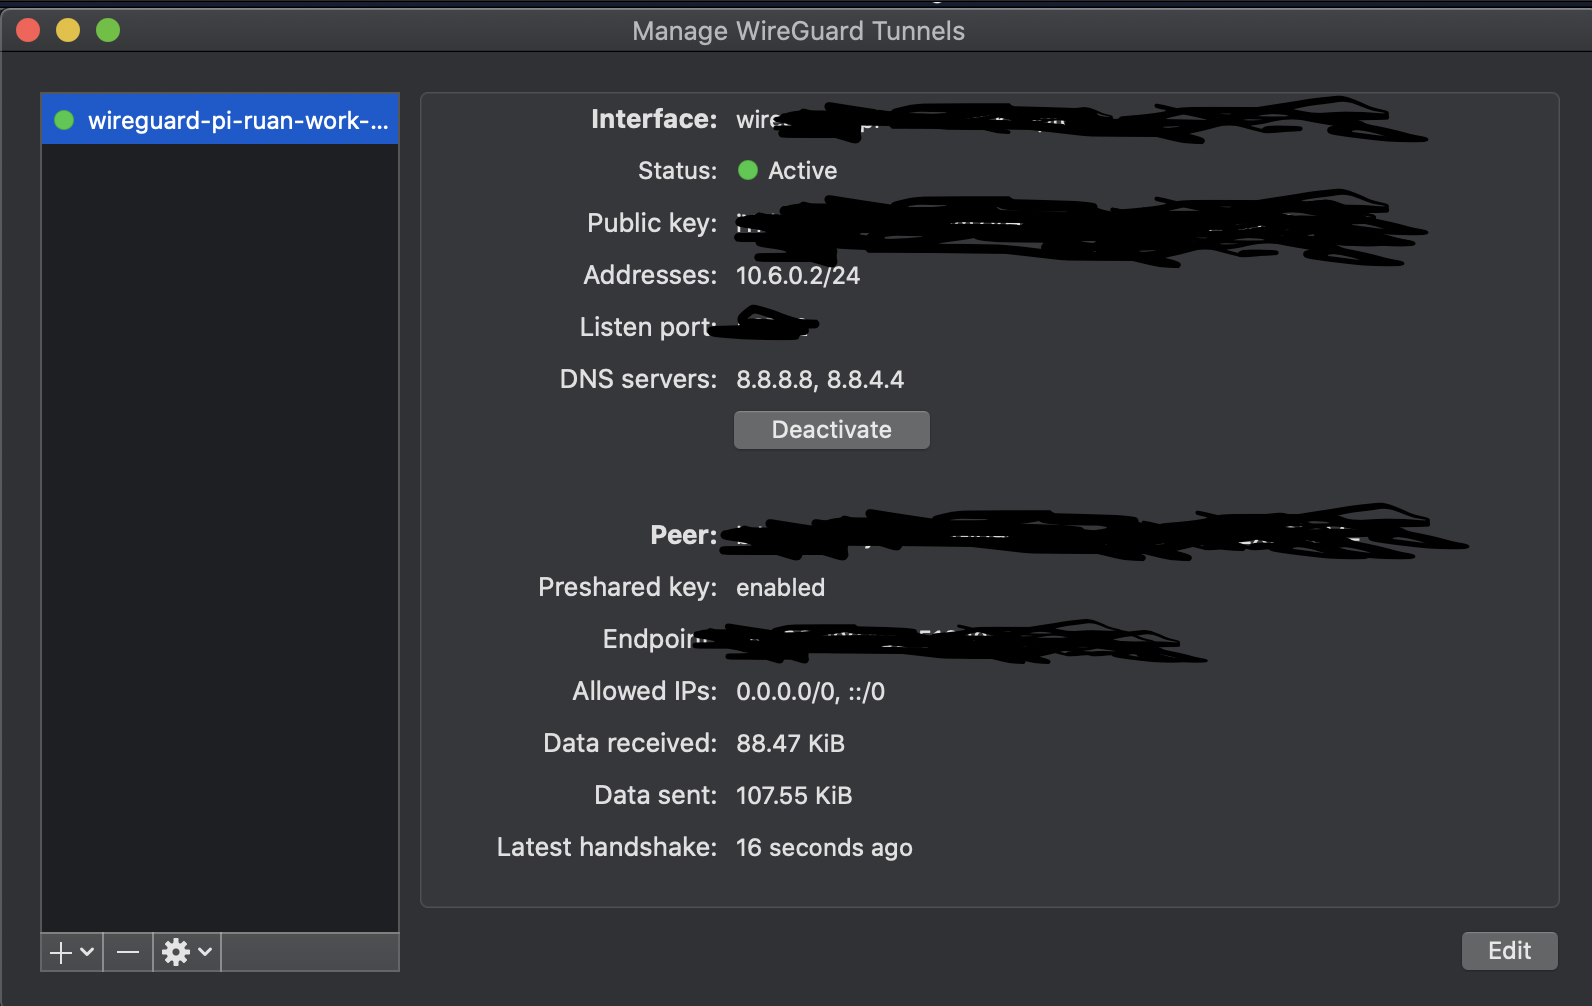
Connect the VPN and once connected it should look like this:
For mobile applications, you can use the QR code, let's create a config for a mobile device:
$ pivpn add
Enter a Name for the Client: my-mobile
Then display the QR code for the profile that we created:
$ pivpn -qr my-mobile
::: Showing client my-mobile below
--qr code displayed here--
Open the WireGuard mobile app and create a connection from QR code, scan and set the name of your connection and you are done.
Test
Once we connect, we can test our VPN by reaching a web service such as your Router's UI by accessing it via your browser, or via terminal.
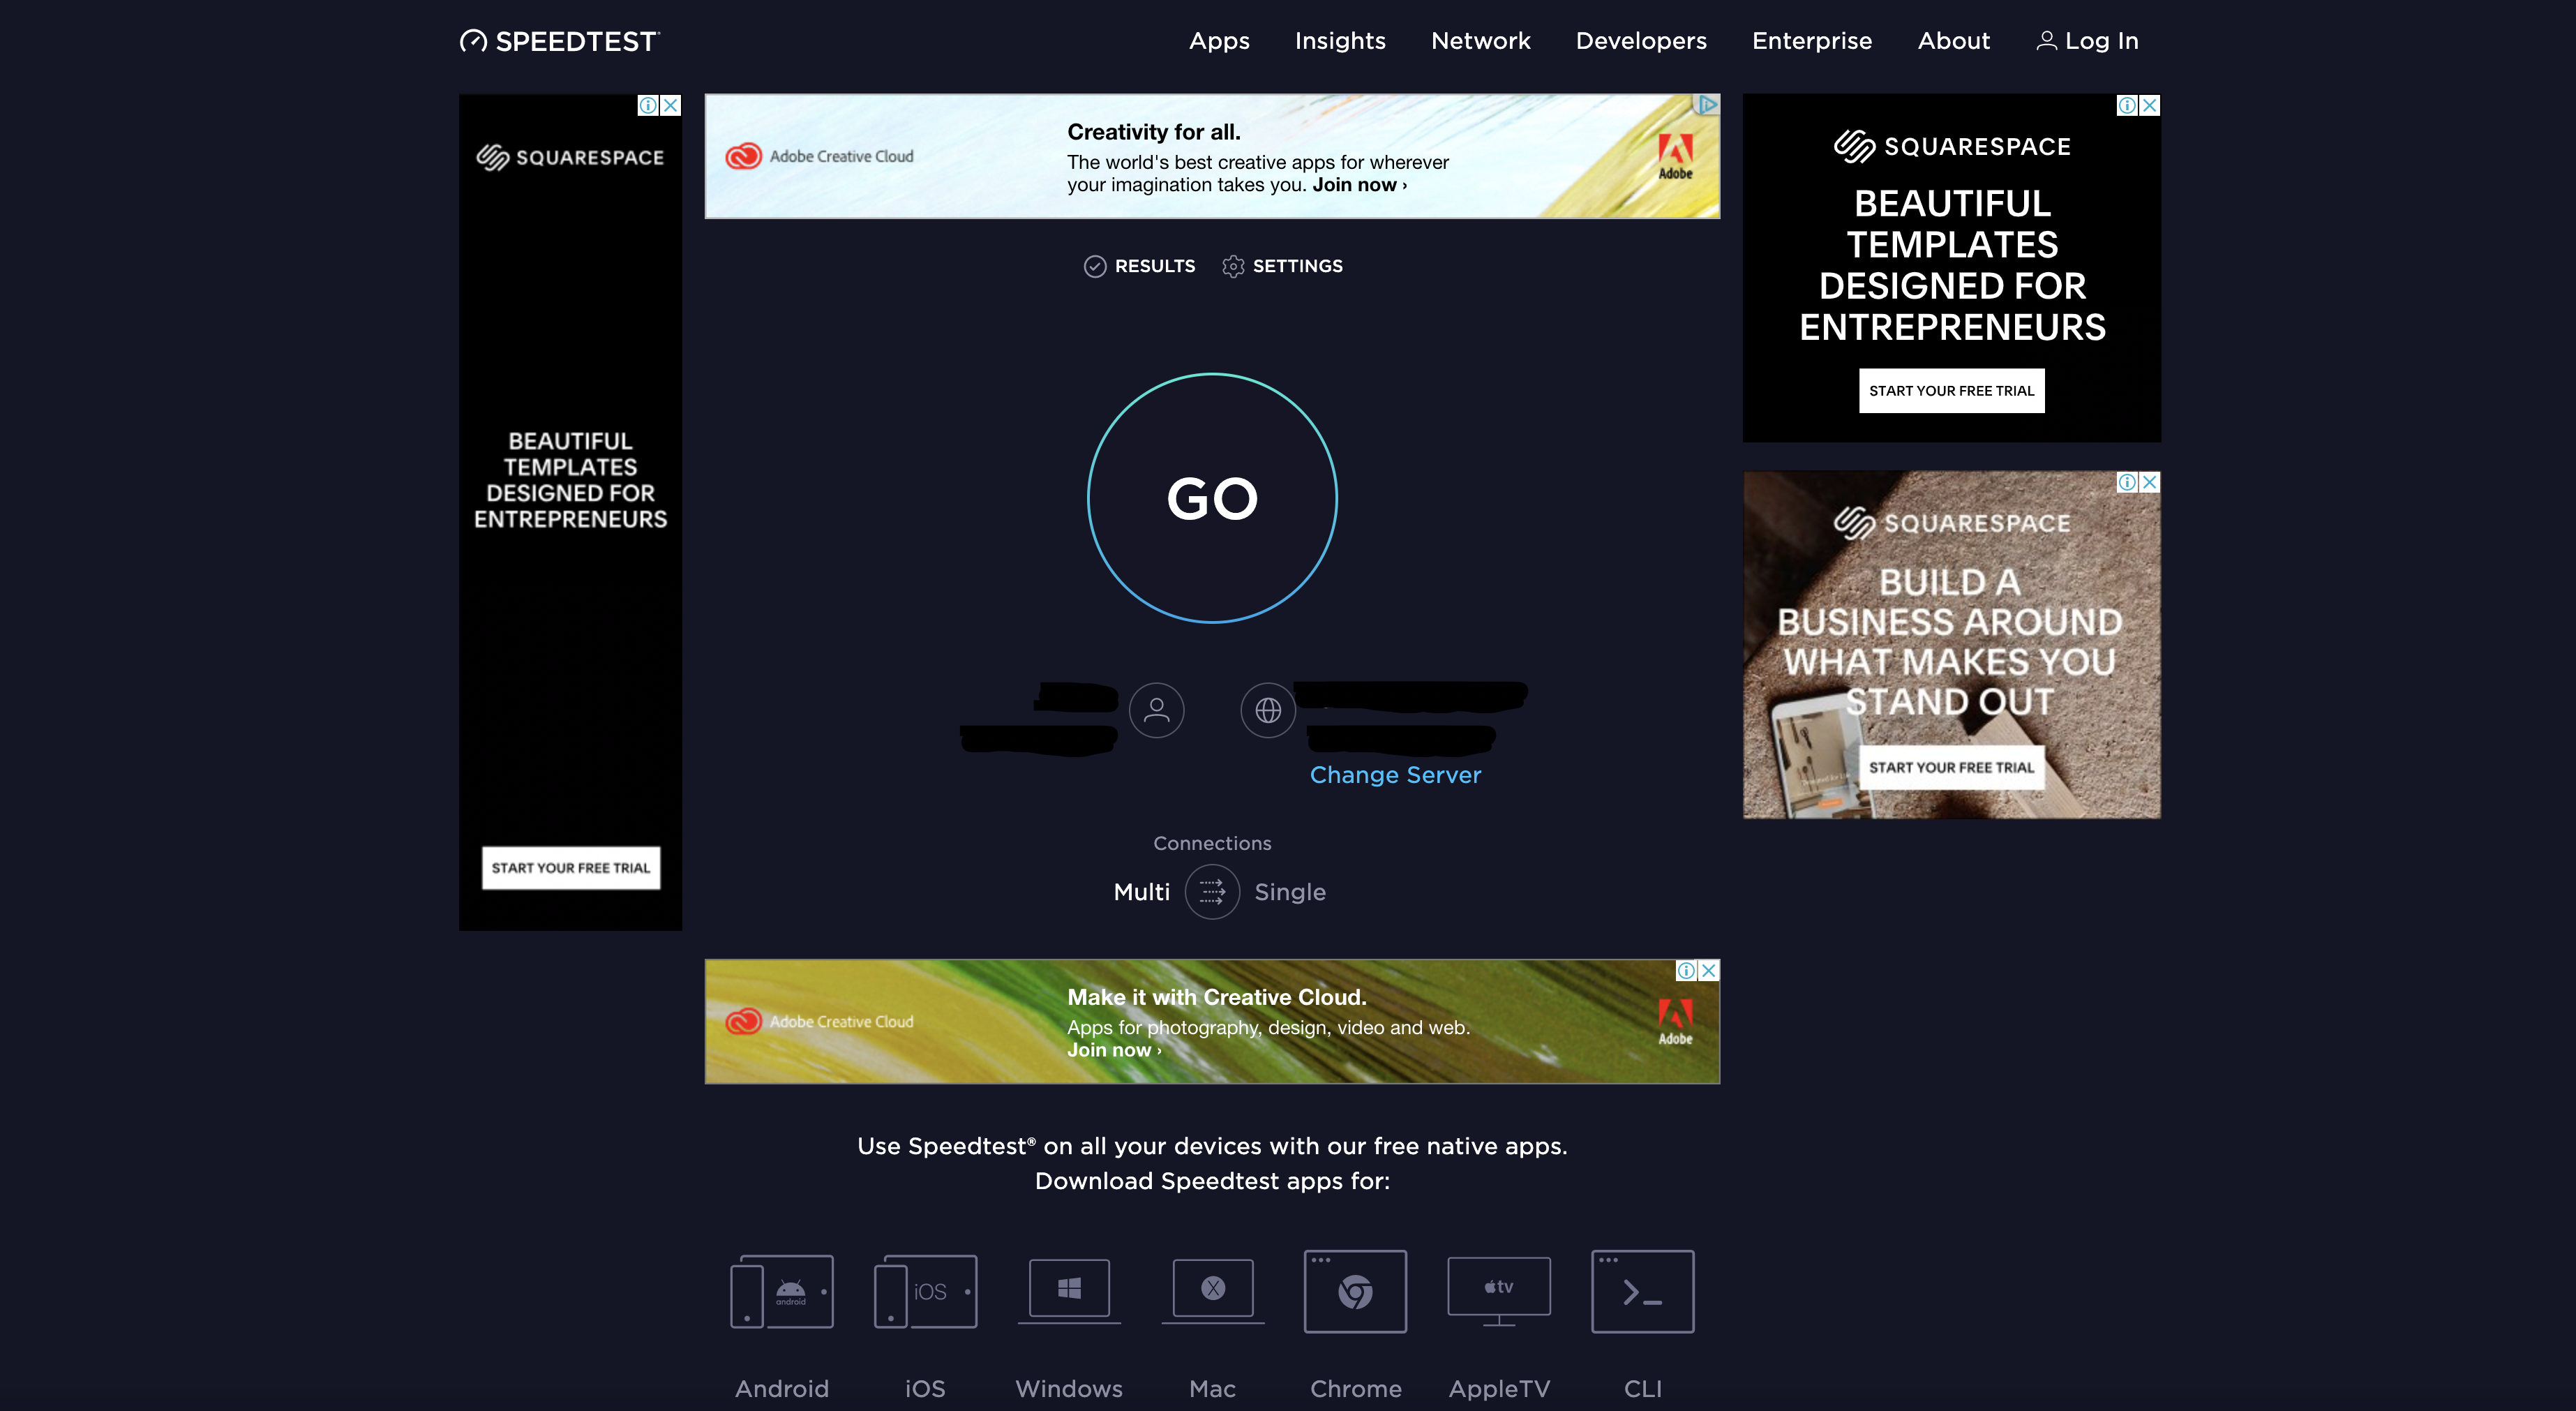
As I've set the DNS to my PiHole server on my PiVPN server setup, we can also test it to see if we are getting ads when we are on the VPN.
While the VPN was disconnected:
After connecting the VPN:
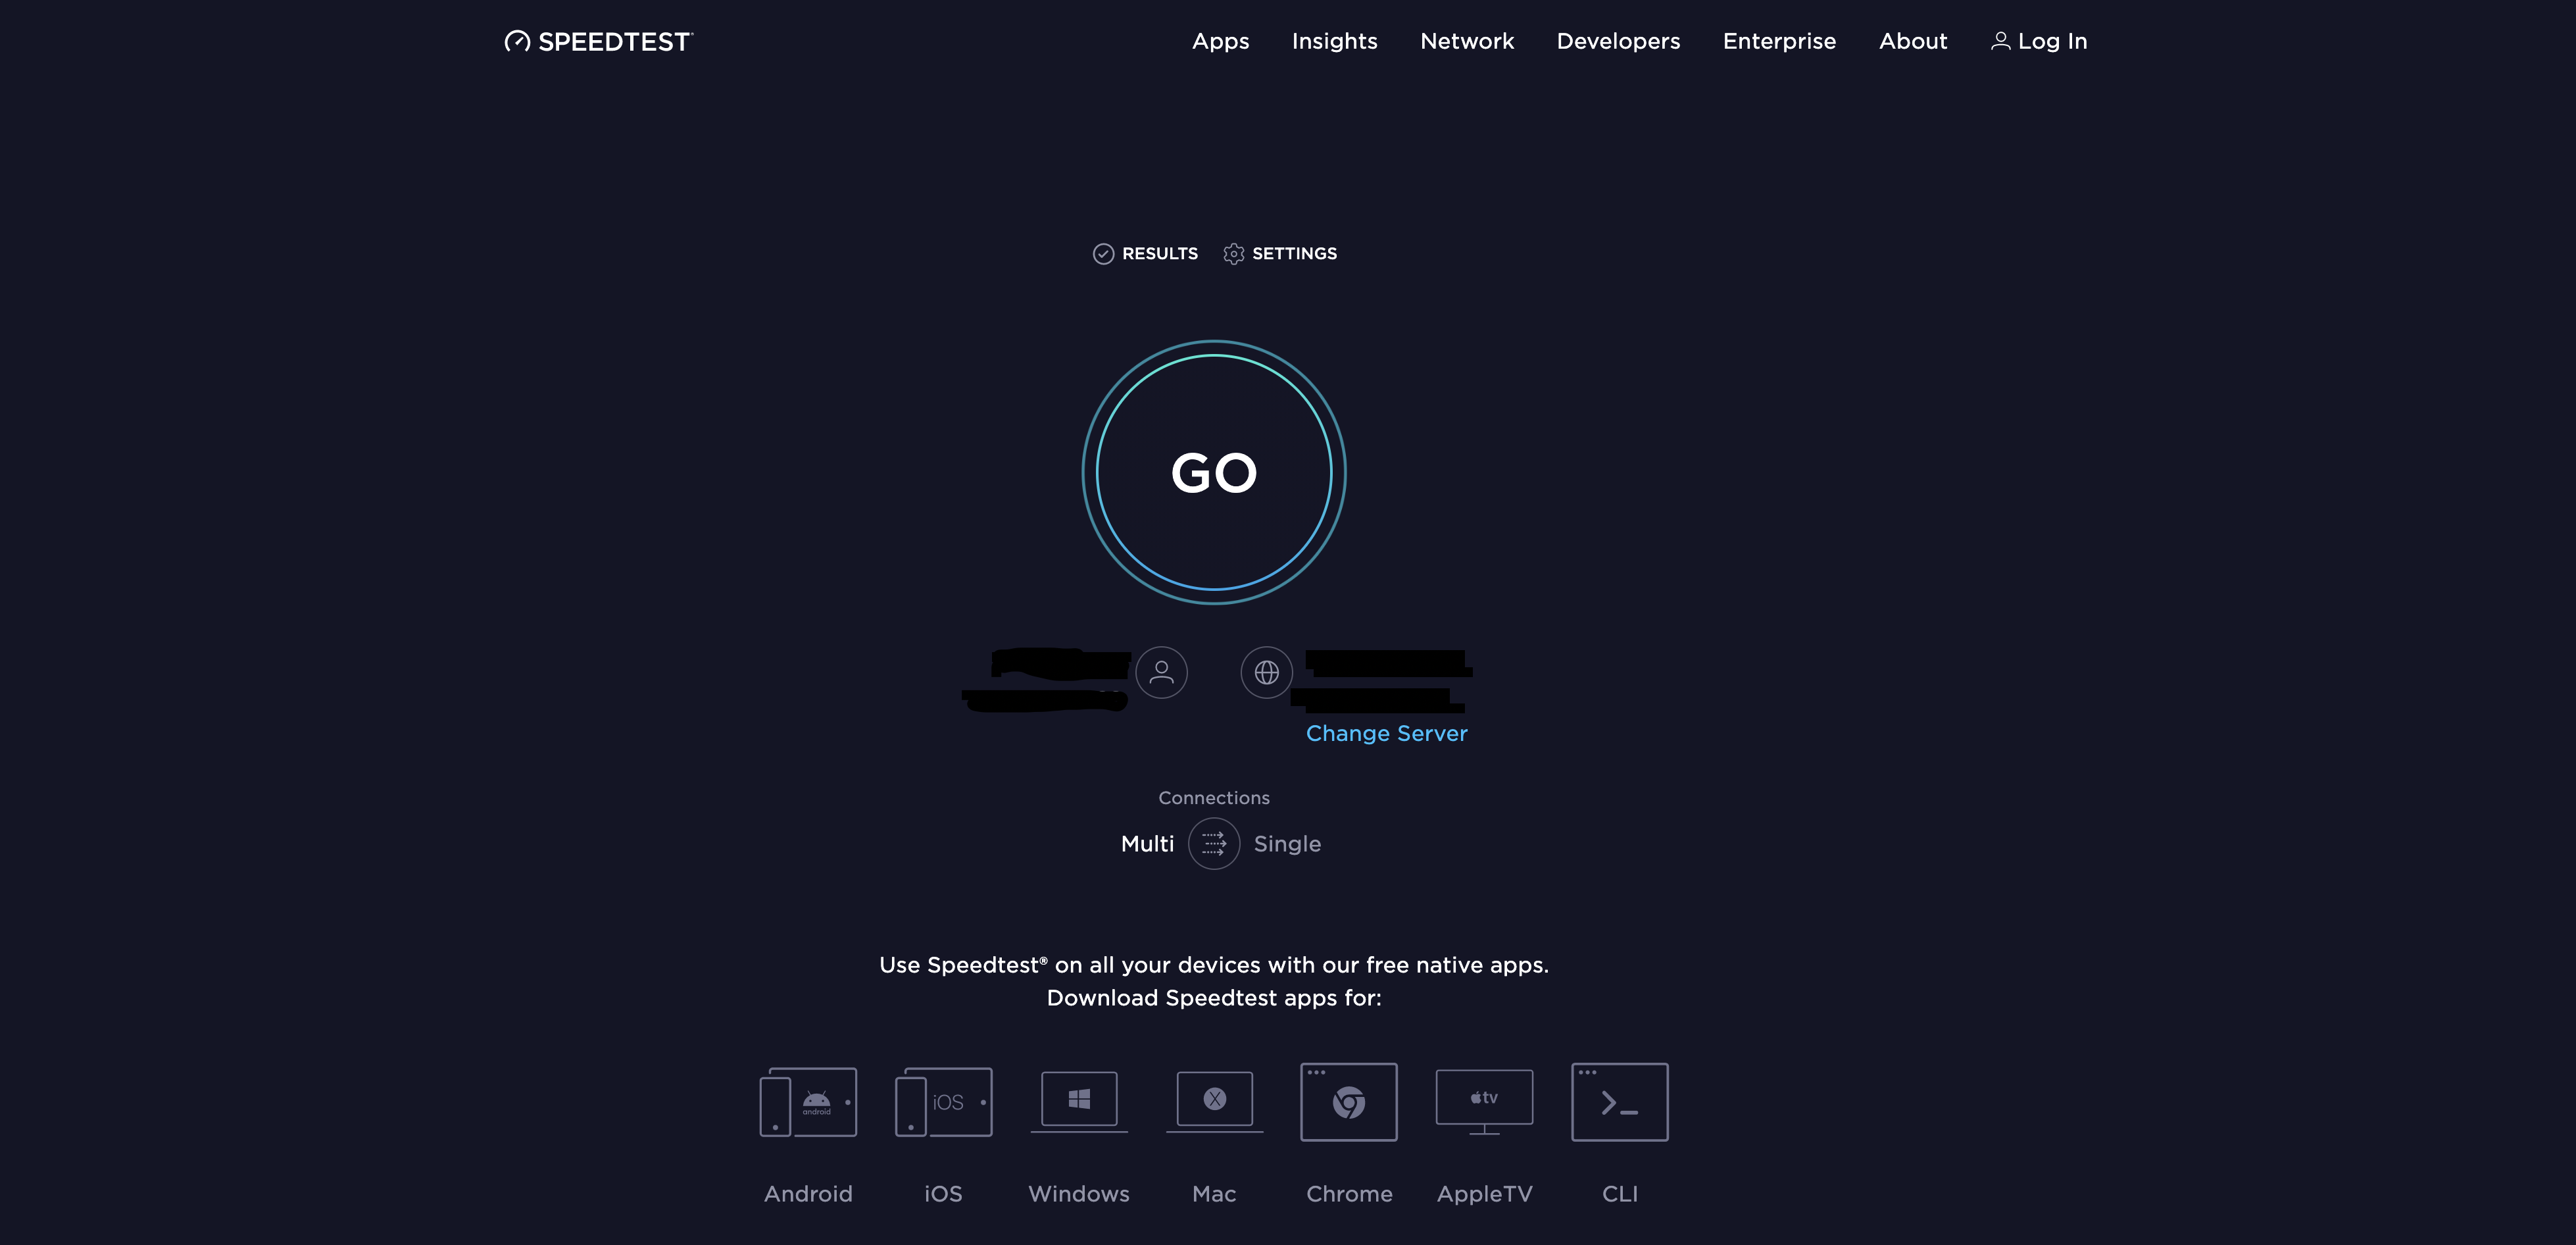
As you can see we are not seeing ads, which means that our Private DNS Server are being used which is routed via the VPN.
As a sidenote, PiHole is absolutely awesome. If you haven't used to before its definitely worth checking it out.
Thank You
![]()
Comments